Getting Started E-9
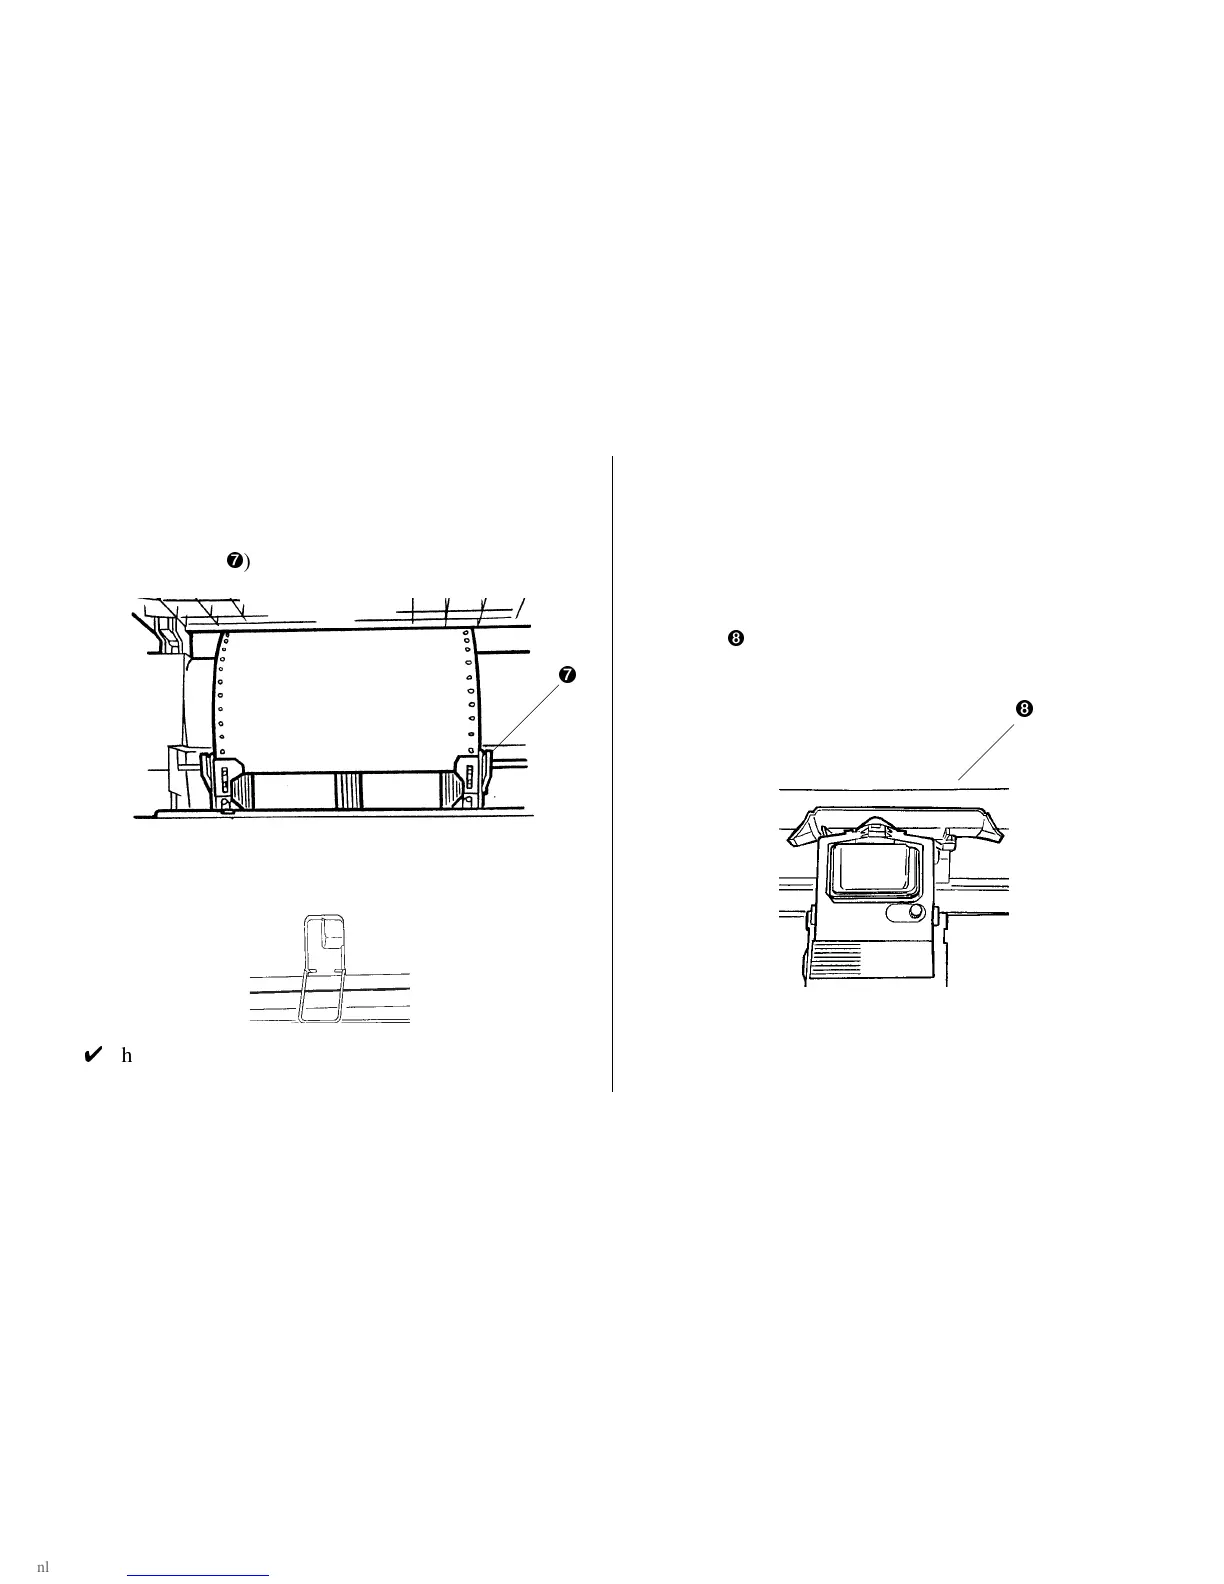
7. Adjust the right tractor so that the paper holes are
centered on the pins (careful—if paper is stretched too
tight or left too loose, it can jam and cause problems),
then lock the right tractor in place by pushing back on
the lock lever (
Ð
).
8. Close the paper separator and flip the wire feed guide
over onto the pull-up roller assembly.
4
The wire feed guide keeps paper from curling back
into the printer.
9. Push the FF/LOAD button. The paper will automati-
cally feed into the printer and the ALARM light will go
out. The printhead moves back and forth, gently firing
the pins to sense the paper thickness and set the
printhead gap.
10. Check the baseline for the Top of Form (TOF),
indicated by the red line on the clear plastic paper
shield (
Ñ
). If it’s OK, press the SEL button and
you’re ready to start printing. If it needs adjustment,
set the Top of Form following the instructions on
page 12.
Ð
Ñ