Do you have a question about the Oki Microline 320 and is the answer not in the manual?
Instructions for loading continuous paper into the printer, covering paper path and adjustments.
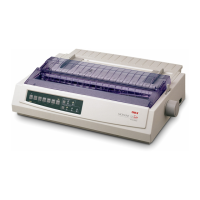
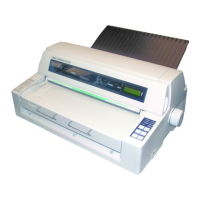
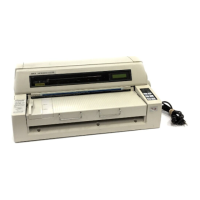
The OKI MICROLINE 320/390FB is a dot matrix printer designed for reliable and efficient printing. This manual provides comprehensive instructions for setting up, operating, and maintaining the printer, ensuring optimal performance and longevity.
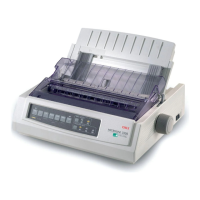
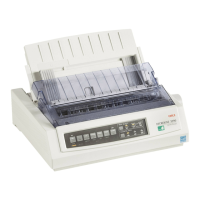
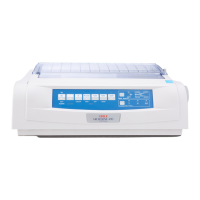
The MICROLINE 320/390FB is a versatile printer capable of handling various paper types, including continuous paper, cut sheets, multipart forms, envelopes, card stock, labels, and transparencies. It supports both parallel and serial interfaces, making it compatible with a wide range of computer systems. The printer is designed for both general office use and specialized applications requiring multipart forms or continuous paper. The 320FB model features a 9-pin printhead, while the 390FB model utilizes a 24-pin printhead, offering different levels of print quality and speed.
Before plugging in the printer, it's crucial to remove the shipping retainer that protects the printhead during transport. This retainer should be saved for future transportation. The sheet stacker is easily installed by aligning its studs with the holes at the end of the rear vent. The power cord connects to the back of the printer and an earthed socket. It's important to ensure the power source matches the printer's rating and to avoid using adapters that defeat earthing. Once powered on, the POWER and ALARM lamps should illuminate; if paper is loaded, the SEL lamp will also light up.
For standard Centronics parallel interface, ensure both the printer and computer are switched off before connecting the interface cable. The cable plugs into the port on the back of the printer and is secured with wire clips. The other end connects to the computer's printer port.
To install the ribbon cartridge, first set the headgap lever to the "R" position and open the access cover. Gently slide the printhead towards the center to access the cut-out in the sheet guide. Hold the ribbon cartridge with the blue take-up knob facing up, insert the flat end into the upper part of the ribbon plate, and then lower the front over the printhead until it snaps into place. Turn the take-up knob in the direction of the arrow icon to tighten the ribbon. When removing a ribbon, move the cartridge to the position indicated by two arrow icons at the bottom and lift it out gently. It's important not to peel off the plastic film (ribbon mask) on the cartridge or stack cartridges sideways, as this can affect print quality. The printhead can get very hot during extended printing, so allow it to cool before touching it. Always use the correct ribbon to avoid print quality issues.
The printer supports both continuous paper and cut sheets.
Loading Continuous Paper:
Loading Cut Sheet Paper:
The printer allows precise adjustment of the top of form (the first line of the printing surface) in increments of 1/144 inch. To advance the paper, hold the TOF/QUIET button and press the FORM FEED button. To reverse, hold the TOF/QUIET button and press the LINE FEED button. Release both buttons at the desired position, then press TOF/QUIET again to fix the setting. This setting is stored in the printer's memory until reset. Manual adjustment is also possible by turning the platen knob when the SEL lamp is off. Ensure the paper is deep enough for the platen to grip to prevent jamming.
For continuous paper, place the printer on a table approximately 75 cm high to allow paper storage underneath, ensuring a straight paper feed. Maintain at least 60 cm clearance from a wall for paper storage to prevent jamming.
After installing the ribbon and paper, a self-test can be run to verify functionality. The default paper setting is 269.24mm; for smaller widths, change the setting to 203.2mm using the MENU MODE.
Always disconnect the printer from the mains source before cleaning. Regular cleaning helps maintain print quality and extends the life of the printer. Specific cleaning instructions for the printhead and other components should be followed as outlined in the full maintenance section of the manual (not provided in this excerpt).
The manual provides guidance on common issues. If persistent problems occur, switch off the printer, disconnect it from the mains, and contact your dealer for assistance. The ALARM lamp serves as an indicator for issues like paper jams or paper out conditions.
The ribbon cartridge is designed for easy replacement. The blue take-up knob helps tighten the ribbon, and specific arrow icons guide the removal process. Using the correct ribbon type is crucial for optimal print quality.
The shipping retainer is a key component for protecting the printhead during transport, highlighting the importance of proper handling and storage. The printhead can become very hot, so caution is advised when handling it after extended use.
| Print Method | Impact Dot Matrix |
|---|---|
| Emulation | Epson FX, IBM ProPrinter |
| Print Direction | Bidirectional |
| Resolution | 240 x 216 dpi |
| Connectivity | Parallel |
| Paper Handling | Continuous Forms, Cut Sheet |
| Paper Width | Up to 10 inches |
| Noise Level | 55 dBA |
| Number of Pins | 9-Pin |