EXPLOR@460
Chapter 1
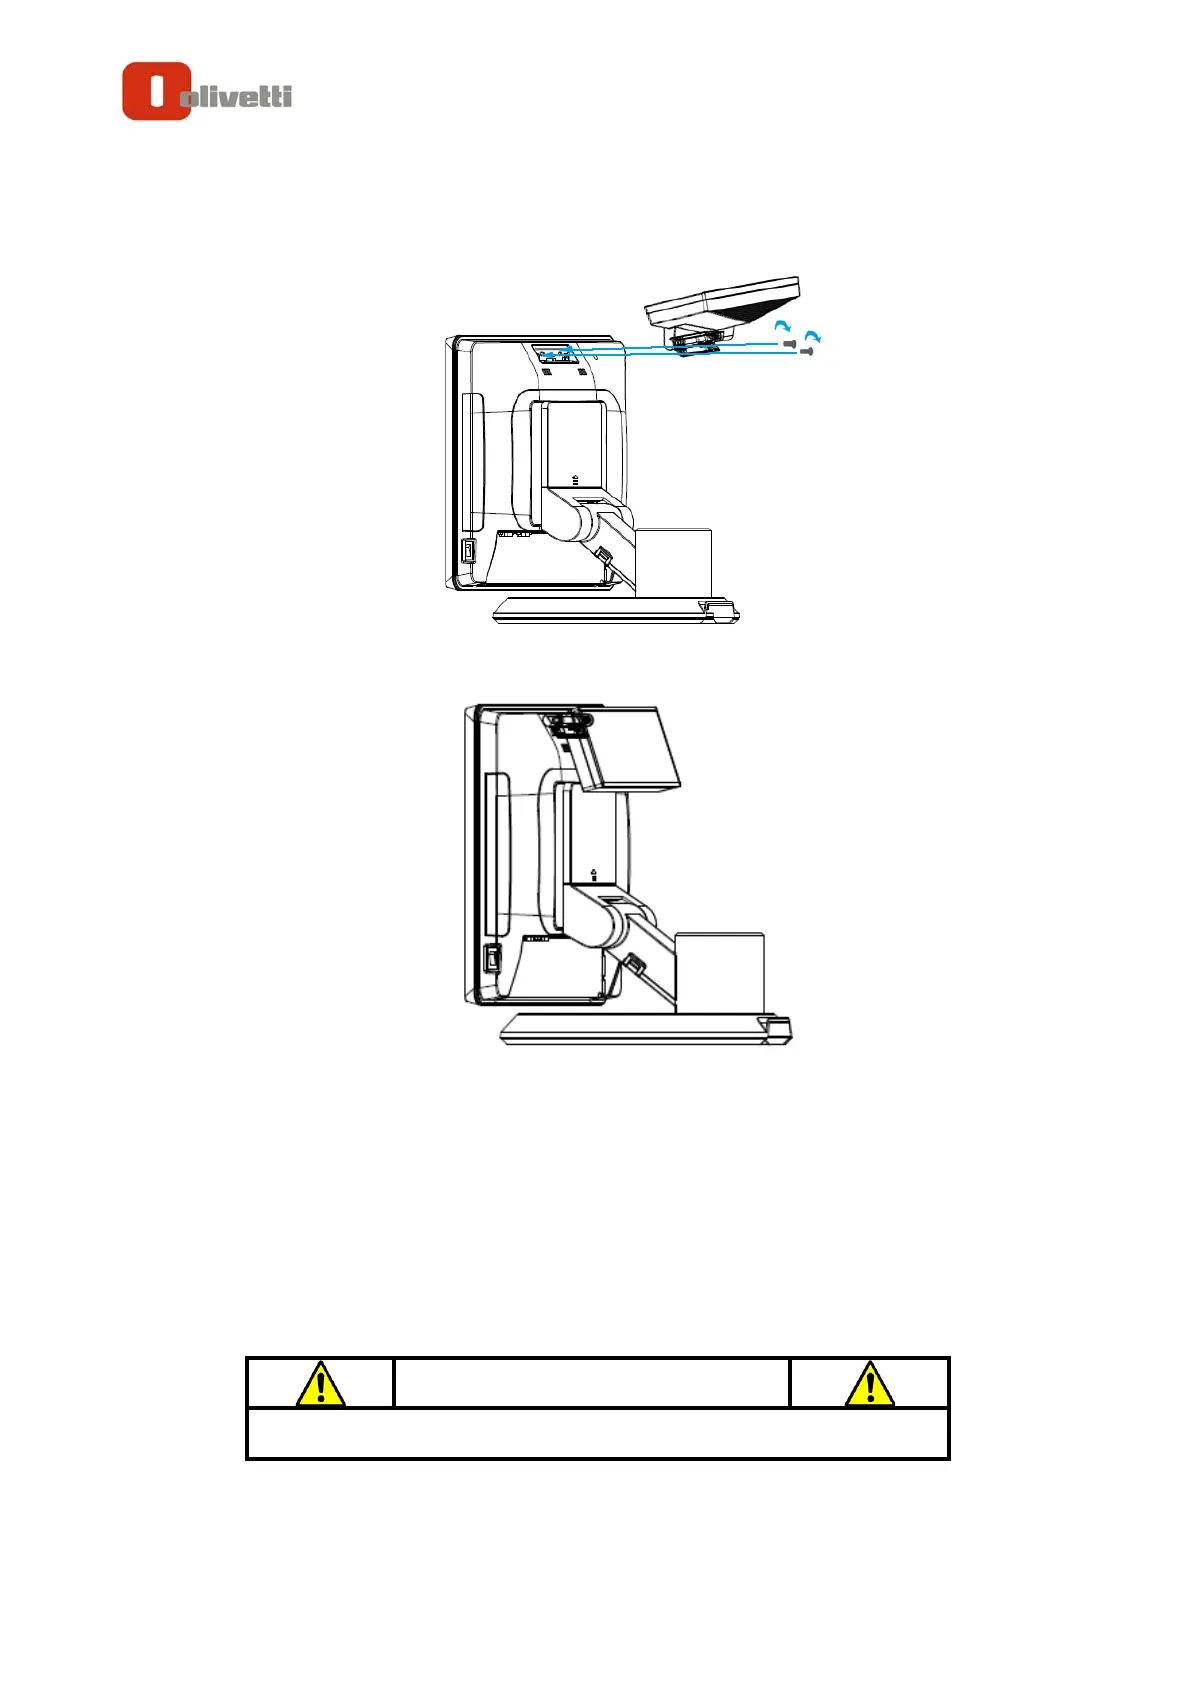
3. Mount the customer display to the device and tighten the two PHILLIPS M3
screws as shown below.
4. Finished.
B. Power Supply Configuration
Power up the device and hit the DEL key to enter the BIOS. When the BIOS screen
appears use the TAB key to select Advanced. Use the arrow keys to select Super IO
Configuration then type ENTER. The screen below will appear. Use the arrow keys to
select Serial Port 6 RI/12V depending on what port the customer display is connected
to. Select 12V to enable power to the correct COM port. Type F10 to save the settings
and exit the BIOS setup.
Never enable the 12V power without the customer display attached and
be sure to disable the 12V power before removing the customer display.