EN
Changing
the
shooting
;i!J
f
9!'!Ja,f!Cln
Jlis/I!aX;)(i:JDfA2:;;*_;;;;;;
>r"\lJt~
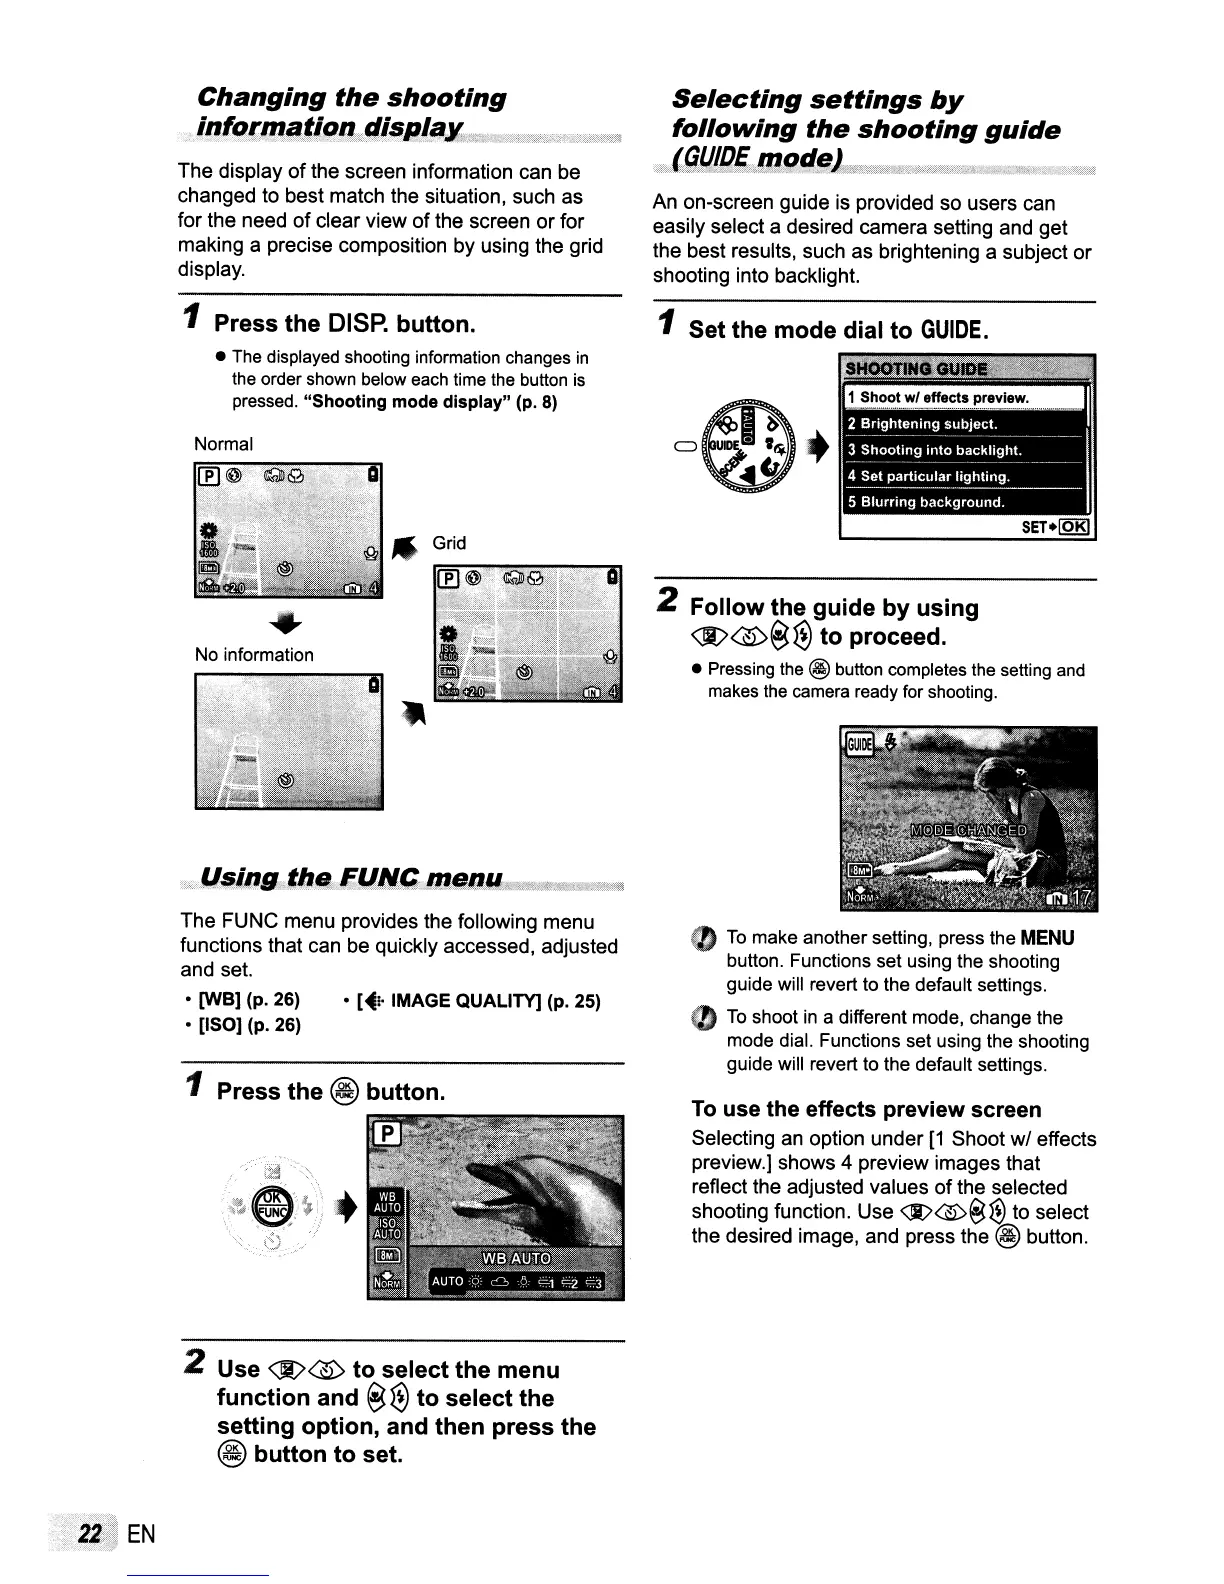
The display
of
the screen information can be
changed to best match the situation, such as
for the need of clear view of the screen or for
making a precise composition by using the grid
display.
1 Press
the
DISP. button.
•
The
displayed shooting information changes
in
the
order shown below each time
the
button
is
pressed. "Shooting mode display" (p.
8)
Normal
'"
Grid
No information
.
kU~il1gii,thfl;€JJIlf;;m~l!4IlJi*£f&
__
$w';;)dw;m
The FUNC menu provides the following menu
functions that can be quickly accessed, adjusted
and set.
•
[WB]
(p. 26) •
[~!.
IMAGE QUALITY] (p. 25)
• [ISO] (p. 26)
1 Press the @ button.
2 Use
@@
to
select the menu
function
and
@€l
to
select the
setting
option, and then press the
@
button
to
set.
Selecting
settings
by
following
the
shooting
guide
..
19!!IQE~qll!:~!f11~'J
··tt
,;¢Y;;'liLS';,)%h)k;;knt.',:.:
1
An on-screen guide is provided so users can
easily select a desired camera setting and get
the best results, such as brightening a subject or
shooting into backlight.
1 Set the mode dial
to
GUIDE
.
!:*'
2 Follow the
guide
by
using
@@@€l
to
proceed.
• Pressing
the
@ button completes
the
setting
and
makes
the
camera ready for shooting.
•
To
make another setting, press the
MENU
button. Functions set using the shooting
guide will revert to the default settings.
..
To
shoot in a different mode, change the
mode dial. Functions set using the shooting
guide will revert to the default settings.
To
use
the
effects
preview
screen
Selecting
an
option under
[1
Shoot wI effects
preview.) shows 4 preview images that
reflect the adjusted values of the selected
shooting function. Use
<Jt>@@tf)
to select
the desired image, and press the
@ button.