Do you have a question about the Olympus ScopeGuide UPD-3 and is the answer not in the manual?
Connect the receiver dish to the UPD-3 via the receiver dish cable.
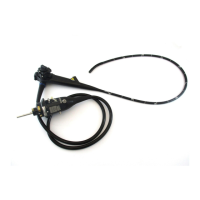
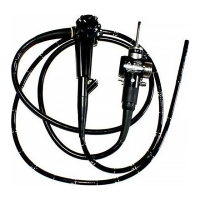
Use the ScopeGuide-enabled colonoscope or probe for use with a non-ScopeGuide enabled colonoscope.
Connect the hand coil to the UPD-3.
Use arrow keys or remote to change scope image orientation to match patient positioning.
Position the receiver dish next to the stretcher and align with the patient's anus.
Set the starting position by holding the endoscope tip and hand coil close to the anus, then press button.
Press to display or exit the menu list.
Press to change the orientation of the patient image if patient position changes.
Press to magnify/reduce endoscope model display for optimal image size or capturing.
Press to mark areas of interest or polyps on the insertion length for reference.
Press to alternate between split-screen and single-screen display.
Press to set/release endoscope start position for length measurement.
Press to return to default ScopeGuide settings.
Reduce with a clockwise twist.
Reduce with a counterclockwise twist.
Advance carefully and reduce with a clockwise twist if spiral component.
Reduce with a clockwise twist.
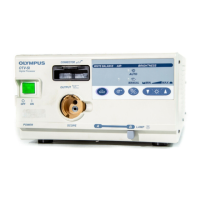
| Display | LCD |
|---|---|
| Power Supply | AC 100-240 V, 50/60 Hz |
| Compatibility | Olympus endoscopes with ScopeGuide compatibility |
| Image Processing | Real-time image processing |
| Operating Temperature | 10°C to 30°C |
| Storage Temperature | -20°C to 60°C |
| Humidity Range | 30% to 75% |