Do you have a question about the Olympus OTV-SI and is the answer not in the manual?
Specifies the intended application of the instrument for endoscopic observation, diagnosis, and treatment.
Highlights the importance of reviewing the manual for safe and effective instrument operation.
Defines the required qualifications for operators of the instrument.
Advises checking compatibility with other equipment to prevent damage or injury.
Warns against unauthorized repairs or modifications to the instrument.
Explains the meaning of DANGER, WARNING, CAUTION, and NOTE signal words used in the manual.
Details critical safety precautions regarding electrical shock, fire hazards, and patient safety.
Specifies safety requirements for using the instrument in cardiac procedures.
Explains the meaning of various symbols and icons used in the manual and on the device.
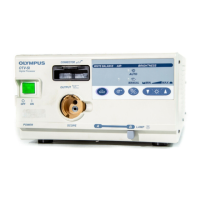
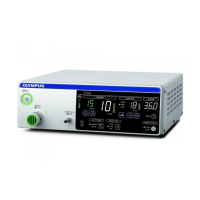
Details the components and controls located on the front panel of the OTV-SI.
Details the components and connectors located on the rear panel of the OTV-SI.
Identifies and describes the components found on the side panel of the OTV-SI.
Lists and describes the ancillary equipment that can be connected to the OTV-SI.
Describes the optional keyboard and its keys for operating the OTV-SI.
Explains the various menu commands and their functions for operating the OTV-SI.
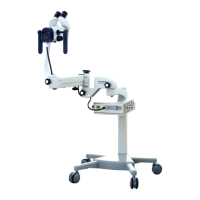
Provides guidelines for safely installing the OTV-SI unit.
Details the steps for connecting the OTV-SI to a video monitor.
Explains how to connect the optional keyboard to the OTV-SI.
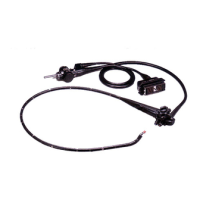
Guides the user on how to connect the videoscope or camera head to the OTV-SI.
Instructions for connecting the OTV-SI to a color video printer.
Procedures for connecting the OTV-SI to a video tape recorder.
Explains how to properly connect the OTV-SI to a power source.
Describes how to attach the water container for Type B models.
Checks the power supply status and cooling fan operation before use.
Ensures the endoscope's illumination system is functioning correctly.
Confirms the endoscopic image appears correctly on the video monitor.
Verifies the freeze function operates properly for capturing static images.
Confirms the ability to capture and release images, likely to peripherals.
Checks if the manual brightness adjustment feature functions as expected.
Verifies the automatic brightness control maintains consistent image brightness.
Checks the functionality of the air and water feed system for Type B models.
Step-by-step guide on powering on the OTV-SI and connected equipment.
Explains how to navigate and use the OTV-SI's menu system.
Instructions for setting and adjusting the system's date and time.
Guidance on adjusting the video monitor settings for optimal image display.
Procedures for adjusting the color balance and hue of the video image.
Details how to adjust image brightness using manual and automatic controls.
Explains how to enhance image contours for clearer viewing.
Instructions for entering and deleting patient data within the system.
Describes assigning functions to remote control switches on the endoscope.
Explains how to freeze and unfreeze the video image.
Details how to use the zoom function to magnify the video image.
Guides users on saving custom settings for up to four users.
Explains how to load previously saved user settings.
Information on restoring the instrument's factory default settings.
Instructions for taking still images using a connected color video printer.
Details how to record video output to a video tape recorder.
Explains how to rotate the displayed image by 180 degrees.
Instructions for using the air and water feed function on Type B models.
Procedures for safely shutting down and disconnecting the OTV-SI.
Provides instructions for cleaning and maintaining the OTV-SI unit.
Step-by-step guide for replacing the lamp in the OTV-SI.
Recommendations for storing the OTV-SI when not in use.
Information on proper disposal methods for the instrument and its components.
A guide to identifying and resolving common problems with the OTV-SI.
Instructions on how to contact Olympus and prepare the instrument for repair.
Lists recommended equipment combinations and accessories for the OTV-SI.
Specifies the recommended ambient temperature, humidity, and pressure for operation.
Outlines the recommended conditions for transporting and storing the OTV-SI.
Provides detailed technical specifications of the OTV-SI instrument.
| Category | Medical Equipment |
|---|---|
| Manufacturer | Olympus |
| Model | OTV-SI |
| Power Supply | AC 100-240V, 50/60Hz |
| Light Source | Xenon |
| Video Output | S-Video |