40
EN
Shooting using various functions
4
ISO
Increasing ISO sensitivity increases noise (graininess) but allows photographs to be
taken when lighting is poor. The setting recommended in most situations is [AUTO],
which adjusts ISO sensitivity according to shooting conditions.
1
Press the Q button to display the live control, and select the ISO
sensitivity item using FG.
2
Select an option using HI and press Q.
AUTO The sensitivity is set automatically according to the shooting conditions.
100 – 12800 Sensitivity is set to the selected value.
I Face Priority
The camera detects faces and adjusts focus and ESP metering.
1
Press the Q button to display the live control,
and select the face priority item using FG.
2
Use HI to select an option and press Q.
S-AFS-AF
P
ISO
AUTO
ISOISOISO
AUTOAUTOAUTO
RR
S-AFS-AF
Face Priority On
iiiRiR iLiL
J
Face Priority Off Face priority off.
I
Face Priority On Face priority on.
K
Face & Eye Priority On
The autofocus system selects the pupil of the eye
closest to the camera for face-priority AF.
L
Face & R. Eye Priority On
The autofocus system selects the pupil of the eye
on the right for face-priority AF.
M
Face & L. Eye Priority On
The autofocus system selects the pupil of the eye
on the left for face-priority AF.
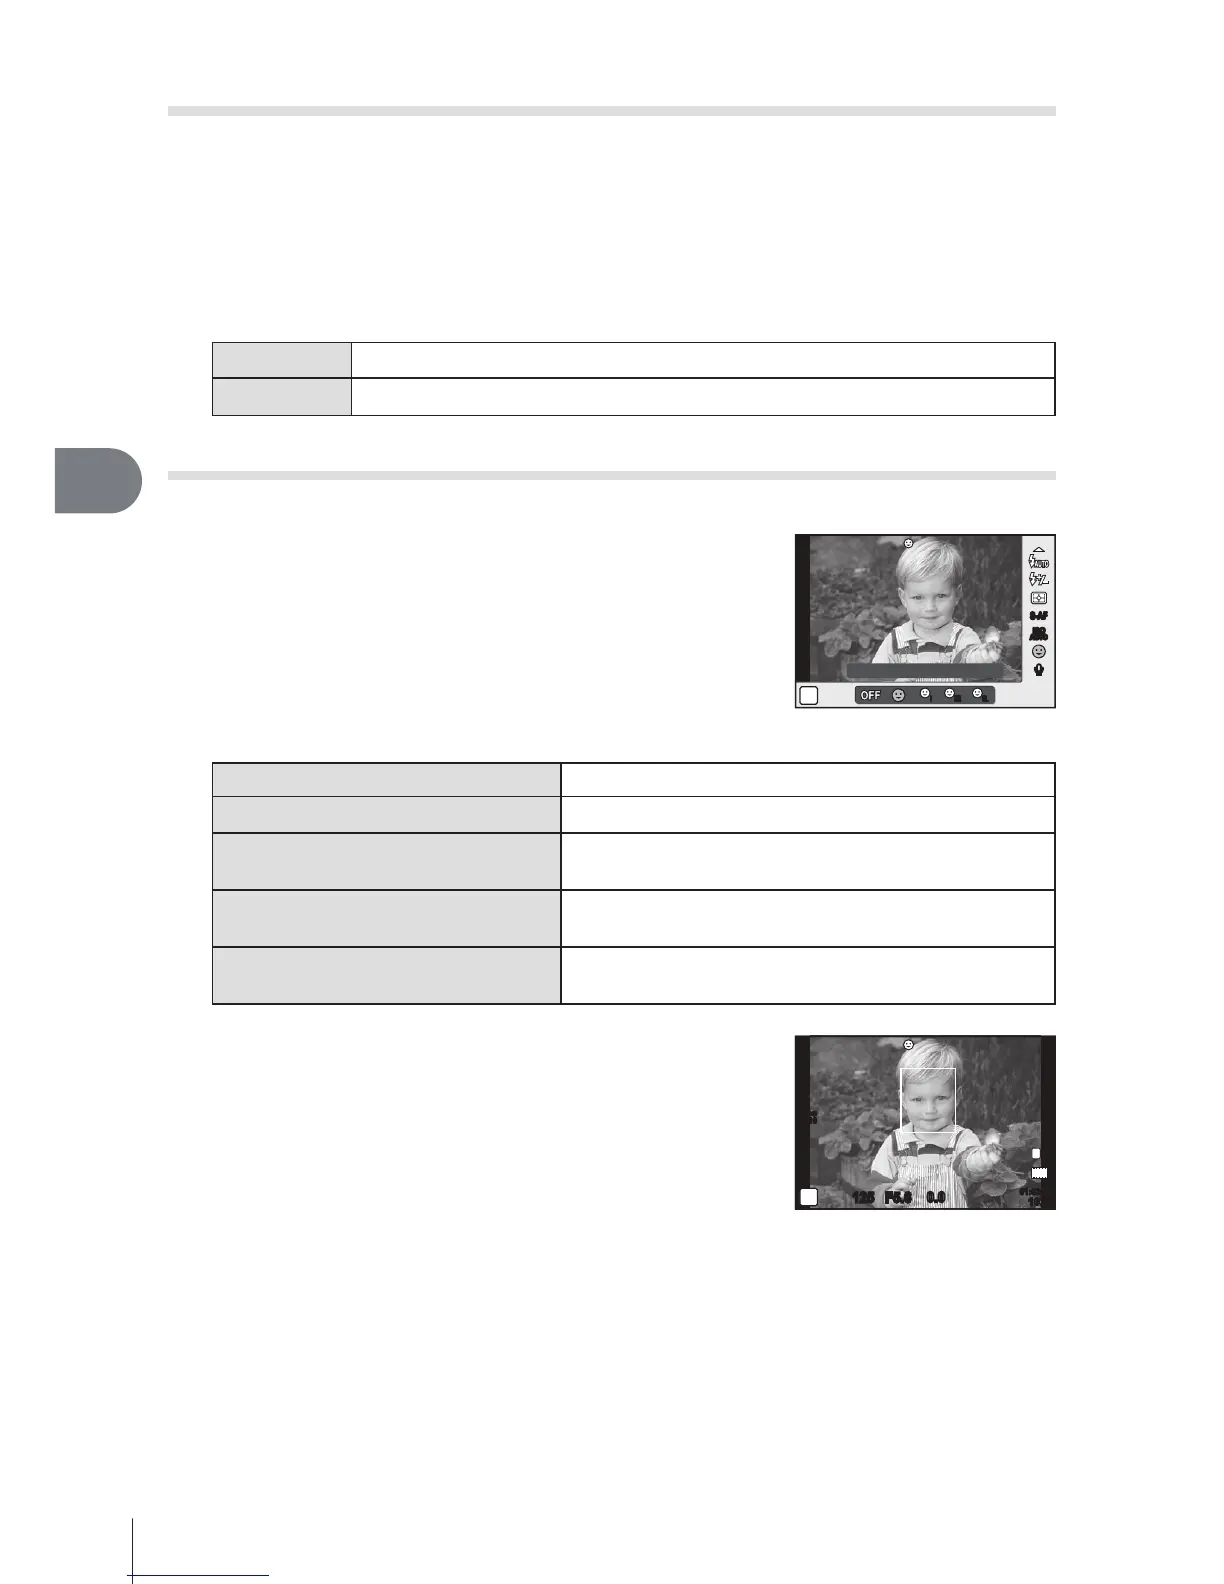
3
Point the camera at your subject.
• If a face is detected, it will be indicated by a white
border.
4
Press the shutter button halfway to focus.
• When the camera focuses on the face in the white
border, the border will turn green.
L
N
01:02:0301:02:03
10231023
125125 F5.6
P
0.00.0
ISO
200
HD
5
Press the shutter button the rest of the way down to shoot.
# Cautions
• Face priority applies only to the first shot in each sequence taken during sequential
shooting.
• Depending on the subject, the camera may not be able to correctly detect the face.
• In metering modes other than [p] (ESP metering), the camera will meter exposure for
the selected position.