6
Installation Instructions
Before installation, please ensure the area is clean, to avoid suction of the remaining bits of broken wood
and dust.
The canopy hood cannot share the same air ventilation ducting as other appliances, such as gas and
electric heaters.
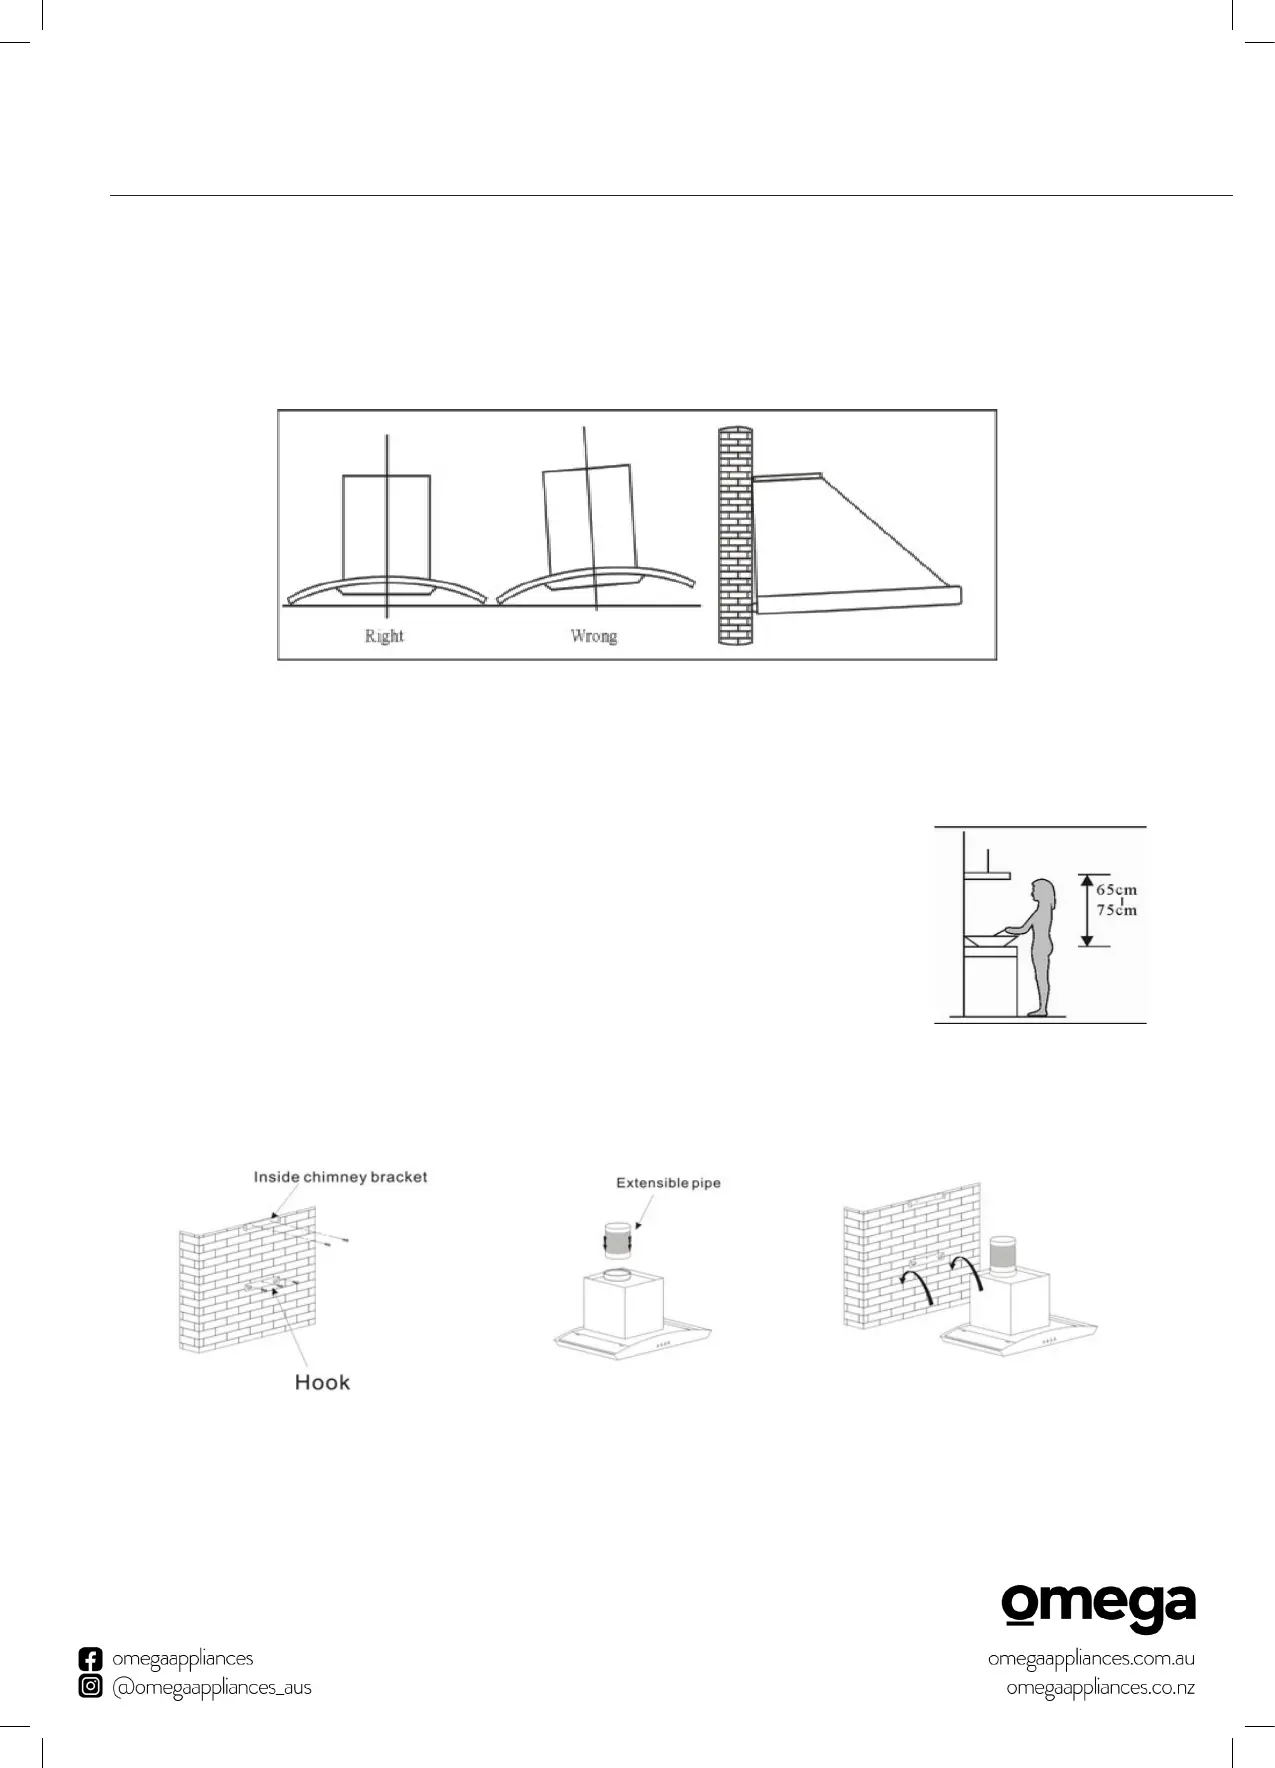
The bending of the ventilation ducting should be ≥ 120°, parallel or above the exit vent, and should be
connected through the external wall.
After installation, make sure that the extractor is level to avoid grease collection at one end.
Fig. 01
NOTE: Remove all protective plastic coatings from the stainless-steel surfaces before use.
1. The rangehood should be placed at a distance of 65-75cm (26-30inch) from the cooking surface
for the best effect (Fig. 02).
2. Install the hook on a suitable place once the installation height is
fixed, and keep it in line. The fixed position of the inside chimney
bracket is the place of chimney (Fig. 03).
3. Fix the extensible pipe according to the lead direction and way, and
then put the cooker hood on the hook (Fig. 04 and Fig. 05).
4. Lead the extensible pipe outside of the room, meanwhile adjust the
height of the inside chimney to the position of the inside chimney
bracket and fix on it by screw, here should be sure the inside chimney
can be flexed freely (Fig. 06).
5. Put the two chimneys together onto the cooker hood body, meanwhile
adjust the height of the inside chimney into the suitable height, and fix the inside chimney to the
inside chimney bracket by screw. Finally, fix the body with safety screw (Fig. 07).
7
Installation Instructions
Note: Fix the Canopy with safety screws. See Pic 5. The two safety screw holes are positioned on the back
casing, with a diameter of 6mm.
Warning: Failure to install the screws or fixing device in accordance with these instructions may result in
electrical hazards.
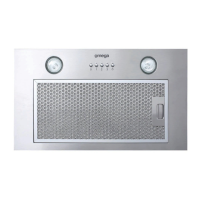
Operating Instructions
The re-usable aluminium grease filters supplied with this rangehood should be cleaned every month or so
to avoid grease build-up.
To remove the grease filter, release the locking mechanism at the front of the filter, and lower the filter
slightly to unhook it at the back. Whilst the filter is removed, clean off any residual grease from the housing
to avoid fire risk.
When replacing the grease filters, ensure that the locking mechanism is facing down.
If the rangehood is used in re-circulation mode, the activated charcoal filter must be in place. These
charcoal filters are designed to absorb cooking odours and are located in the canopy above the grease
filters. Before fitting or replacing charcoal filters, the grease filters must first be removed.
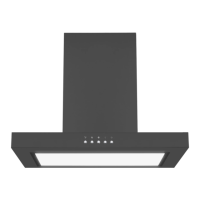
CONTROLS
1. 1. Push the ‘Power’ button to turn the unit on and off.
2. 2. Push the ‘Low’ button to set the extraction fan to low speed.
3. 3. Push the ‘Mid’ button to set the extraction fan to medium speed.
4. 4. Push the ‘High’ button to set the extraction fan to high speed.
5. 5. Push the ‘Light’ button to turn the light on and off.

 Loading...