- 3 -
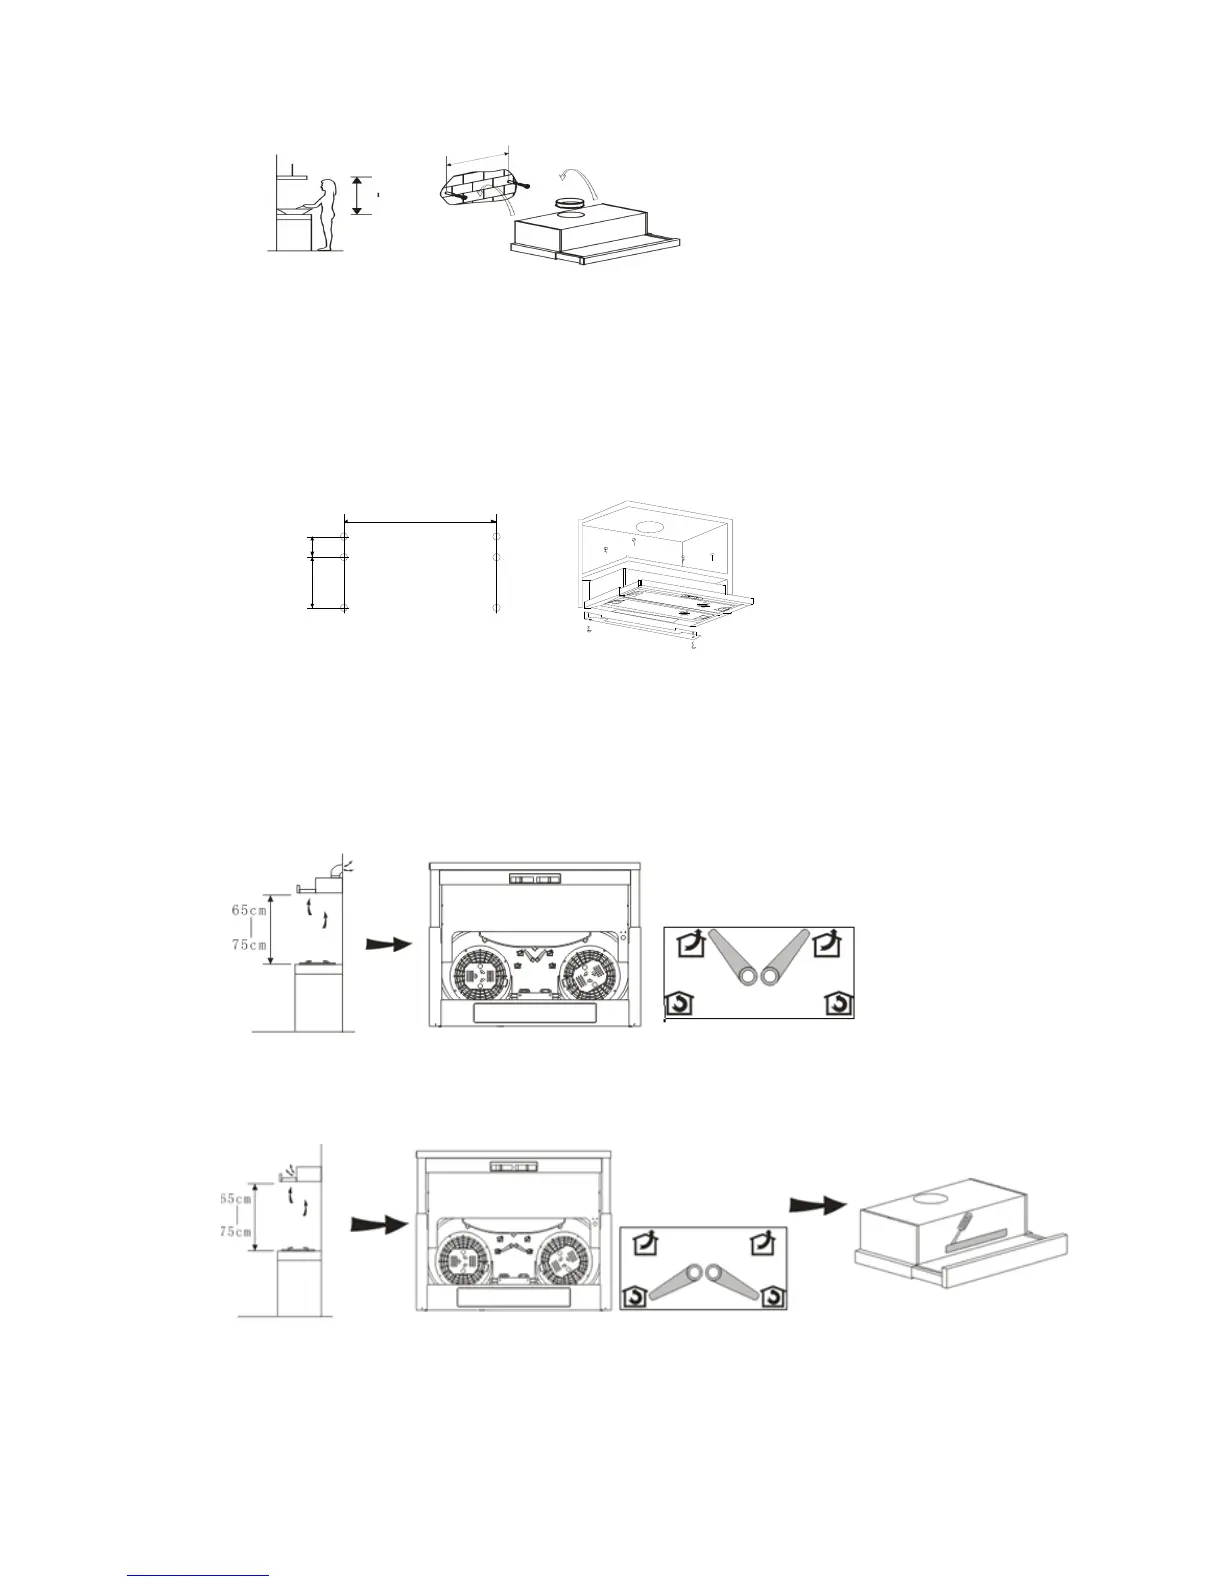
4.6 Put the one way valve onto the cooker hood.
Way two:
4.1 Drill 6 holes of 4mm diameter at the bottom of the hanging cupboard
4.2 Put the one way valve on the cooker hood, then install the cooker hood on the bottom
of the cupboard, tighten the hood with enclosed 6 screws.
4.3 Install the adjusted board on the bottom of the hood in order to keep out the gap
between hood back and cupboard.
60
194
516
5. ATTENTION: should the lamps not work, make sure they are well tightened
6. OPERATION
6.1 Connect the plug into the power.
6.2 Choose the ducting mode or the recirculation mode as you need :
ducting mode
recirculation mode
 Loading...