9
DMAN-xxxx-xx
www.omnexcontrols.com
call toll free: 1-800-663-8806
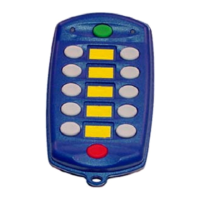
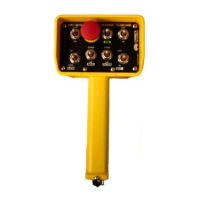
These menus show a representation of the button/switch layout of the configured transmitter. For T150/T300, the buttons
are actually two-position switches. Each button or switch position is labeled by a letter followed by the assigned BJM
and BJM button position (i.e., A-BJM1.01).
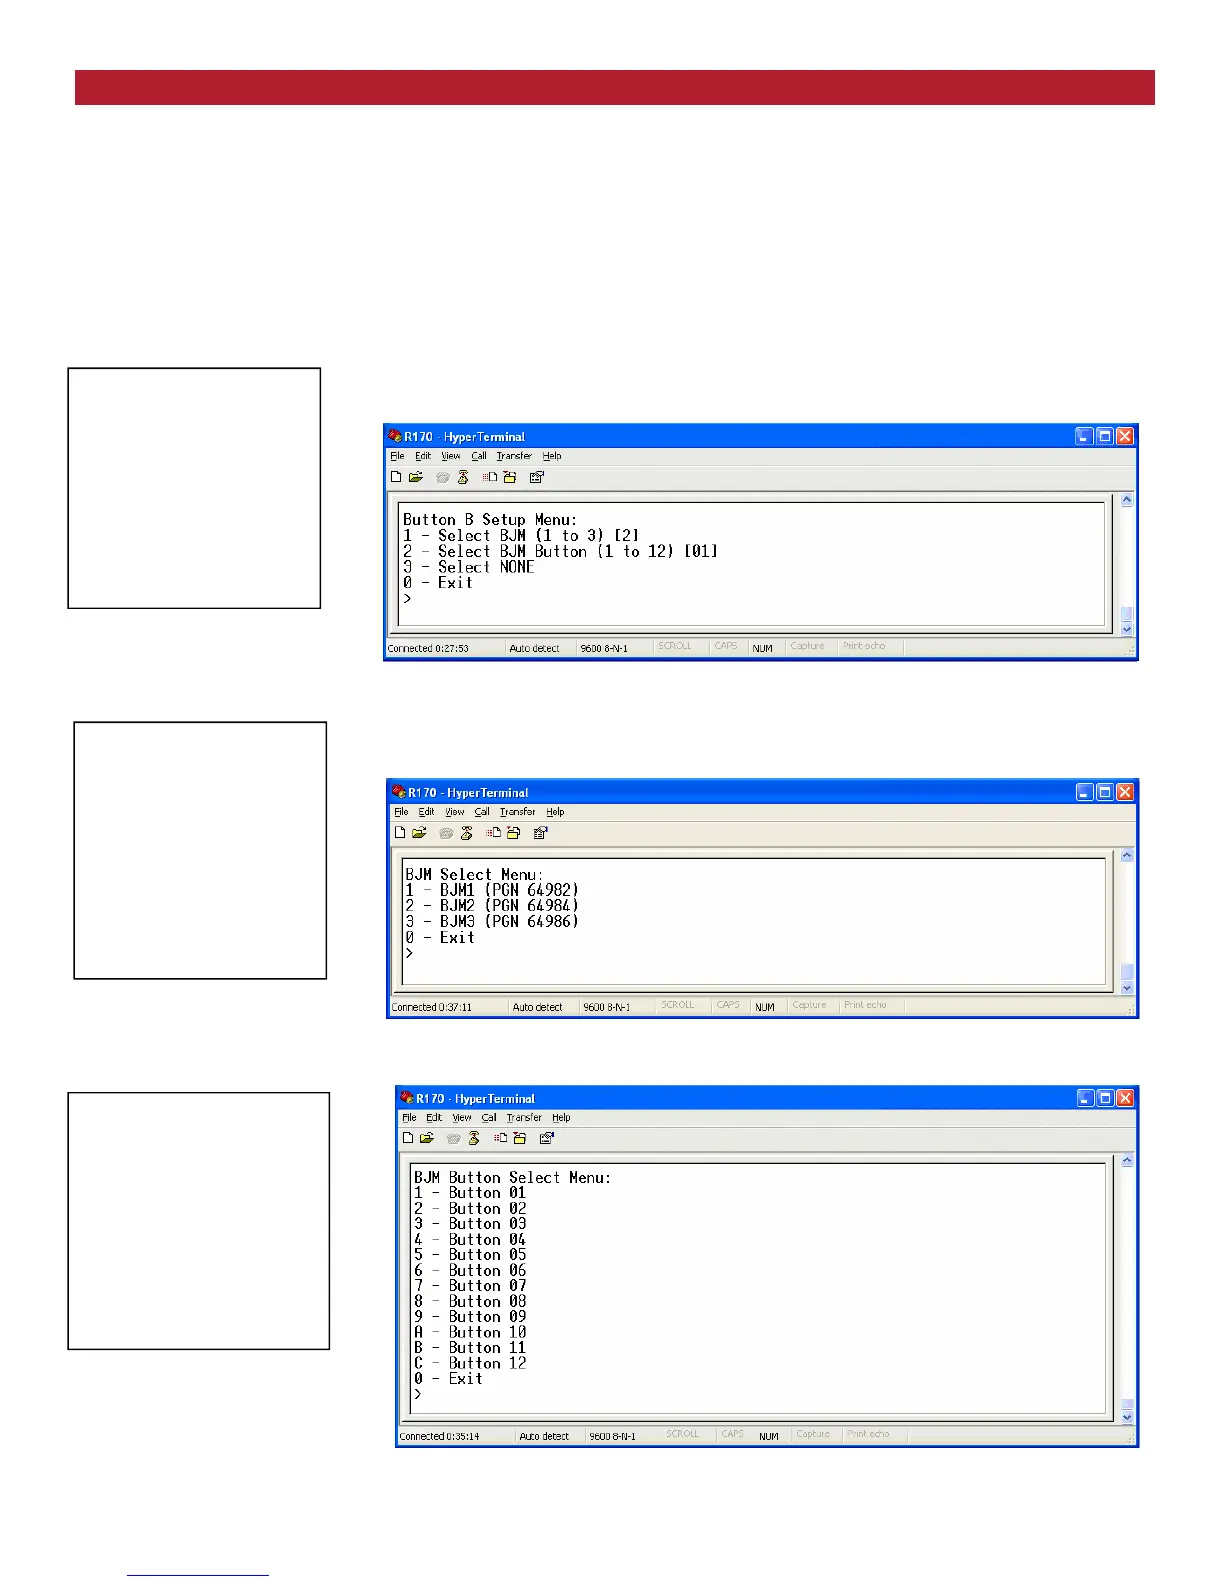
For example, in Figure 5, the ‘B’ switch position is assigned to BJM 2 (PGN 64984) position 1. When this switch is tog-
gled on to position B, BJM2 will indicate it with a value of 0b01 in button status position 1 of BJ message 2. If the switch
is off, the button position 1 field of BJM2 will indicate 0b00. Buttons/switches that are not assigned to one of the BJM
button fields will indicate 0b11.
The buttons/switches may be assigned to different BJ messages or button fields within a message by typing the appro-
priate number/letter (in this example B) as shown in Figure 6
Figure 6 Button B Setup Menu
The Select BJM 1 to 3 (option 1), in Figure 6, allows you to change the assigned BJM as shown in Figure 7.
Figure 7: BJM Select Menu
The Select BJM 1 to 12 (option 2), in Figure 6, allows you to change the assigned BJM button field as shown in Figure 8.
Figure 8: BJM Button Select Menu
J1939 Standard Joystick Message Configuration (continued)
CANbus Setup Menu:
1—Primary Address
2—Arbitrary Address Capable
3—Vehicle System Instance
4—Function Instance
5—ECU Instance
6—PGN Repetition Interval
7—Toggle Prop. Or Joystick Message
8—Configure Joystick Message
3—Configure Switches
Basic Joystick Message
Button Setup Menu
0—Exit
CANbus Setup Menu:
1—Primary Address
2—Arbitrary Address Capable
3—Vehicle System Instance
4—Function Instance
5—ECU Instance
6—PGN Repetition Interval
7—Toggle Prop. Or Joystick Message
8—Configure Joystick Message
3—Configure Switches
Basic Joystick Message
Button Setup Menu
1—Select BJM (1 to 3)
0—Exit
CANbus Setup Menu:
1—Primary Address
2—Arbitrary Address Capable
3—Vehicle System Instance
4—Function Instance
5—ECU Instance
6—PGN Repetition Interval
7—Toggle Prop. Or Joystick Message
8—Configure Joystick Message
3—Configure Switches
Basic Joystick Message
Button Setup Menu
3—Select NONE
0—Exit
The Select NONE (option 3), in Figure 6, allows you to assign the switch/button to none.
 Loading...