8 Transparent object sensor
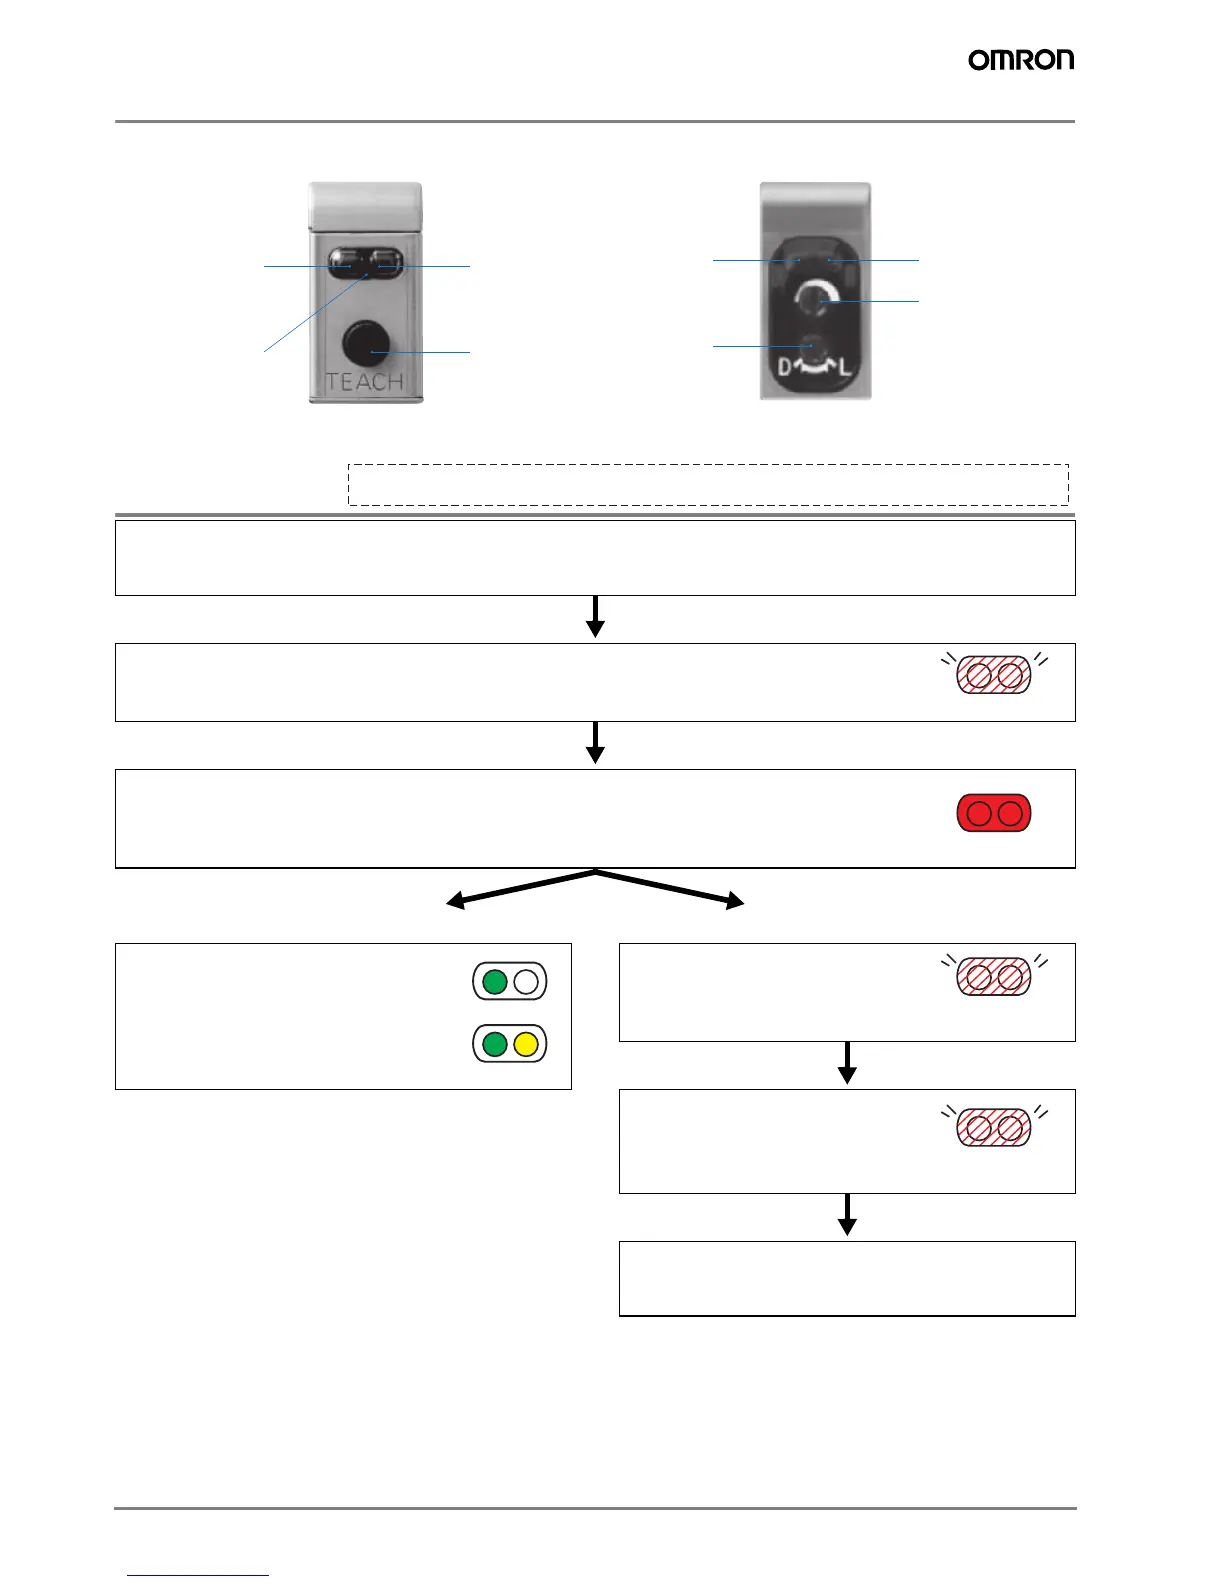
Nomenclature
Teaching Method
(for models with teach-button)
Note: Depending on the amount of light received, the operation indicator and
stability indicator may also change during the teaching operation.
1. Install the Sensor and Reflector and adjust the optical axis (without placing a PET bottle between them).
Then press and hold the teaching button for at least 2 seconds.
The teaching indicator (red) will start flashing quickly.
Perform the following operation within 7 seconds after first starting to press the teaching button.
(After 7 seconds, the Unit will return to its initial condition.)
2. Press the teaching button again.
Teaching will then begin.
The teaching indicator will remain lit during the teaching operation.
When Teaching Is Successful When Teaching Is Not Successful
The teaching indicator (red)
will go out. The Unit will then
enter normal operating condi-
tion.
The teaching indicator (red) will flash
slowly or quickly.
The teaching indicator (red) will then
begin flashing even more slowly, indi-
cating that the teaching operation
should begin.
Repeat the operation starting with step 1.
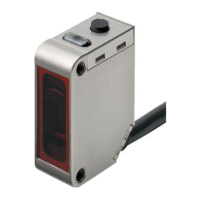
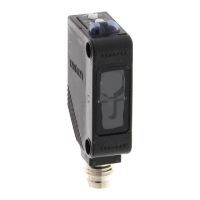
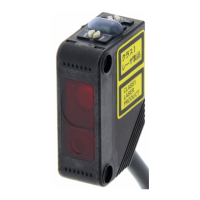
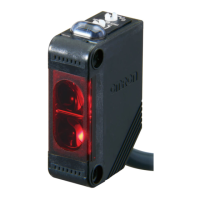
Models with teach button Models with potentiometer adjuster
Stability indicator
(Green)
Te aching indicator
(red)
Operation indicator
(Yellow)
Te aching button
Stability indicator
(Green)
Mode selector
switch
Operation indicator
(Yellow)
Sensitivity adjuster
Note: When the Sensor is first unpacked and used, the teaching indicator (red) will flash slowly to show that teaching has
not yet been done. This does not indicate a malfunction. Use the following procedure to conduct teaching.
Flashes quickly
R
m
in
lit
Dark-ON setting
Light-ON setting
Flashes slowly
or quickly
Flashes even
more slowly
 Loading...