12
HOW TO TAKE A MEASUREMENT
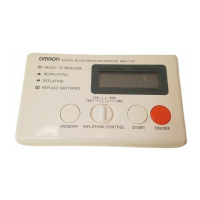
1. Press the ON/OFF button.
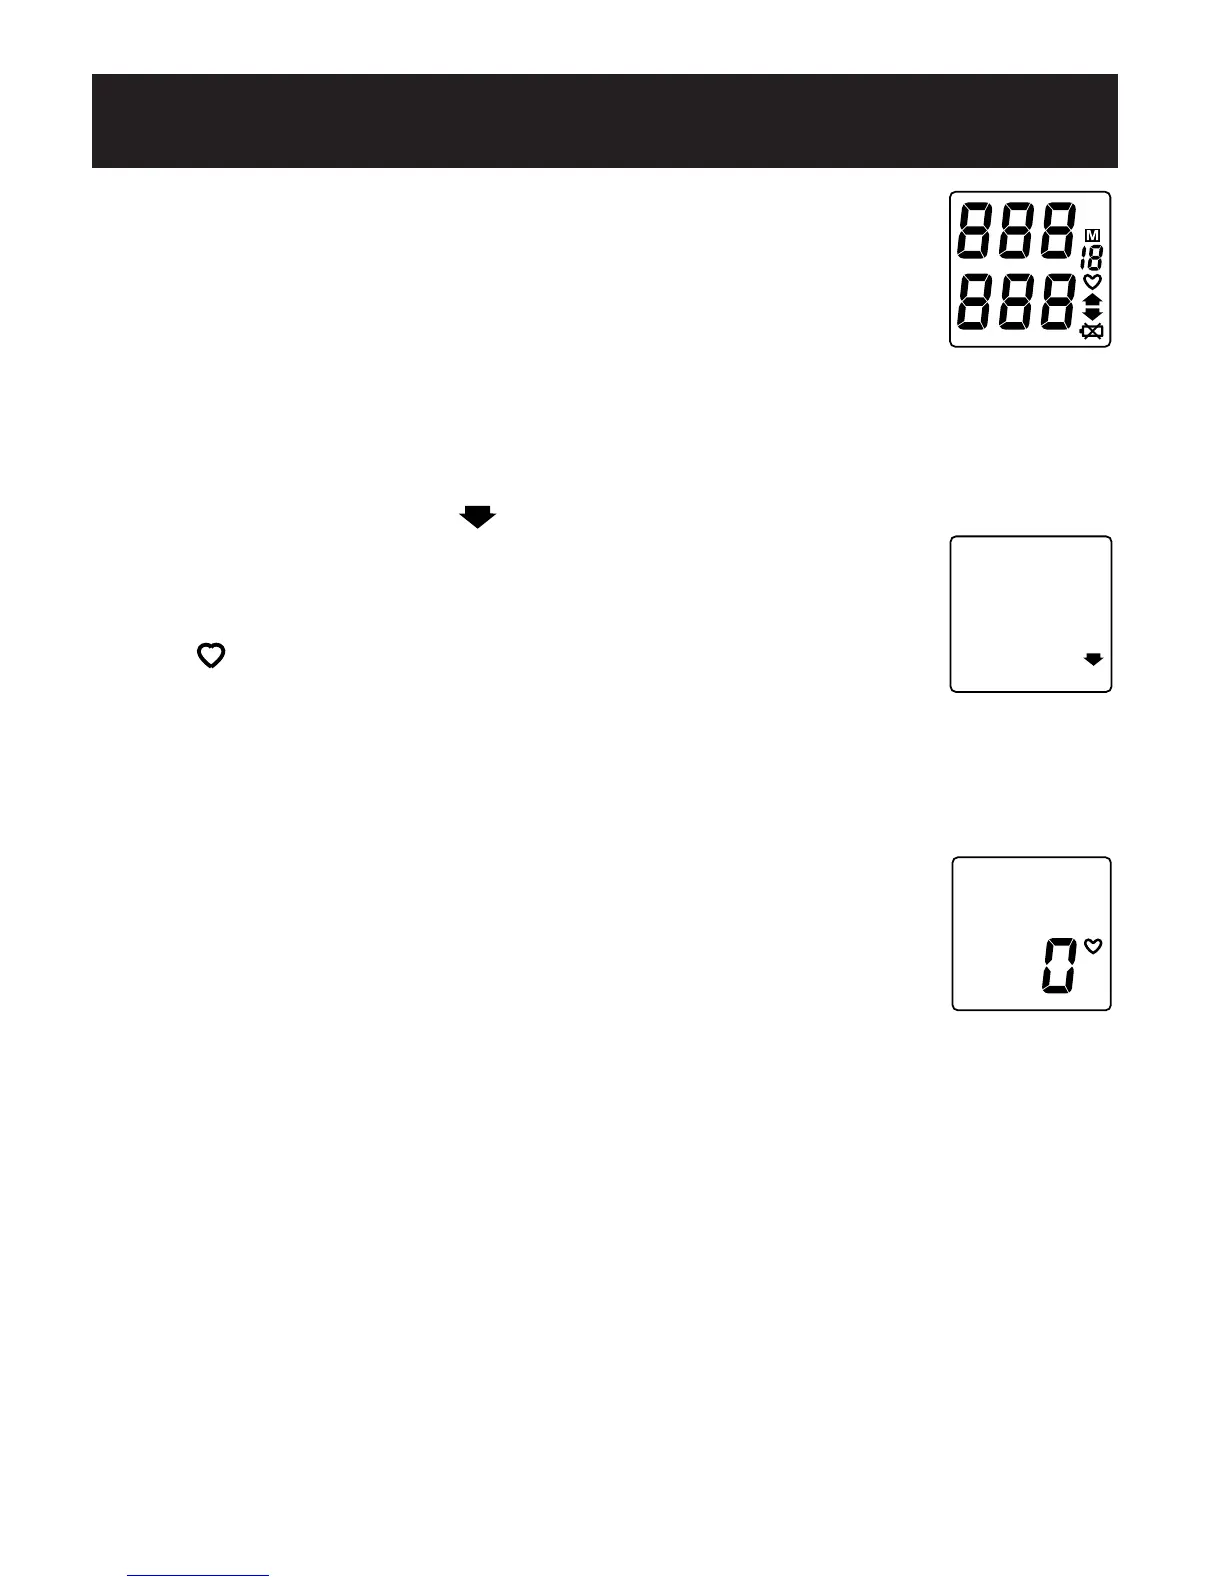
a) All display symbols appear for approximately
one second. This is the initial LCD test.
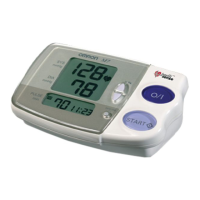
b) The display symbols disappear and the Deflation
Indication symbol ( ) starts to flash.
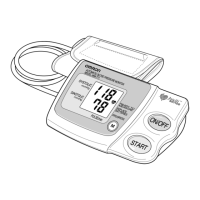
c) When the monitor completes the necessary
preparations before measurement, the Heart Symbol
( ) appears in the screen.
2. By pressing the START button the unit automatically
inflates the cuff to 170 mmHg.
a) If during your measurement the monitor determines
that a higher pressure value is required, it will
automatically increase the pressure value by 40 mmHg.
b) To inflate higher than 210 mmHg, press and hold
the START button until the desired pressure value
is reached (approximately 40 mmHg higher than
your estimated systolic blood pressure).
Do not inflate higher than 280 mmHg.
NOTE: If you want to stop the measurement, push the
ON/OFF button. The monitor will stop inflating
and start deflating rapidly, then the monitor will power off.
Be sure to read “How to Apply the Arm Cuff” before
taking a measurement.
Initial
LCD Test
Deflation
Indication
Ready
to Measure
HEM-741CREL 6/8/04 9:46 AM Page 12