7.IO-Link Connection Procedure
33
3
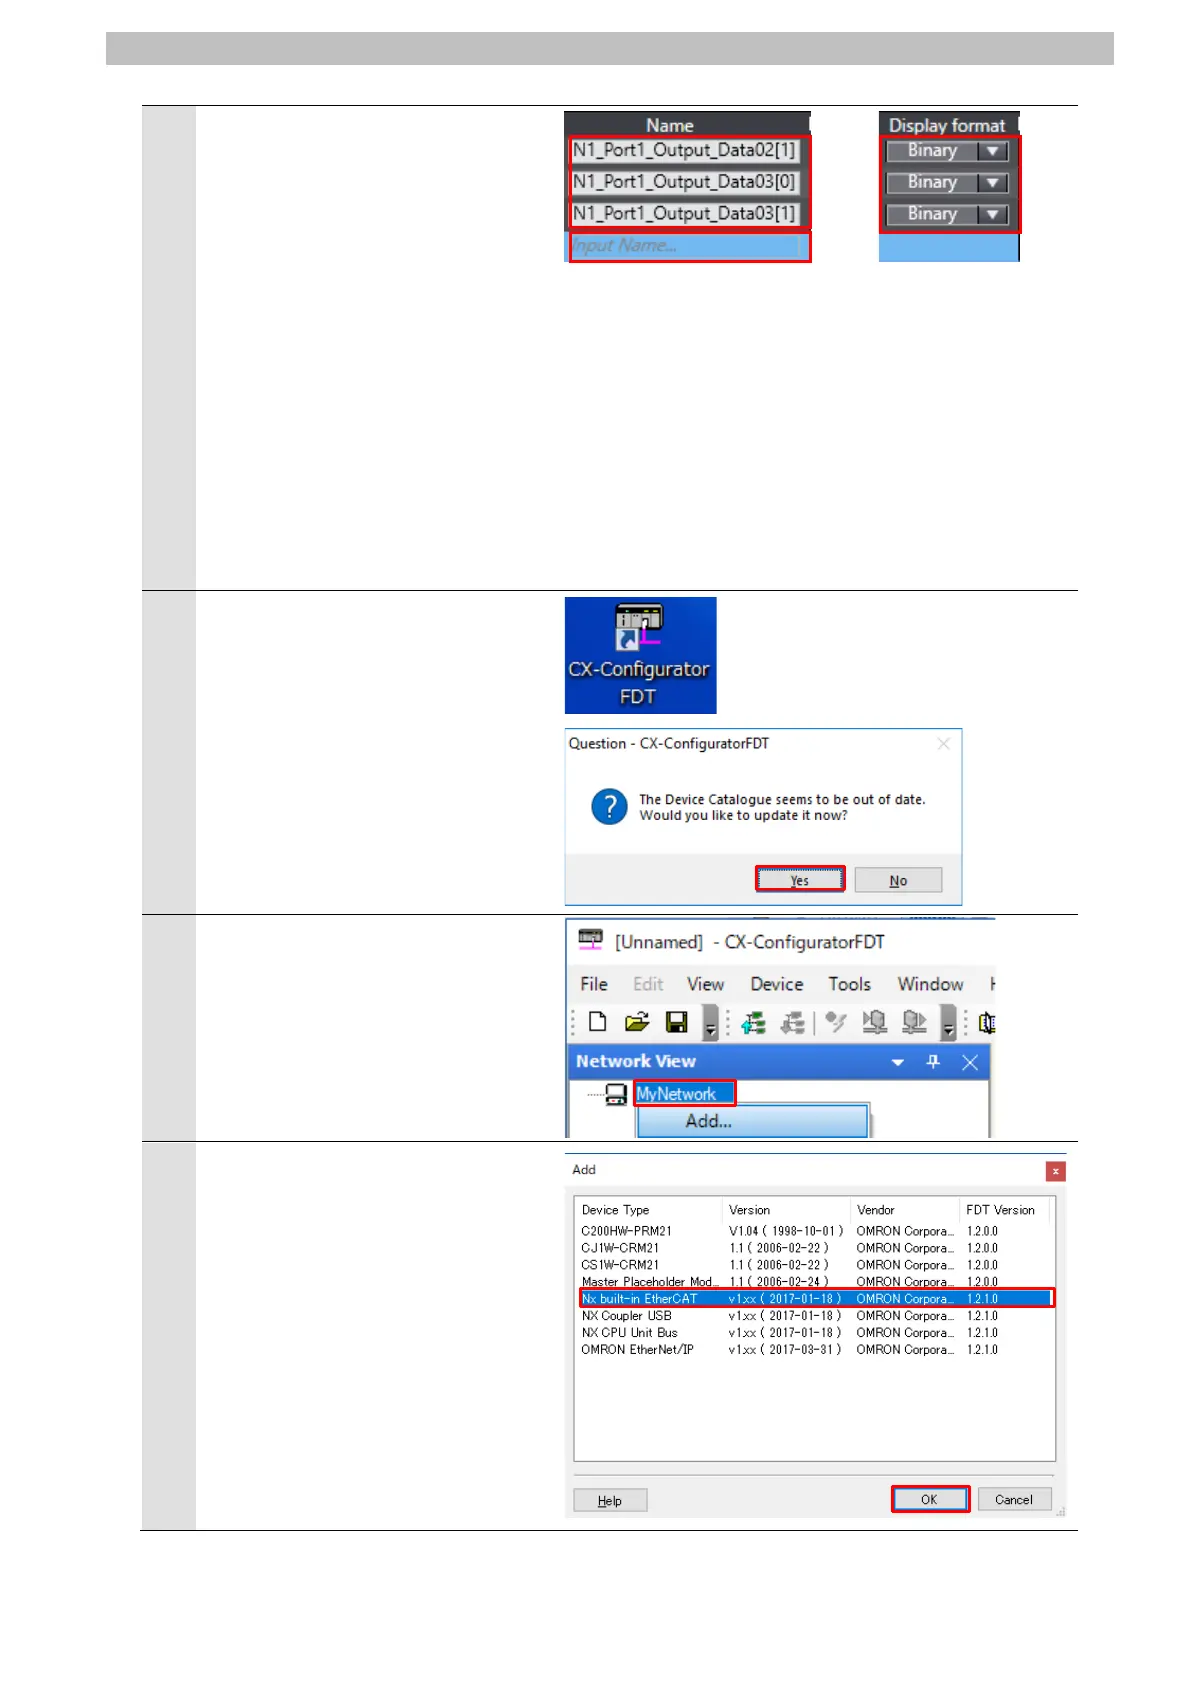
Click Input Name and enter the
following variable names for
monitoring.
Select the following display formats
for the variables.
Name:
N1_Port1_Output_Data02[1]
Display format: Binary
Name:
N1_Port1_Output_Data03[0]
Display format: Binary
Name:
N1_Port1_Output_Data03[1]
Display format: Binary
Start CX-ConfiguratorFDT.
*When you start
CX-ConfiguratorFDT, the dialog
box on the right is displayed asking
you whether you wish to update
the device catalog. Click Yes.
CX-ConfiguratorFDT starts up.
Right-click MyNetwork in the
Network View and select Add from
the menu.
The Add Dialog Box is displayed.
Select Nx built-in EtherCAT.
Click OK.
 Loading...