215
Temperature Input Units Section 6-4
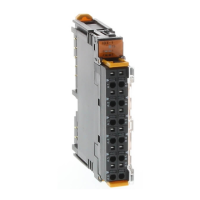
■ Input Terminal Connections
Checking the Wiring and Making Adjustments
■ Adjusting the GRT1-TS2T’s Upper and Lower Limit Values
1,2,3... 1. Wire the Unit as shown above for upper/lower limit compensation. To con-
nect a high-precision digital multimeter (DMM), use 2-wire ferrules.
2. Check the sensor and input type being used.
Note When using an R, S, B, E, or W sensor, use a K thermocouple’s com-
pensating conductors. In addition, when using an R, S, or B type sen-
sor, set the input type as K (0.0 to 500.0°C). When using an E or W
type sensor, set the input type as K (–200 to 1,300°C).
3. Connect the Configurator to the DeviceNet network and go online.
4. Upload settings to the Configurator.
5. Turn ON the power supplies of all Units, including the Temperature Input
Terminal to be adjusted. Wait approximately 30 minutes for the Tempera-
ture Input Terminal’s internal temperature to stabilize.
6. Double-click the icon of the Temperature Input Terminal to be set in the
Main Window and open the Edit Device Parameters Window. (From the
Maintenance Mode Window, click the right mouse button over the Slave
icon and select Parameters and Edit.)
NC
NC
NC
0-
0+
NC
NC
NC
1-
1+
STV
DMM
0˚C/32˚F
NC
NC
NC
0-
0+
NC
NC
NC
1-
1+
NC
NC
NC
0−
0+
NC
NC
NC
1−
1+
STV
DMM
0˚C/32˚F
NC
NC
NC
0−
0+
NC
NC
NC
1−
1+
Two-wire
ferrules
Upper/Lower Limit Compensation Wiring
Short
Output Input
Bias Compensation Wiring
Compensating
conductors
ZERO-CON
 Loading...