356
Replacement Precautions Section 11-6
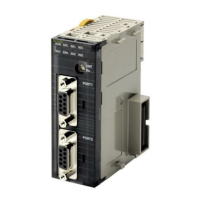
• 2-wire or 4-wire switch (RS-422A/485 ports)
4. Turn ON the power of the PLC to which the replacement Serial Communi-
cations Board or Unit is mounted, and to all serially connected external de-
vices, and start operating the system.
5. Check from the indicators and status display that the system is operating
normally.
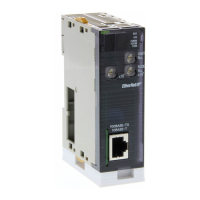
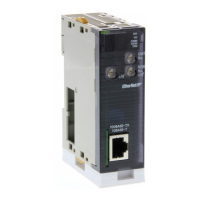
Protocol Macros Designed with CX-Protocol
Using CX-Protocol
1,2,3... 1. Connect Programming Console or CX-Protocol to the PLC to which the re-
placement Serial Communications Board or Unit is mounted, and switch to
PROGRAM mode.
2. Save the protocol macro data using the CX-Protocol. Refer to the CX-Pro-
tocol Operation Manual (W344) for details.
3. Turn OFF the power to the PLC to which the Serial Communications Board
or Unit to be replaced is mounted, and to all serially connected external de-
vices.
4. Disconnect the communications cables connected to the Serial Communi-
cations Board or Unit to be replaced, and also remove the Board or Unit.
5. Set the hardware switches of the replacement Board or Unit to the same
settings of the Board or Unit being replaced before mounting, as follows:
• Unit number setting switch (Serial Communications Units)
• Terminating resistance switch (RS-422A/485 ports)
• 2-wire or 4-wire switch (RS-422A/485 ports)
6. Turn ON the power of the PLC to which the replacement Serial Communi-
cations Board or Unit is mounted, and to all serially connected external de-
vices, and start operating the system.
7. Switch the CPU Unit to PROGRAM mode, and using the CX-Protocol,
transfer the protocol macro data to the Board or Unit. Refer to the CX-Pro-
tocol Operation Manual (W344) for details.
8. Switch the CPU Unit to MONITOR mode, and start operating the system.
9. Check from the indicators and status display that the system is operating
normally.
Using the Simple Backup Function
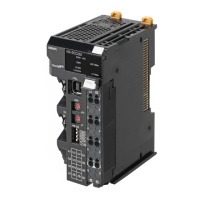
This function can be used with a CS1-H or CJ1-H CPU Unit only.
1,2,3... 1. Check the settings of pins 7 and 8 on the DIP switch on the front of the CPU
Unit. Turn ON pin 7 and turn OFF pin 8 to backup the protocol data from
the Serial Communication Board/Unit to the Memory Card.
2. Insert the Memory Card into the CPU Unit.
3. Press and hold the Memory Card power supply switch for 3 seconds.
When the switch is pressed, the MCPWR Indicator on the front of the CPU
Unit will flash once and then remain lit while the data is being written. The
Indicator will go OFF after the data has been written properly.
4. If necessary, compare the data in the Memory Card with the protocol data
in the Serial Communication Board/Unit.
To compare the protocol data, turn OFF pins 7 and 8 on the DIP switch on
the front of the CPU Unit and press the Memory Card power supply switch
for 3 seconds. When the Memory Card power supply switch is pressed, the
MCPWR Indicator on the front of the CPU Unit will flash once and then re-
 Loading...