Nozzle
Spray
Pattern
A
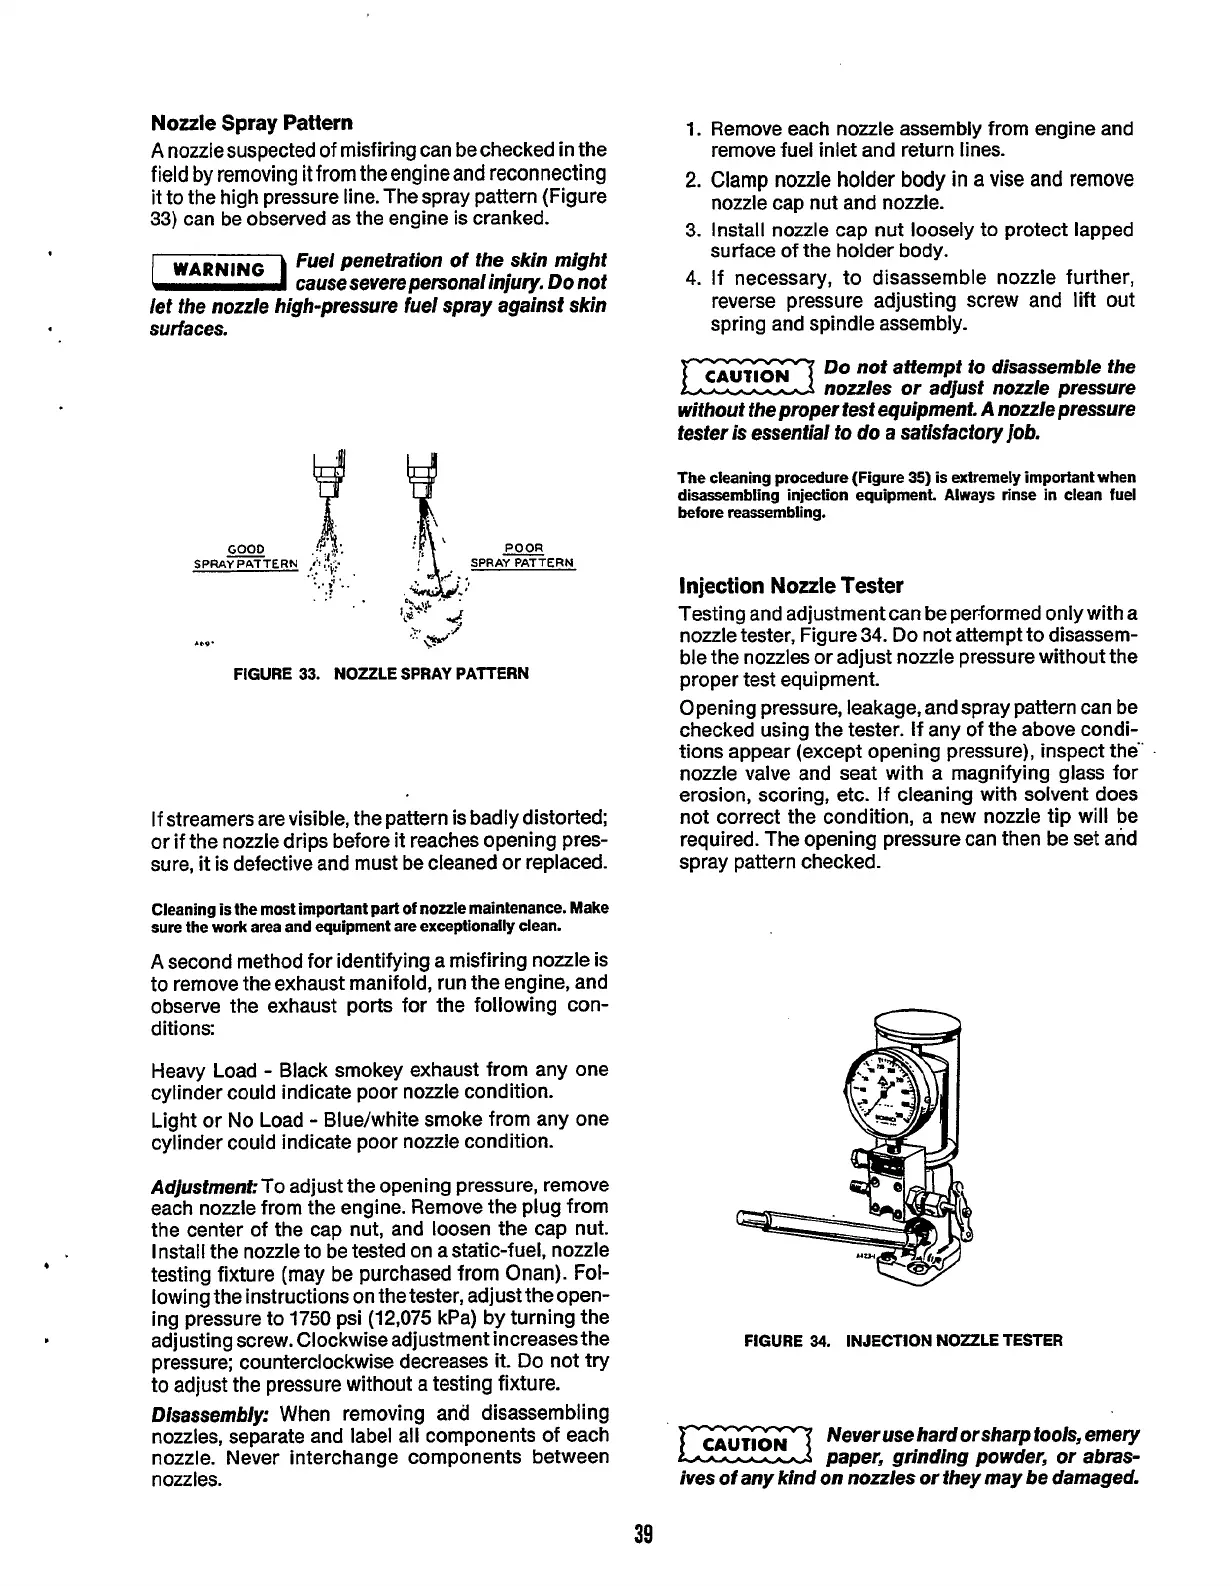
nozzlesuspected of misfiring can bechecked in the
field by removing it
from
theengineand reconnecting
it to the high pressure line. Thespray pattern (Figure
33)
can be observed as the engine
is
cranked.
Fuel penetration
of
the skin might
-1
causesevere pe~onalinju~.
Do
not
let the nozzle high-pressure fuel spray against
skin
surfaces.
2
-.#
..a*.
\-
FIGURE
33.
NOZZLE SPRAY PATTERN
If streamers are visible, the pattern is badly distorted;
or if the nozzle drips before it reaches opening pres-
sure,
it
is defective and must be cleaned or replaced.
Cleaning
is
the most important part
of
nozzle maintenance. Make
sure the work area and equipment
are
exceptionally clean.
A
second method for identifying a misfiring nozzle is
to remove the exhaust manifold, run the engine, and
observe the exhaust ports for the following con-
ditions:
Heavy Load
-
Black smokey exhaust from any one
cylinder could indicate poor nozzle condition.
Light or No Load
-
Blue/white smoke from any one
cylinder could indicate poor nozzle condition.
Adjustment:
To adjust the opening pressure, remove
each nozzle from the engine. Remove the plug from
the center of the cap nut, and loosen the cap nut.
Install the nozzle to be tested on astatic-fuel, nozzle
testing fixture (may be purchased from Onan).
Fol-
lowing the instructions on the tester, adjust theopen-
ing pressure to
1750
psi (12,075 kPa) by turning the
pressure; counterclockwise decreases
it.
Do
not try
to
adjust
the pressure without a testing fixture.
*
.
adjusting screw. Clockwise adjustment increases the
1.
Remove each nozzle assembly from engine and
remove fuel inlet and return lines.
2.
Clamp
nozzle
holder
body
in
a
vise
and
remove
nozzle cap nut and nozzle.
3.
Install nozzle cap nut loosely to protect lapped
surface
of
the
holder body.
4.
If necessary, to disassemble nozzle further,
reverse pressure adjusting screw and lift out
spring and spindle assembly.
Do
not
attempt
io
disassemble the
nozzles
or
adjust nozzle pressure
without the proper test equipment.
A
nozzle pressure
tester
is
essential to do a satisfactory
job.
The cleaning procedure (Figure
35)
is
extremely important when
disassembling injection equipment Always rinse in clean fuel
before
reassembling.
Injection
Nozzle
Tester
Testing and adjustment can be performed only with a
nozzle tester, Figure
34.
Do
not attempt to disassem-
ble the nozzles or adjust nozzle pressure without the
proper test equipment.
Opening pressure, leakage, and spray pattern can be
checked using the tester.
If
any of the above condi-
tions appear (except opening pressure), inspect the"
nozzle valve and seat with a magnifying glass for
erosion, scoring, etc. If cleaning with solvent does
not correct the condition, a new nozzle tip will be
required. The opening pressure can then be set and
spray pattern checked.
FIGURE
34.
INJECTION NOZZLE TESTER
Disassembly:
When removing and disassembling
nozzles, separate and label all components of each
nozzle. Never interchange components between
nozzles.
Neverusehard orsharp tools, emery
paper, grinding powder,
or
abras-
ives
of
any kind
on
nozzles or they may be damaged.
39
Redistribution or publication of this document,
by any means, is strictly prohibited.