Commutator Inspection:
If
commutator is dirty or
discolored, clean with number
00
to
000
commutator
paper. Blow grit out of armature after cleaning.
commutator is scored, rough, or worn, turn it down in a
lathe.
Inertia type starter inspection
Housing Inspection:
Permanent magnets are glued to
inside of the housing. Magnets must be secure and free
of cracks.
Brush Inspection:
If
brushes are worn shorter than
1/4
inch
(6.35
mm), replace them. Check to see that
brushes move smoothly in the brush holders. See
Figure
8.
0.25
inch
FIGURE
8.
BRUSH
WEAR
LIMIT
Pinion Gear:
If
pinion gear is badly worn, has broken
teeth, or pinion splined sleeve is damaged replace
pinion gear and dust cover assembly.
If
pinion gear is in
good condition, wipe armature shaft spline and pinion
clean.
Solenoid
shift
type starter inspection
Field Coil:
Use an ohmmeter to check for continuity
between brushes.
If
there is no continuity, the field coil is
open and must be replaced. With field coil mounted in
the frame, check for continuity between the field coil and
frame. Replace frame assembly
if
there is continuity.
Brushes: Clean around brushes and holders, wiping
off
all brush dust and dirt. If brushes are worn shorter than
11.5
mm
(.4528
inch) replace them (Figure
9).
+
/-
(.4528
inch)
11.5mm
WEAR
LIMIT
Check for shorts between positive side of brush holder
and brush holder base.
If
there
is
continuity, replace
holder assembly. Check for free movement of brushes.
All
brushes should move freely in the brush holders.
Overrunning Clutch:
Inspect pinion and spline teeth for
wear
or
damage.
If
pinion gear is worn or damaged, inspect flywheel ring
gear also. Rotate pinion.
It
should turn free when turned
in one direction, and lock when turned in the opposite
direction.
Do
not clean overrunning clutch in in
solvent
or
liquid cleaning solution.
Washing the clutch will cause the grease
to
leak out.
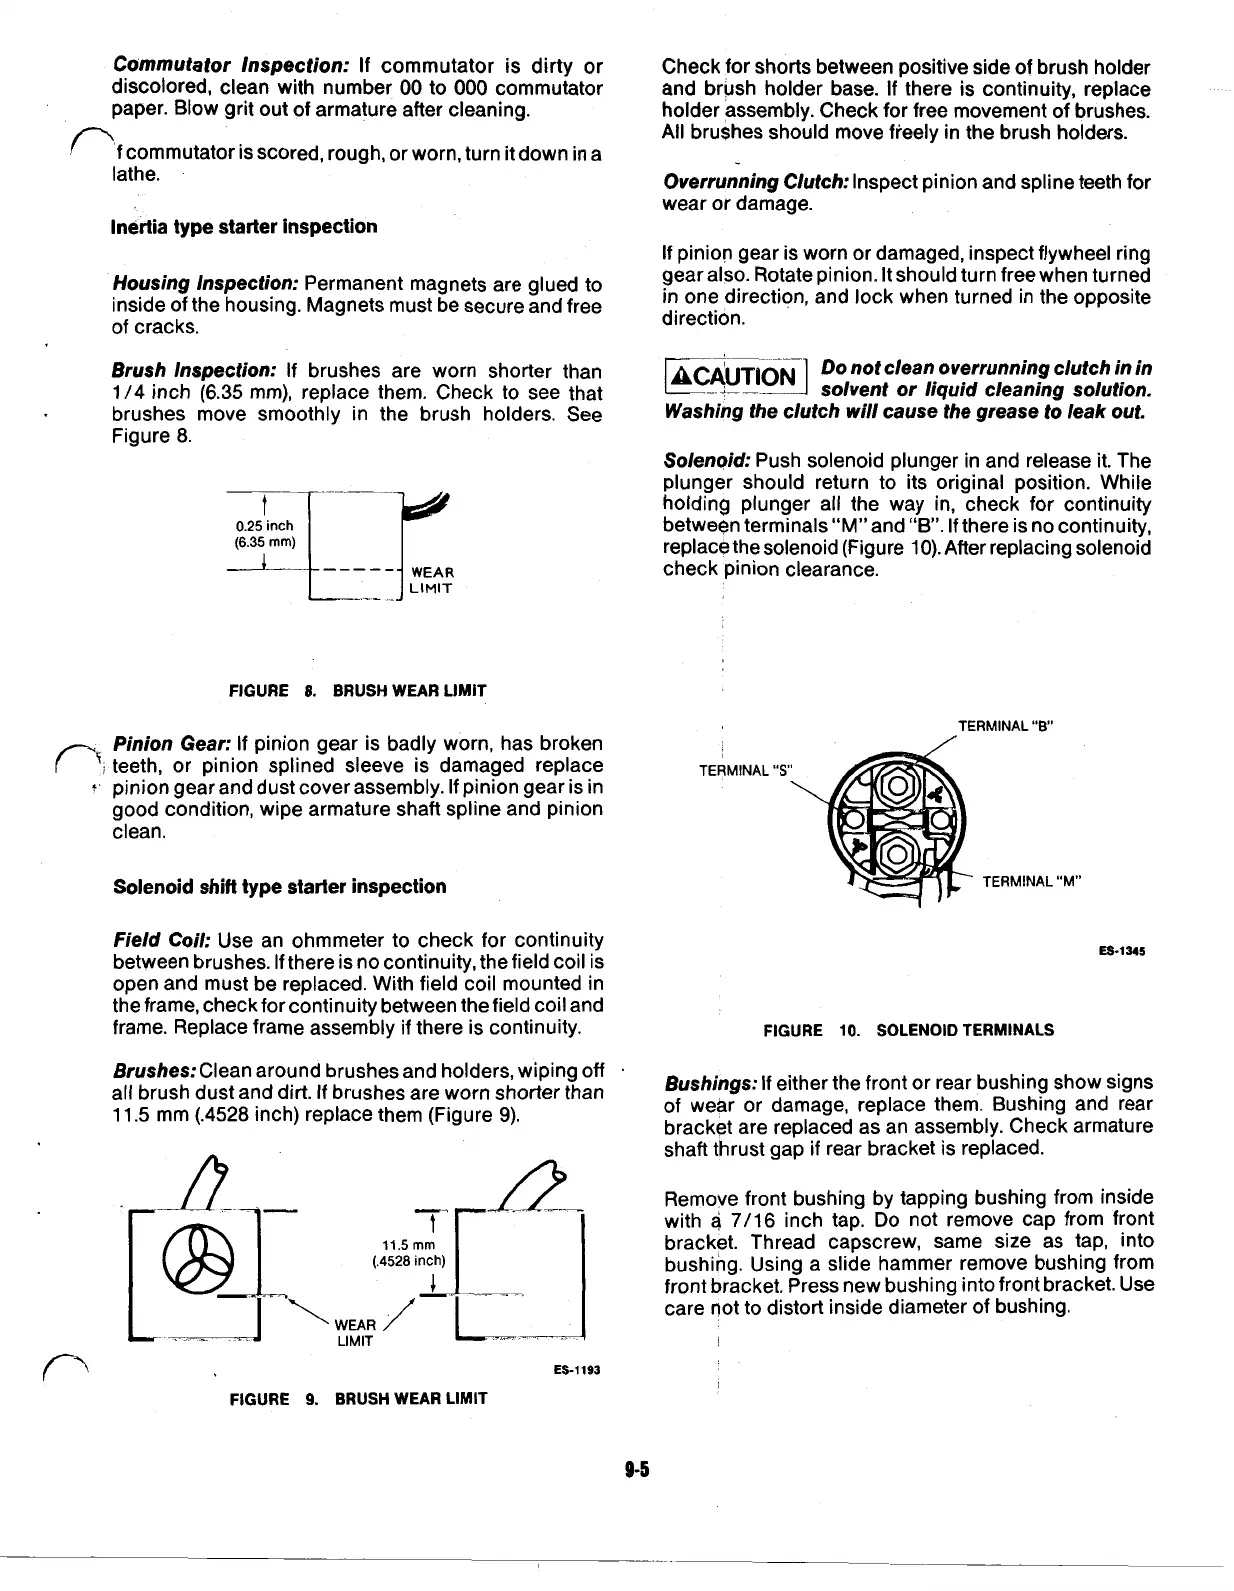
Solenoid:
Push solenoid plunger in and release
it.
The
plunger should return to its original position. While
holding plunger all the way in, check for continuity
between terminals “M” and “B”. If there is no continuity,
replace the solenoid (Figure
10).
After replacing solenoid
check pinion clearance.
TERMINAL
“B”
ES-1345
FIGURE
10.
SOLENOID TERMINALS
Bushings:
If
either the front or rear bushing show signs
of wear or damage, replace them. Bushing and rear
bracket are replaced as an assembly. Check armature
shaft thrust gap
if
rear bracket is replaced.
Remove front bushing by tapping bushing from inside
with
a
7/16
inch tap.
Do
not remove cap from front
bracket. Thread capscrew, same size as tap, into
bushing. Using a slide hammer remove bushing from
front bracket, Press new bushing into front bracket. Use
care not to distort inside diameter of bushing.
ES-1193
FIGURE
9.
BRUSH WEAR LIMIT
9-5
 Loading...

