Do you have a question about the OneTouch ULTRA2 - REV 01-2007 and is the answer not in the manual?
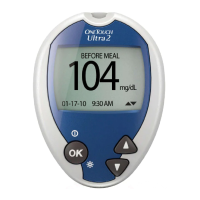
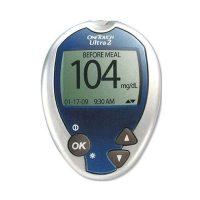
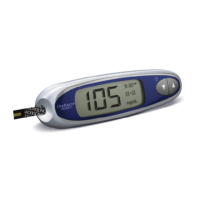
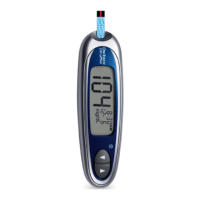
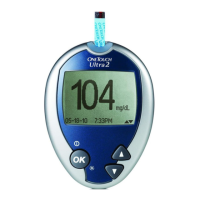
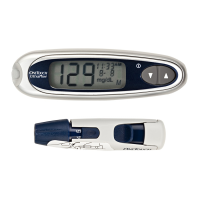
Overview of the meter and test strips, their components, and functions.
Instructions on how to power the blood glucose meter on and off.
Guide to using the meter's display backlight for better visibility.
Steps to configure meter settings like language, date, and time.
Guide to changing meter settings like language, date, and time format.
Instructions for enabling or disabling the feature to add notes to results.
Instructions on inserting a test strip into the meter to begin a test.
Guidance on ensuring the meter and test strip vial codes match for accurate results.
Steps to prepare the lancing device for collecting a blood sample.
Instructions on how to obtain a sufficient drop of blood from the fingertip.
Guidance on selecting appropriate sites for blood sampling, including fingertip, forearm, and palm.
Step-by-step instructions for lancing the finger and obtaining a blood sample.
Instructions for obtaining blood samples from forearm or palm sites.
How to apply the blood sample to the test strip for measurement.
Guidance on interpreting and responding to unexpected blood glucose test results.
Steps to take after reading a blood glucose test result, including attaching notes and turning off the meter.
Safe procedures for disposing of used lancets and test strips.
How to flag results as 'before meal' or 'after meal' for better analysis.
How to add text comments to results for context or specific conditions.
Details on the specific purpose and limitations of the glucose monitoring system.
Explanation of the scientific principle behind how the meter measures glucose.
List of all items included in the OneTouch® Ultra® 2 System kit.
Reasons and frequency for performing control solution tests to ensure meter accuracy.
Step-by-step guide for conducting a control solution test with the meter.
Guidelines for storing the meter, test strips, and control solution properly.
How to check test strips and control solution for expiry dates and damage.
Instructions on how to clean the exterior of the blood glucose meter.
Information on the type of batteries used and how to replace them.
Explanation of the LOW GLUCOSE warning and recommended actions.
Explanation of the HIGH GLUCOSE warning and recommended actions.
What the TEMPERATURE ERROR message means and how to resolve it.
Meaning of ERROR 1 and instructions to contact customer service.
Meaning of ERROR 2 and steps to troubleshoot by retesting.
Meaning of ERROR 3 and instructions for retesting or contacting customer service.
Meaning of ERROR 4 and troubleshooting steps for strip or meter issues.
Meaning of ERROR 5, often related to strip issues or sample size.
Meaning of the LOW BATTERY warning and how to replace the meter battery.
How to compare meter readings with laboratory test results and factors affecting accuracy.
Key technical details and specifications of the OneTouch® Ultra® 2 Meter.
Environmental and physiological ranges for meter operation and accurate readings.
Explanation of common symbols used in the meter and its documentation.
| Brand | OneTouch |
|---|---|
| Model | ULTRA2 - REV 01-2007 |
| Category | Blood Glucose Meter |
| Measurement Range | 20-600 mg/dL |
| Sample Size | 1 microliter |
| Test Time | 5 seconds |
| Battery | One 3.0-volt CR2032 lithium battery |
| Storage Conditions | -20-60°C, 10-90% RH |
| Memory | 500 test results with date and time |