ID Setting
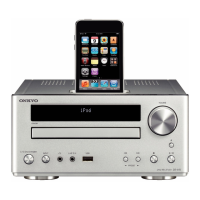
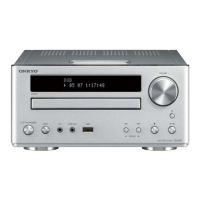
DR-UN7
003900006
DVD
NO ID NUM
NO ID NUM
(Players ID Number Setting)
ID Number ?
- - - - - - - - -
<CLEAR> Exit
Input ID Number !
(Players ID Number Setting)
ID Number ?
0 0 3 9 0 0 0 0 6
<PLAY> ENTER
<SEARCH> ID setting mode
Input ID Number !
Loading
IN ID DATA
WR ID DATA
ID DATA OK
(Players Data Input Mode)
ROM Write OK !
<CLEAR> Exit
No Disc
FL Display
FL Display
FL Display
FL Display
<e.g.>
FL Display
FL Display
TV Monitor
TV Monitor
<e.g.>
TV Monitor
<e.g.>
003900006
FL Display
<e.g.>
(Players ID Number setting)
ID Number ?
0 0 3 9 0 0 0 0 6
Compere
* * * * * * * * *
<CLEAR> Exit
Input ID Number !
TV Monitor
<e.g.>
[When]
1. When DVD Main Board is replaced
2. When FW is reloaded
[Preparation]
1. ID DATA Disc
2. Remote Controller RC-484M
3.TV (Connect to MONITOR OUT of the target unit)
[Procedure]
ID Setting
1. Turn on the target unit.
2. Select [DVD].
3. Hold down [DVD] and press [1] on Remote Controller RC-484M.
4. Press [RETURN] on RC-484M.
5. Press [STEREO] on RC-484M.
6. Enter ID number by using number keys from 0 to 9 on RC-484M.
If any wrong number is selected by mistake,
press [RETURN] to delete the letter.
7. Open Tray by pressing [OPEN/CLOSE] on the body.
8. Put ID DATA disc on the Tray.
9. Press [OPEN/CLOSE] again to close the Tray.
10. Press [SEARCH] on RC-484M.
11. Press [CLEAR] on RC-484M.
12. Open the Tray and take out the disc.
13. Close the Tray.
How to return the unit to the factory settings
See “Service Note.”
ID Confirmation
1. Follow Step 1 to 4 of ID Setting procedure.
2. After confirmation, press [CLEAR] on RC-484M.
How to confirm FW and Region Code
See “Service Note.”
 Loading...