OPERATION CHECK-2
CURRENT DETECTION PROTECTORS
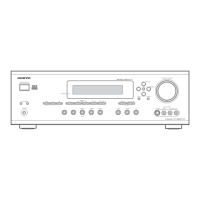
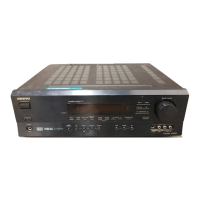
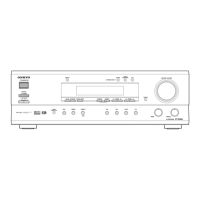
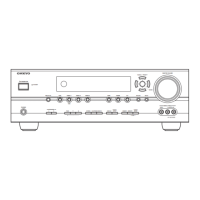
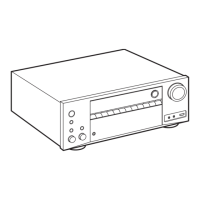
HT-R820THX
1. Set the unit to test mode " Test-4-00 " .
1-1. Press and the hold down the CD button , then press the STANDBY/ON button when the unit is Power On.
1-2. Press the VIDEO 3 button, while the " Test - _ " is shown.
Unit will be in the state of " Test-4-00 ".
2. Repeat and press SPEAKERS B to the " Test-4-32 " is shown.
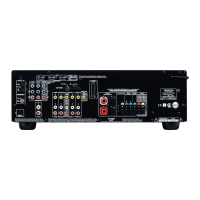
3. Connect the road resistor 3 ohms to the speaker terminal.
4. Check that the " Protect " is not shown.
5. Connect the road resistor 1.5 ohms to the speaker terminal.
6. Check that the " Protect " is shown, and speaker relays are turn off.
7. Check about the FL, FR, C, SL, SR and SB channel one by one.
8. Press the STANDBY/ON to power Off. (Exit the test mode)
<Note1>
In test mode " Test 4-32 ", the pulse waveform is outputted from DSP IC on the pre-amplifier section, and it is inputted into
a power amplifier circuit. Refer to <Fig-1>.
Therefore an external input is unnecessary in check.
<Note2>
Don't connect speakers or any load.
Don't short speaker terminals.
Don't check two or more channels simultaneously.
Test - _
Test - 4-00
Test - 4-32
Protect
The output waveform from DSP IC in the test mode 4-32.
<Fig-1>
Details of TEST MODE 4-32
TEST MODE
4-32
DSP
output ch.
ALL
DSP
output voltage
Max.
MASTER VOLUME = 54
2 ms
2 ms
20 ms
blinks
 Loading...