
M
mollykruegerAug 19, 2025
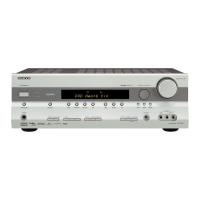
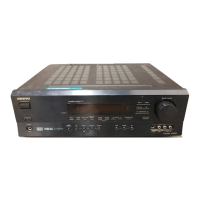
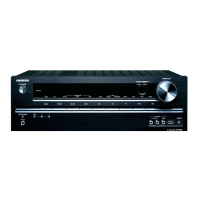
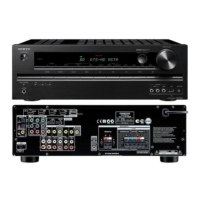
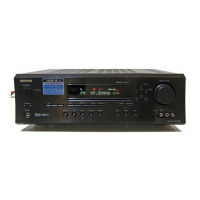
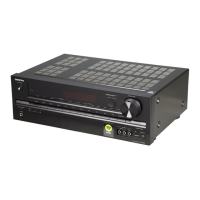
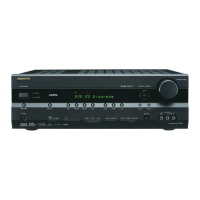
How to fix an Onkyo Receiver that doesn’t switch on?
- PpattyhensonAug 19, 2025
If your Onkyo Receiver doesn't switch on, first check the connection of the power cord to ensure it is properly connected. If the power cord is connected correctly, there may be external noise interfering with the receiver's circuits; try disconnecting the power cord and then reconnecting it.