7
Step 2:
Setting Up
1
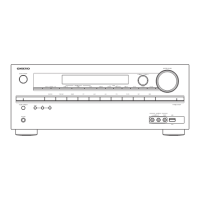
Turning the power on
Connect the power cord to the outlet. Press
z
ON/
STANDBY on the main unit or
z
RECEIVER on the remote
controller to turn the unit on or to standby mode.
r When the unit is turned on, a large instantaneous current
may flow affecting functionality of the computer and other
devices. It is recommended to use a separate outlet from
that for the computer or such other sensitive devices.
z
Operation: You can set up by viewing the guidance
displayed on the TV screen. To display the guidance, you
need to make HDMI connection between the unit and
TV. Select the item with the cursor buttons of the remote
controller and press ENTER to confirm your selection. To
return to the previous screen, press RETURN. To return to
the Home menu, press HOME.
2
Making speaker setting
The speaker configuration of this unit is set to 5.1 ch by
default. To use the unit in a different environments such as
a configuration without center speaker, surround speaker
or subwoofer, you need to make settings for each of the
following items.
r If the settings do not match the actual speaker
configuration, audio playback may not be performed
correctly. Check your speaker configuration and make
correct settings.
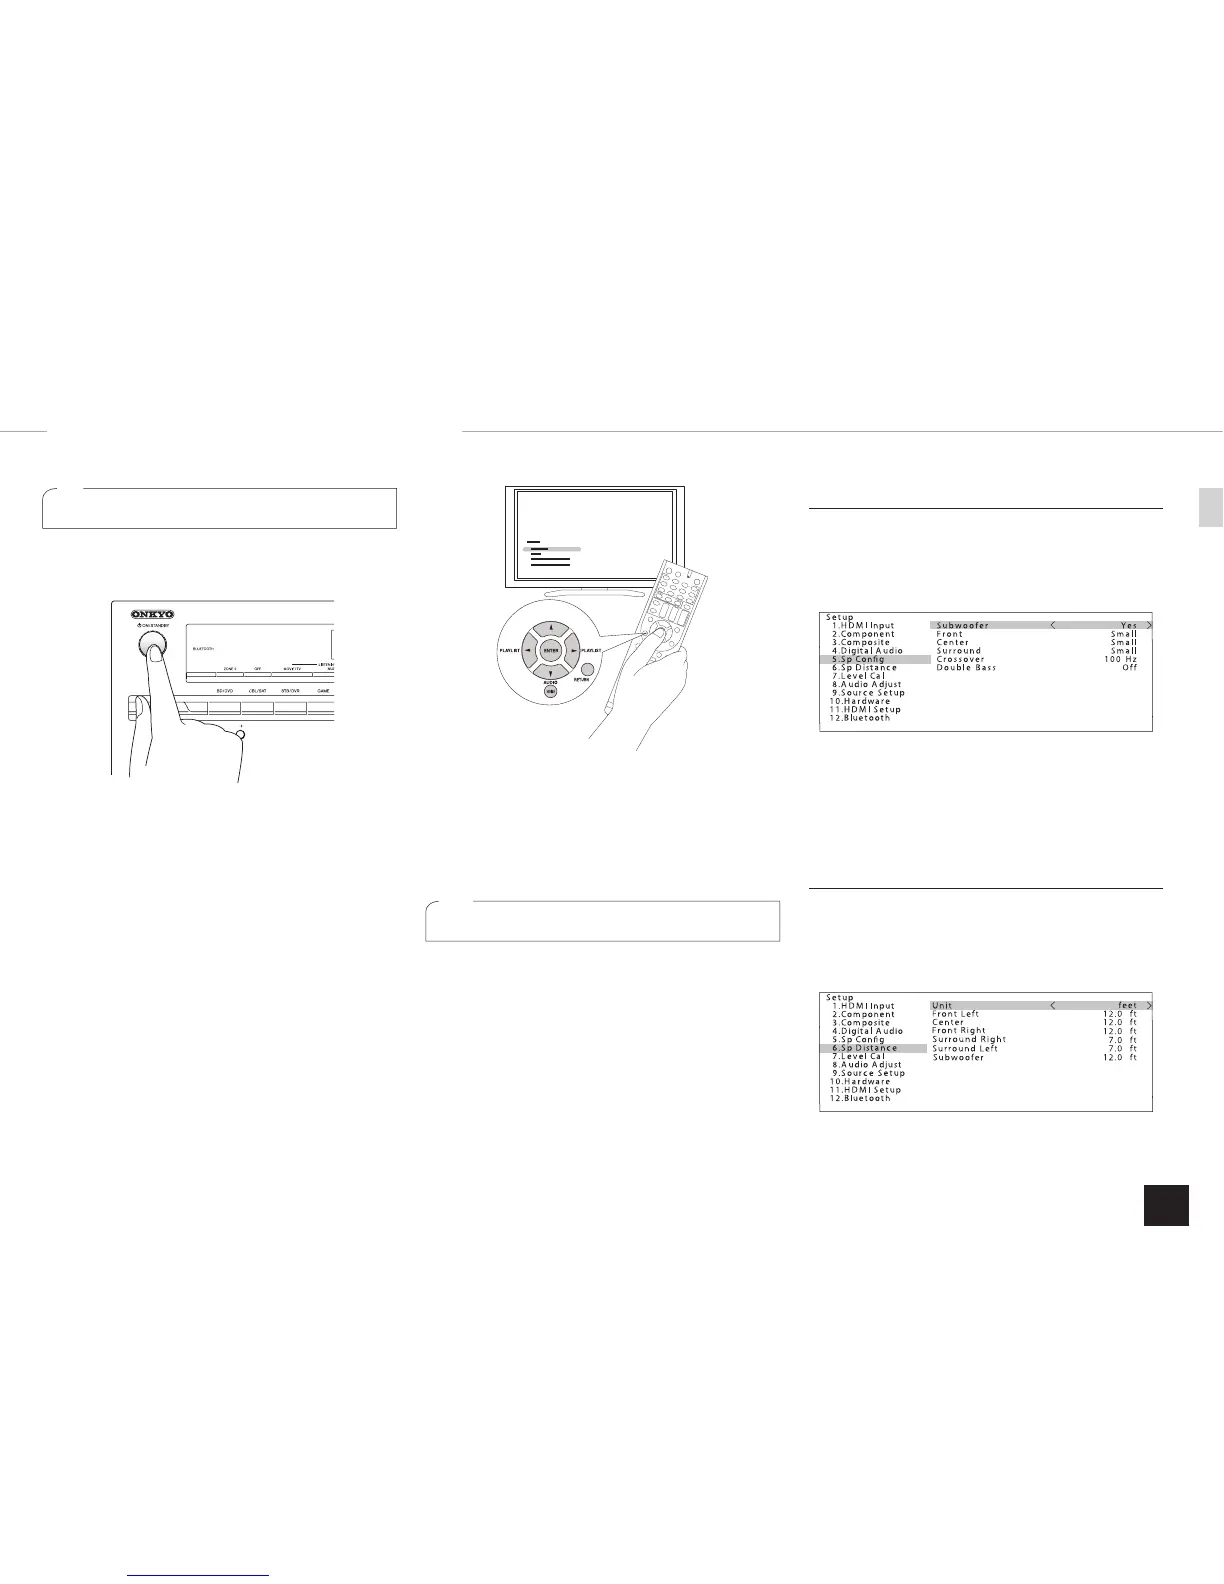
Changing speaker configuration
1.
After pressing RCV, press HOME on the remote
controller.
2.
With the cursor, select "Setup", and press ENTER.
3.
Select "5. Sp Config" with the cursor, and press
ENTER.
Move the cursor with
d
/
c
buttons and set "None" for the
speaker ("No" for subwoofer) which is not connected.
Press HOME to save the changed setting and close the
menu screen.
r This setting cannot be changed if headphones are
connected or audio is output from the speakers of the TV.
Setting speaker distance
1.
After pressing RCV, press HOME on the remote
controller.
2.
Select "Setup" with the cursor, and press ENTER.
3.
Select "6. Sp Distance" with the cursor, and press
ENTER.
 Loading...