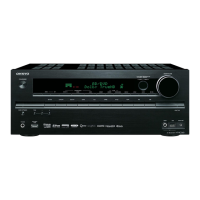
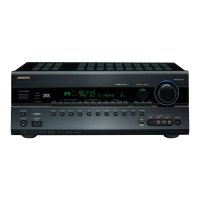
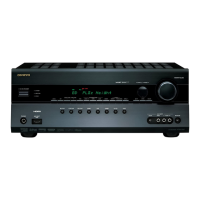
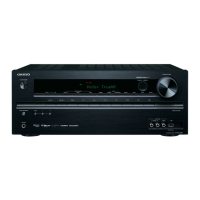
TX-NR525/HT-R592/HT-RC550
OPERATION CHECK-1
1.OPERATION CHECK(1/2)
1-1. OPERATIONS OF VOLTAGE-DETECTION PROTECTORS.
See “OPERATION CHECK-3,-5” for TEST MODE operation.
NOTE: Don't connect load nor short speaker terminals.
a. Change the state to "TEST-4-21".
b. It tests by being automatic in order of TEST 4-21(FL+) → 22(FR-) → 23(C+) → 24(SL-) → 25(SR+) → ( 26(SBL-)
→ 27(SBR+) ). If TEST 4-27(TX-NR525/HT-RC550 are 4-25) is OK, it becomes the display of "TEST-4-35".
c. It will complete, if displayed on FL TUBE as "TEST 4-35".
1-2. OPERATIONS OF CURRENT-DETECTION PROTECTORS
See “OPERATION CHECK-3,-5” for TEST MODE operation.
a. Change the state to "TEST-4-35".
Even if you connect 3-ohm load for every channel of L, R, C, SL, SR, SBL and SBRch, a relay should not cut off.
If 1-ohm load is connected for every channel of L, R, C, SL, SR,SBL and SBRch, a relay should hold the state of ON.
1-3. CONFIRMATION OF RDS (RADIO DATA SYSTEM) OPERATION (Applied to MM*/MP* type )
a. Input 98MHz,30dBμ signal modurated with RDS data.
b. When a PS information is received, the name of the station "RDS TEST" shall be displayed within 2 seconds instead
of the frequency.
1-4. CONFIRMATION OF HEAD PHONE OPERATION.
Confirm the Listening Mode is automatically switched to "STEREO" mode when headphones plug is inserted into
the PHONES jack.
1-5. COMFIRMATION OF FRONT USB
See “OPERATION CHECK-3,-4” for TEST MODE operation.
a. Connect ipod to AVR USB port.
b. When set to TEST 3-09, confirm that the display of AVR change "connecting" to "Push [MODE] b ..." or "Playlist" after
few seconds.
The following iPod models can be used for inspection.(The above-mentioned operation is not done excluding the
following items.)
iPod classic, 3G nano, 4G nano, 5G nano
1-8. CONFIRMATION OF OUTPUT SENSER AND THERMAL SENSOR
See “OPERATION CHECK-3,-5” for TEST MODE operation.
a. Set the TEST MODE to "TEST 4-36" and "TEST 4-37".
After light "FM STEREO" on FL display ,
the relays RL641/642 is OFF and "FM STEREO"is off .(TEST 4-37 is only for HT-R592)
b. Push ON/Standby button 2 times while pushing down DISPLAY button to display CPU Debug PROGRAM version.
Push TONE button while displaying CPU PROGRAM version to display value of temparature sensor.
Confirm outside temperature ±20C is displayed immediately after energizing.
Note that the error margin is caused by the rise of the temperature of the heat sink when time passes.
FL Display
000 034 F:x S:H
Amplifier power
supply voltage condition
H: High-B
L: Low-B
Temparature
of thermal sensor
Voltage
of VOLH port
FAN condition
x: Stop
L: Low speed
M: Mid speed
H: High speed
1-6. COMFIRMATION OF REAR USB(Applied to TX-NR525/HT-RC550)
See “OPERATION CHECK-3,-4” for TEST MODE operation.
a. Connect USB-Storage to AVR USB port.
b. When set to TEST 3-10, confirm that the display of AVR change device name.
1-7. COMFIRMATION OF NETWORK(Only TX-NR525/HT-RC550)
See “OPERATION CHECK-3,-4” for TEST MODE operation.
a. Connect the receiver to the router.
b. When set to TEST3-18 confirm that the display of AVR change IP adress.
*Please wait for about 1 minute after turning on the power supply of the set when you use TEST 3-18.
e.g.
 Loading...