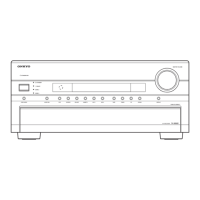
Connecting Your AV Components--Continued
Video Connections
• Use an S-Video cable to connect the TX-SR501/
TX-SR501E's S VIDEO VIDEO 2 IN to the S-Video out-
put on your VCR, as shown, Your TV must also be con-
nected via S-Video.
OR
• Use a composite video cable to connect the TX-SR501/
TX-SR501E's VIDEO VIDEO 2 IN to a composite video
output on your VCR, as shown, Your TV must also be con-
nected via composite video.
Audio Connections
Use an RCA/phono audio cable to connect the TX-SR501/
TX-SR501E's L/R VIDEO 2 IN connectors to the analog
audio outputs on your VCR, as shown,
VIDEO 2
Connect
or the other
[iili:ui]
VCR
Video connections
Use a component video cable to connect the TX-SR501/
TX-SR501 E's COMPONENT VIDEO 1/2/3 IN connectors
to the component video outputs on your D-VHS recorder, as
shown.
• Your TV must also be connected via component video.
Audio connections
• Use a coaxial digital audio cable to connect lhe TX-SR501/
TX-SR501E's COAXIAL DIGITAL INPUT to the coaxial
ouq_ut on your D-VHS recorder, as shown,
OR
• Use an optical digital audio cable to connect the
TX-SR501/TX-SR501E's OPTICAL 2 DIGITAL INPUT
to the optical output on your D-VHS recorder, as shown,
"@ y
PR
I jl o-v.srecorder
II
You may need to change the input source to digital input
assignments (see page 24).
14
 Loading...