-5-
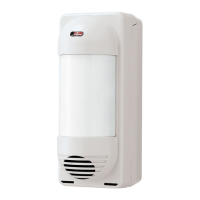
-Installing two detectors in opposing directions
1
2
Fix the back box on the pole.
Note>>
3-3
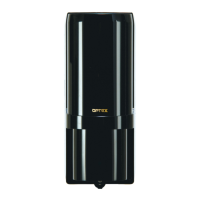
POLE MOUNTING
1
2
Fix the back box on the pole.
Note>>
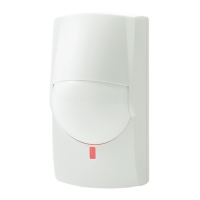
-Installing one detector
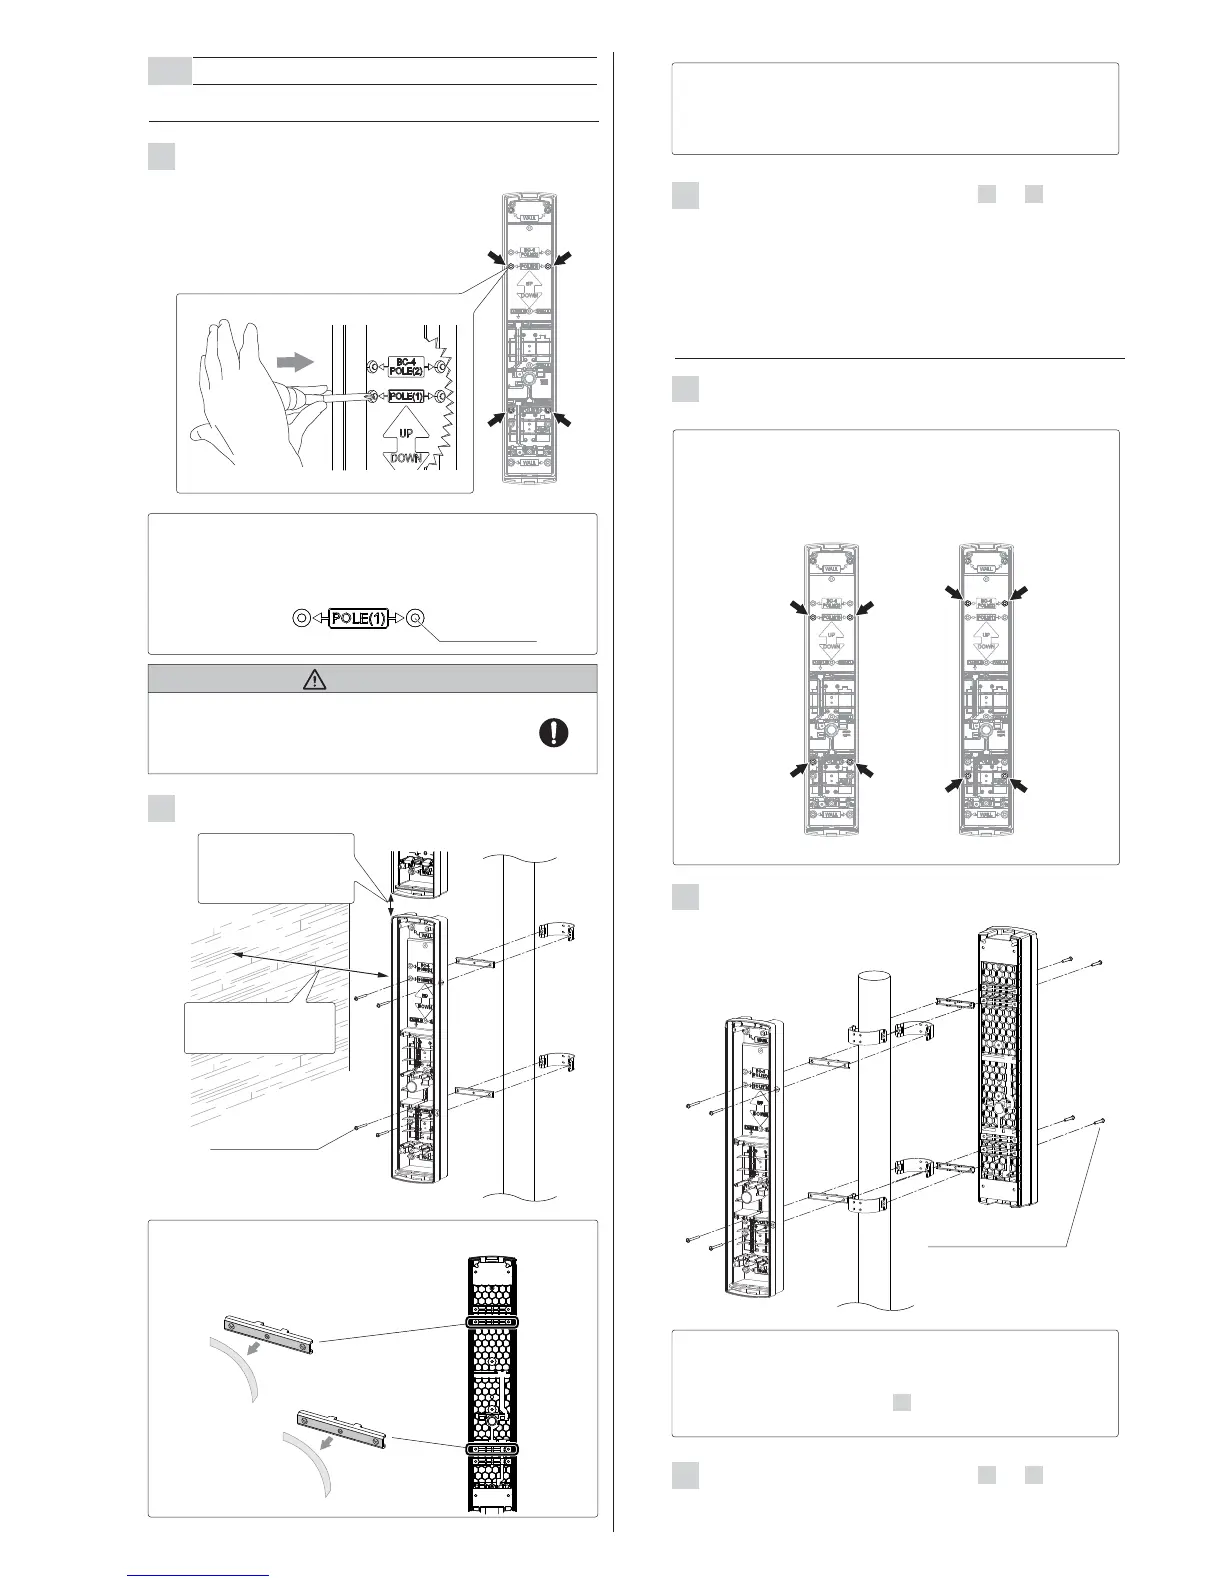
Using a screwdriver or similar tool, break the knockout position
(x4) in the back box as shown.
Note>>
Caution
Note>>
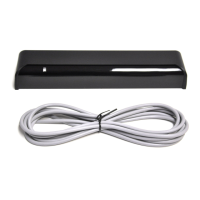
Temporarily attach the pole mounting
bracket to the back of the back box
using double-sided tape .
Using a screwdriver or similar tool, break the knockout position
(x4) in the back box as shown.
Note>>
M4×30 screw
(with rubber washer)
Double-sided tapes attached to the pole mounting brackets
make it easier to mount the unit with the combinations of the
brackets. Refer to procedure 2 of “Installing one detector”.
Knockout position
Peel off the liner.
3
Perform the wall mounting procedure of 3 to 9 on page
3 to 4.
3
Perform the wall mounting procedure of 3 to 9 on page
3 to 4.
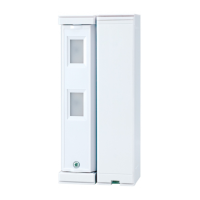
POLE(1) POLE(2)
When mounting the single set of detectors to the pole, use
a pair of the inside knockouts.
The knockout positions are marked "POLE(1)" as shown.
If you accidentally open an unnecessary knockout,
be sure to fill the knockout. Not doing so may result
in waterproof failure and malfunction of the product.
Double-sided tapes attached to the pole mounting brackets
make it easier to mount the unit with the combinations of the
brackets.
Pairs of the knockout positions are marked "POLE(1)" and
"POLE(2)".
Side wall
M4×30 screw
(with rubber washer)
Distance from the side wall:
at least 1m
If two detectors are installed,
the distance between the
upper and lower detector
should be at least 20mm.
 Loading...