4 5
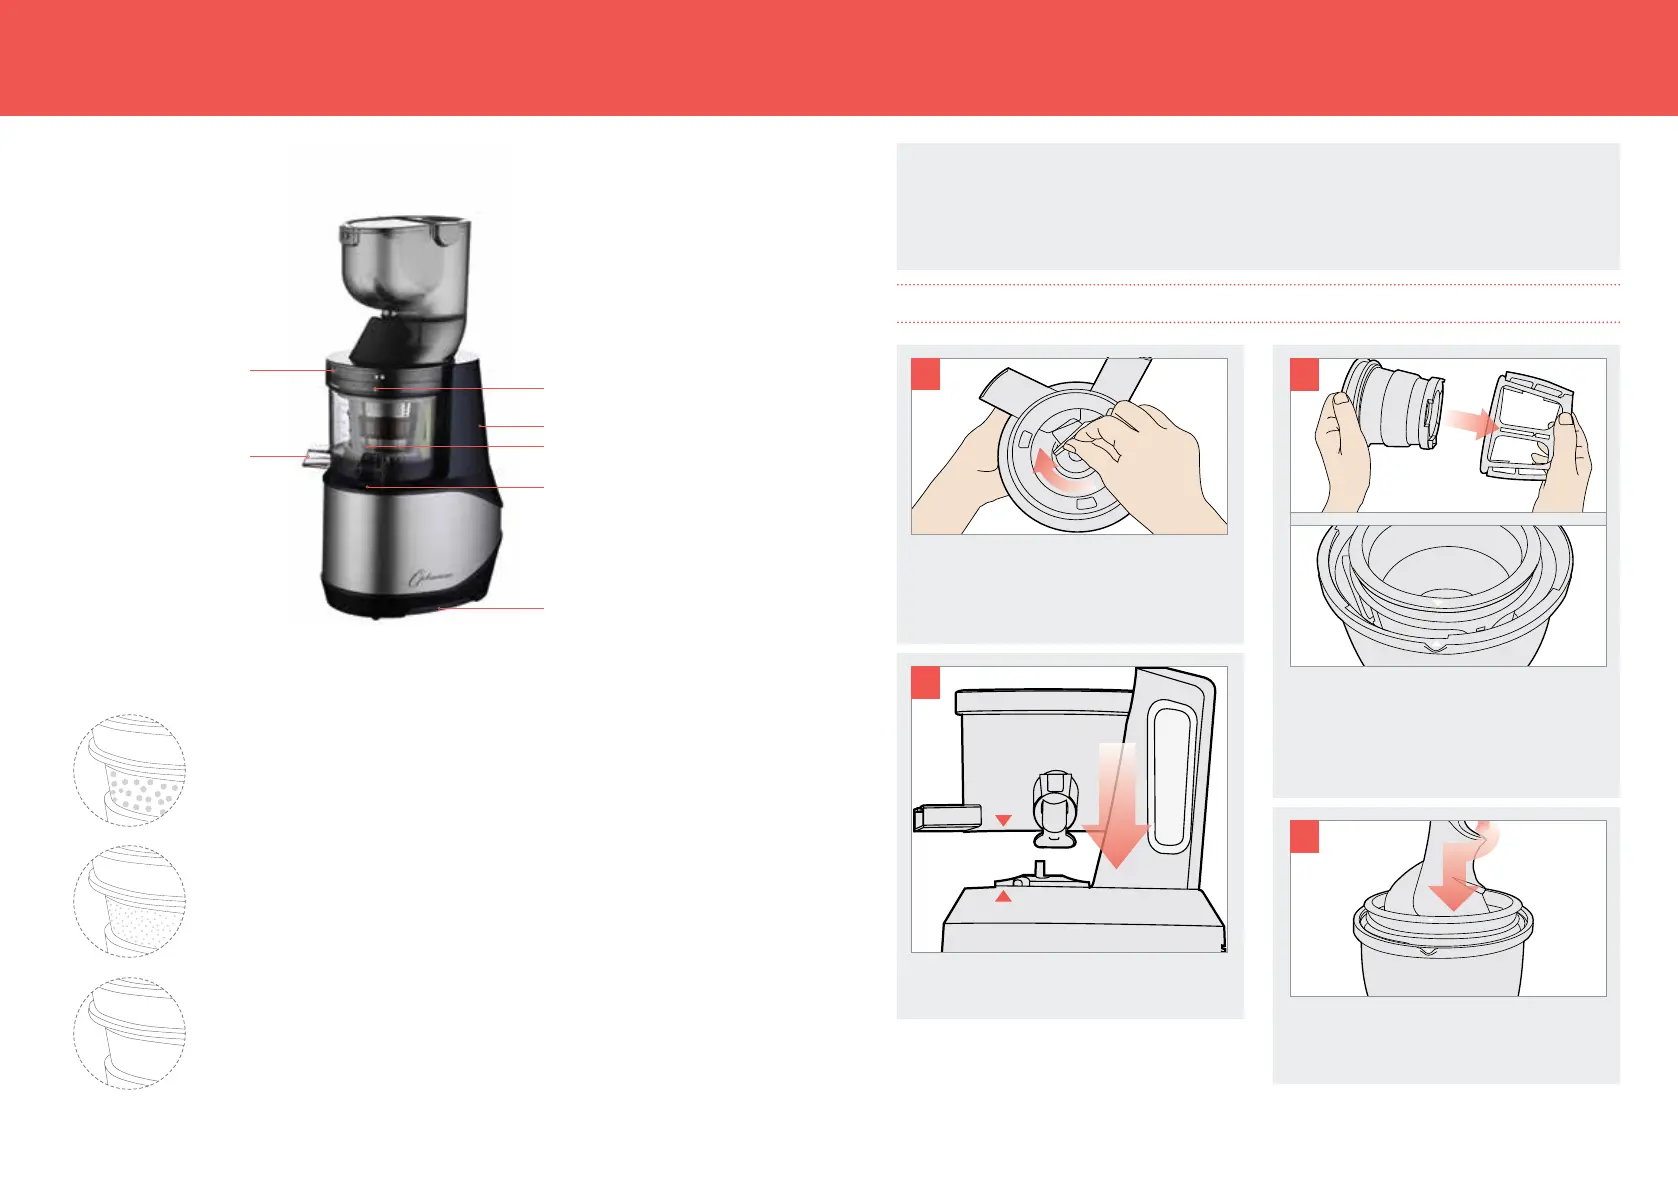
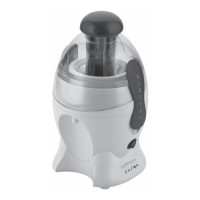
PARTS AND ACCESSORIES, CONTINUED
1. Unlock Sign
2. Pulp Outlet
3. Bowl Dot
4. On/Rev Switch
5. Juice Bowl
6. Smart Cap
7. Easy Moving Grip
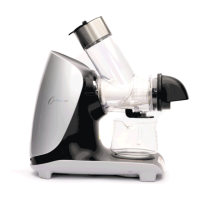
CHOICE OF STRAINERS
Coarse strainer
Coarse-hole Strainer is to juice soft fruit (strawberry, kiwi fruit & tomato)
or sticky material (bananas). The end result when using this strainer will
contain more pulp. (Nylon material)
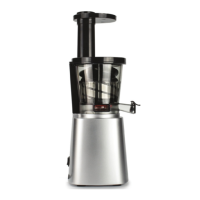
Fine strainer
Fine-hole strainer is to juice hard fruit, beans & vegetables with fibres.
The juice will be smoother. (ULTEM/ PEI material)
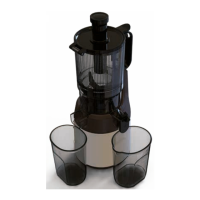
Homogenising strainer/ Blank Plate
This specially designed blank plate can be used for grinding dry hard
food material (coee beans, almonds, etc.) It is also able to make frozen
fruit ice-cream and baby food.
(ULTEM/ PEI material)
1
3
4
5
6
7
2
PREPARATION:
1. Wash all the component parts before you start to assemble them.
2. Follow the directions below exactly as given. Your juicer may leak if you assemble
itincorrectly.
ASSEMBLY INSTRUCTIONS
1
1A
2
3
STEP 1: ASSEMBLE THE TOP PART OF THE JUICER
Place strainer inside the spinning brush
holder then add the spinning brush
into the juicing bowl. Line up the white
triangle on the strainer exactly with the
equivalent white triangle on the bowl.
Insert the juicing screw into the strainer.
Push it down firmly, and turn it until you
hear a click as it locks into place.
Place the compression silicone piece
partway into the slot beneath the pulp
spout. Ensure that most (around 60%) of
the silicone remains outside of the slot.
Position the juicing bowl on top of the
juicer base.