10 11
TIPS AND PRECAUTIONS FOR USE
REMOVEHARDSEEDSBEFOREJUICINGFROMFRUITSLIKE:
PERSIMMONS,PEACHES,PLUMS, ETC.
HARDITEMS(KUDZUVINE,SUGARCANEETC.)ARENOTSUITABLE
FOR JUICING.
JUICERCANBEUSEDTOMASHGARLICANDPEPPERSWITHMOISTURE.
NOT SUITABLEFORGRINDINGDRY GRAINS.
WHENJUICINGHARDFRUITSORVEGETABLES,LIKECARROTS,THEY
MAYCAUSELOUDNOISES,THISDOESNOTINDICATEDAMAGETO
THE MACHINE.
BEAWARETHATJUICEMAYSPILLOUTWHENJUICINGFRUITSAND
VEGETABLELIKEGRAPESANDTOMATOES.
USINGFROZENFRUITSANDVEGETABLESMAYINFLUENCETHEFLAVOUR
OF JUICE.
FREQUENTLYJUICINGPROCESSEDANDHARDFOODSTUFFS(ICE,FRUIT
SEEDS,ETC.)MAYDAMAGETHESTRAINERS.PLEASEUSEWITH CARE.
THECONTINUOUSWORKINGTIMESHOULDBENOMORETHAN
30-45 MINUTES.
DRINKJUICESASSOONASPOSSIBLEAFTERJUICING,IFYOUWISH
TOSTOREJUICEPLACEITINASEALEDGLASSCONTAINERIN
THE REFRIGERATOR.
JUICINGTOOMUCHFOODORJUICINGHARDFOODSTUFFSMAYMAKEIT
DIFFICULTTOREMOVETHEHOPPERFROMTHEJUICINGBOWL.
IMPORTANT NOTE:
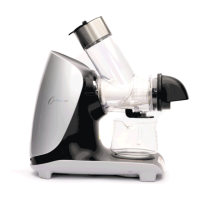
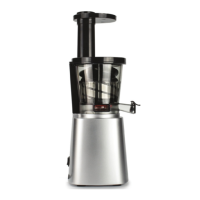
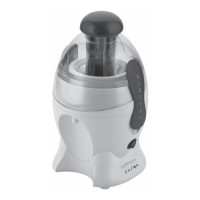
You will need to disassemble and clean your Optimum 700 Advanced Cold-Press Juicer
immediately after using it, every time you use it. If you allow the juicing residue inside it
to dry out, you will find it hard to disassemble and clean the juicer later on.
CLEANING AND MAINTAINING YOUR JUICER
Turn the drum lid counter clockwise
toopen.
1
Switch o and unplug the juicer.
Never try to disassemble the
machine while the power cord is
plugged in.
Open the drum lid. Turn the lid
anticlockwise to open it, until the
‘unlock symbol’ and the triangle lines
up. If the lid is stuck, please refer to the
troubleshooting section.
Separate out and clean the juicing
components. Remove the spinning
brush holder, strainer and juicing screw
from the juicing bowl. Clean them in
hot, soapy water using the special juicer
brush provided.
Clean the juice bowl. Remove the
compression silicon from the slot (DO
NOT detach), then rinse the bowl in water.
Ensure the pulp outlet is rinsed clean,
then soak the bowl in a sink of warm
water with vinegar and/or baking soda
to remove any lingering residue.
Remove the base. Separate the juicing
bowl from the juicer base. Wipe down
the base with a damp cloth if required.
2
3
4
5
TIP: Ensure all components are completely dry before you put them away.