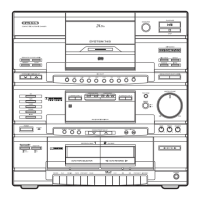
13
RECORDING
You can record from the CD player or
radio.
Notes:
• Tape quality greatly affects the
quality of the recording. For low-
noise, wide range recordings, use
normal-bias tape. We recom-
mend regular length (60 or 90-
minute) cassette tapes. We do not
recommend long-play cassette
tapes, such as C-120s, because
they are thin and can tangle eas-
ily.
• Before you load a cassette tape
for recording, turn the cassette’s
hub with your finger or a pencil to
move the tape past its leader.
• The system’s Automatic Level
Control (ALC) automatically
adjusts the recording level.
VOLUME
and
E-BASS
have no
effect on recording.
Caution:
If you try to record on a cas-
sette tape that has had the erase-pro-
tection tabs removed, you cannot
press
RECORD
. Do not force it, as this
can damage the mechanism. See
“Preventing Accidental Erasure” on
Page 15.
1. Press
POWER
to turn on the sys-
tem.
2. Set
FUNCTION
to
TUNER
to record
from the radio or to
CD
to record
from a CD.
3. Insert a tape into the cassette
compartment and press
PAUSE
.
4. Press
RECORD
. The
PLAY
button
automatically locks down. The
RECORD indicator lights.
5. Tune the radio to the desired sta-
tion or start the CD. Then release
PAUSE
. Recording begins.
Note:
You might hear a low-
volume tone from the system’s
speakers during playback after
you record from AM radio. If you
hear the tone, set
E-BASS
to
ON
the next time you record. This
turns on the AM beat cut circuit,
which helps eliminate such tones.
13-1292.fm Page 13 Wednesday, July 14, 1999 6:37 PM