3) Upgrade the firmware on the projector
To update firmware, you need a USB type A to USB type B cable (available at any electronics
store). Don’t connect the cable until these instructions tell you to do so.
IMPORTANT! While the firmware is being downloaded to the projector, do not shut down the
computer or projector or disconnect the USB cable. This could result in flash memory damage,
requiring the projector to be returned for service.
Firmware upgrade procedure:
1. If DLP Composer Lite does not be installed yet, please follow the description of section DLP
Composer Lite Installation to install it first.
2. If USB Driver does not be installed yet, please follow the description of section Install DLP
Composer USB Driver to install it.
3. Please press and hold (do not release) both POWER and MENU/EXIT button of projector,
then connect AC power to projector. After few seconds, the LEDs, which on the up-cover of
projector, will become POWER LED blue/solid light and TEMP/LAMP LED purple/flash light.
It denotes that the projector is ready for firmware update.
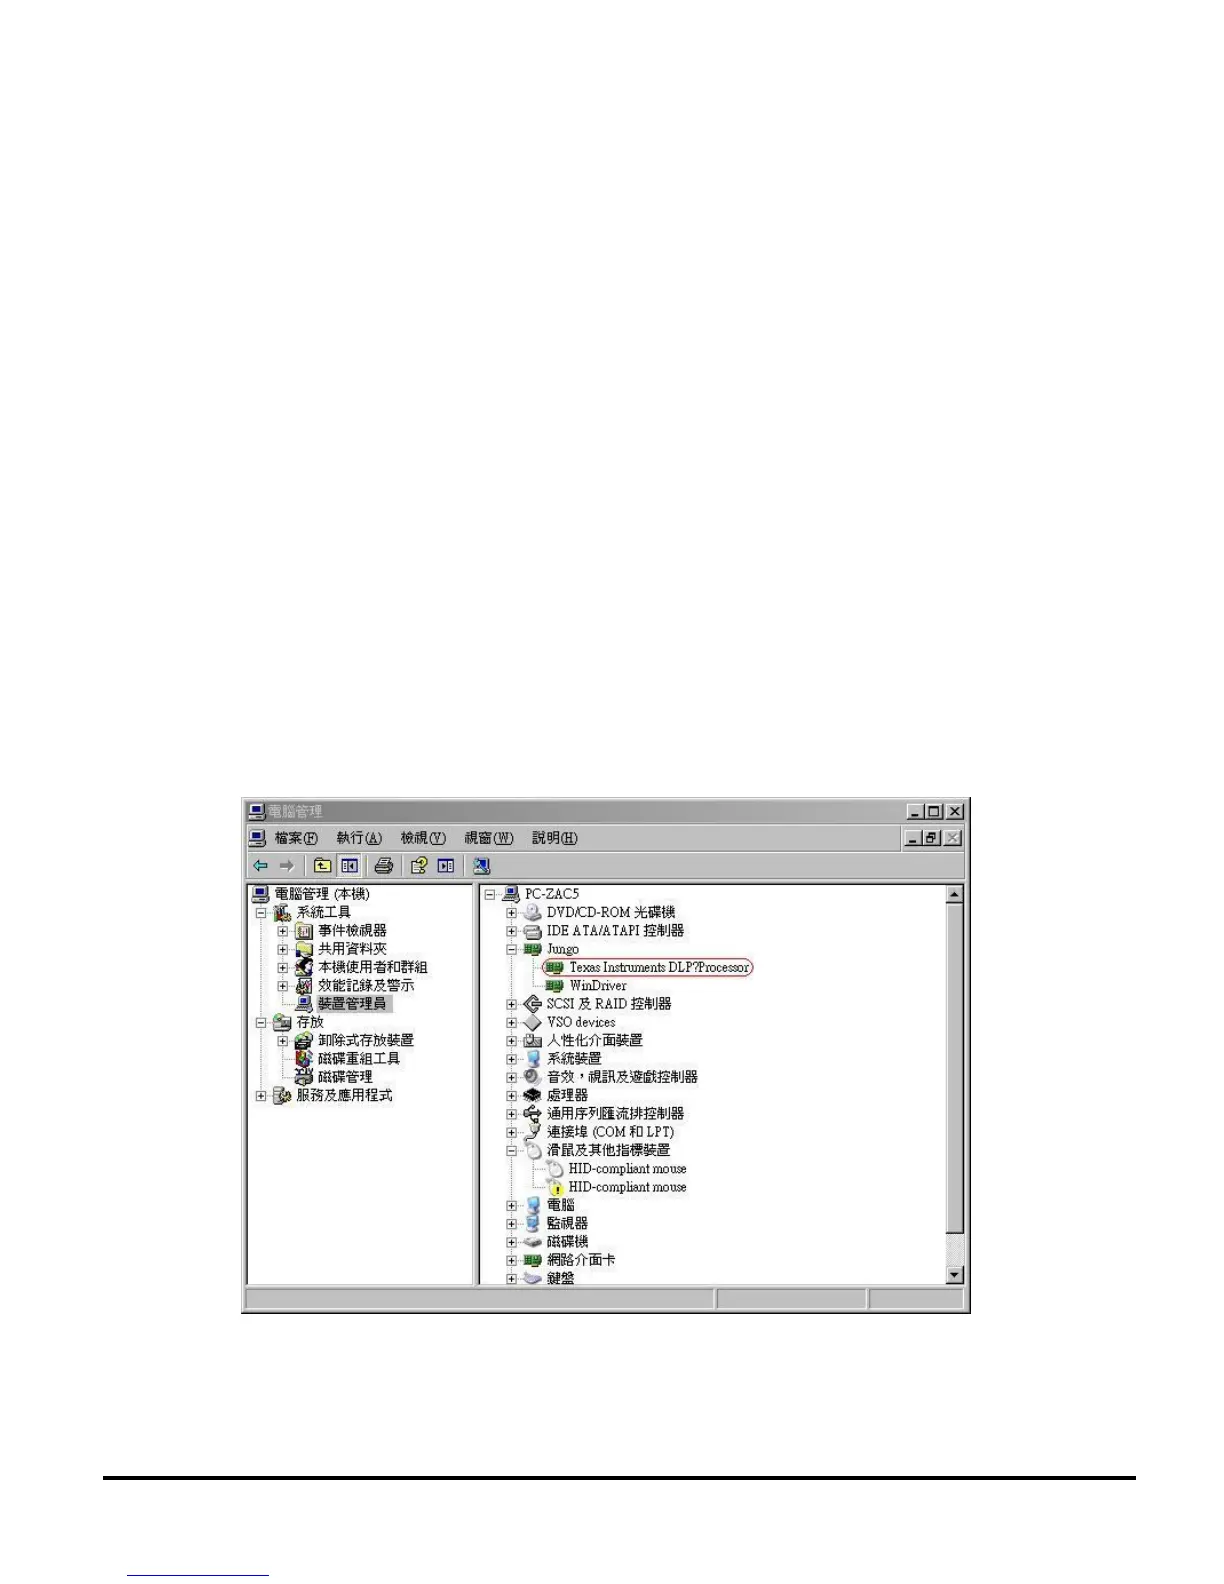
4. Please connect laptop and projector with USB cable. After connect laptop and projector, you
may find Jungo\Texas Instruments DLP
TM
Processor at Device Manager of Windows OS.
5. Please locate file FlashDeviceParameters.txt and image file of firmware in folder
C:\dev\Library\.
6. Launch DLP Composer Lite, manipulate Edit\Preferences… menu, and change the Library
path of DLP Composer Lite to be C:\dev\Library\.



 To Next Page