Do you have a question about the Optoma ML300 and is the answer not in the manual?
| Number of colors | 16.78 million colors |
|---|---|
| Projection distance | 0.55 - 3.23 m |
| Vertical scan range | 50 - 120 Hz |
| Projection technology | DLP |
| Contrast ratio (typical) | 3000:1 |
| Screen size compatibility | 17 - 160 \ |
| Projector native resolution | WXGA (1280x800) |
| Keystone correction, vertical | ± 30 ° |
| Power LED | Yes |
| Aspect ratio | 16:10 |
| RS-232 ports | 0 |
| Connectivity technology | Wired |
| Focus | Auto |
| Throw ratio | 1.5 - 1.8:1 |
| Focal length range | - mm |
| Lamps quantity | 1 lamp(s) |
| Service life of light source | 20000 h |
| Full HD | No |
| Analog signal format system | NTSC, PAL, SECAM |
| RMS rated power | 2 W |
| Number of built-in speakers | 1 |
| USB connector type | USB Type-A |
| USB 2.0 ports quantity | 2 |
| Noise level | 29 dB |
| Placement | Desktop |
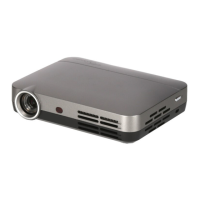
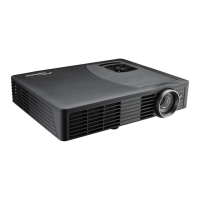
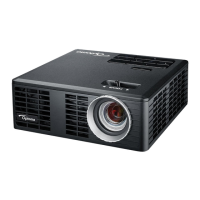
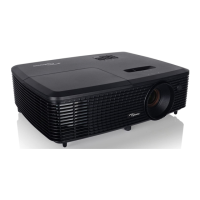
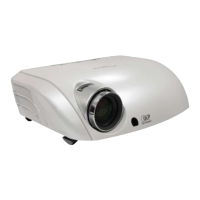
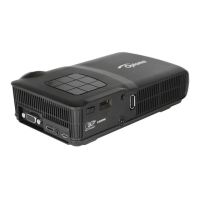
| Product type | Standard throw projector |
| Product color | Black |
| Market positioning | Home cinema |
| Power source | AC |
| AC input voltage | 100 - 240 V |
| AC input frequency | 50 - 60 Hz |
| Power consumption (standby) | 1 W |
| Power consumption (typical) | 93 W |
| Operating temperature (T-T) | 5 - 35 °C |
| Cables included | AC, USB, VGA |
| Depth | 105 mm |
|---|---|
| Width | 184 mm |
| Height | 44 mm |
| Weight | 635 g |
Step-by-step guide for safely removing the projector's top cover.
Procedure for adjusting the projector's engine for optimal image alignment and clarity.
Table outlining repair actions, associated parts, and relevant procedure pages.
Systematic troubleshooting steps for common projector symptoms like no power or no image.
Guide for upgrading the main system firmware of the projector.
Procedure for upgrading the PIC microcontroller firmware using an RS232 connection.
Instructions for performing firmware upgrades on the MST7286 chip.
Procedure for updating the firmware of the SSD1938 component.