7. MEM: View current, maximum and minimum
temperature
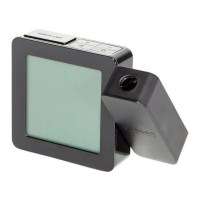
8. PROJECTION: ON / OFF switch
9. LIGHT: Backlight ON / OFF switch
10. DEMO WEATHER FORECAST: Select between
demo mode and weather forecast mode
11. Adapter socket
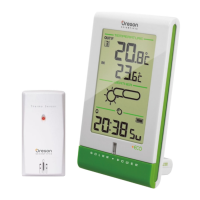
REMOTE SENSOR
1. LED status indicator
2. Wall mount hole
3. Battery compartment
4. RESET hole: Reset unit to default settings
5. CHANNEL button: Select channel 1
GETTING STARTED
POWER SUPPLY
Batteries serve as a back-up power supply. For
continuous use of projector and backlight, install
adapter
The socket-outlet shall be installed near the
equipment and shall be easily accessible
NOTE will appear when power supply is not
connected.
To insert batteries:
1.
Remove the battery compartment and inser t
batteries, matching polarities.
2. Press
RESET after each battery change.
LOCATION
MEANING
Clock / alarm area Main unit batteries low
Outdoor / indoor
temperature area
Sensor batteries low
REMOTE SENSOR
To set up the sensor:
1. Open the battery compartment, and insert
batteries,
matching polarities.
2. Place the sensor within 30 m (98 ft) of the main
unit using the table stand or wall mount.
BAR339P_M_EN_R1.indd 3 6/21/07 2:08:01 PM

 Loading...