Do you have a question about the Oregon Scientific RMR391PU and is the answer not in the manual?
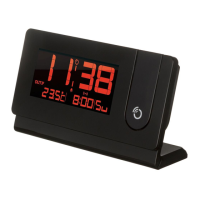
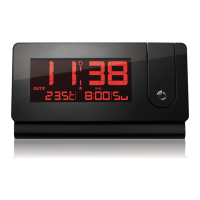
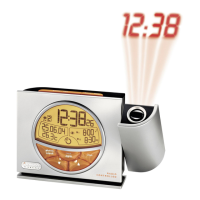
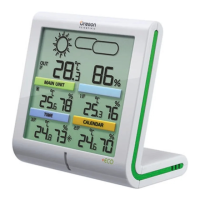
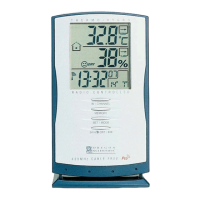
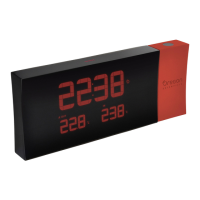
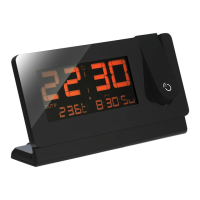
Diagram and labels for the front view of the projection clock, including display elements.
Instructions for using the AC adapter for continuous power supply to the unit.
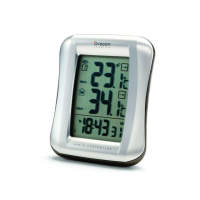
Explanation of sensor reception icons and status indicators for the outdoor sensor.
Details on automatic clock signal synchronization and reception indicators.
Instructions for manually setting the clock and time zone offset.
Instructions to reset the unit to its default settings.
Important warnings and advice for safe and proper use of the device.
| Type | Projection Clock |
|---|---|
| Display | LCD |
| Temperature Sensor | Yes |
| Humidity Sensor | Yes |
| Alarm Function | Yes |
| Power Source | AC adapter |
| Projection Angle | Adjustable |
| Time Format | 12/24 Hour |
| Features | Projection, Indoor Temperature, Indoor Humidity |
| Battery Backup | Yes |