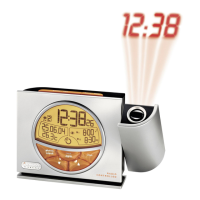
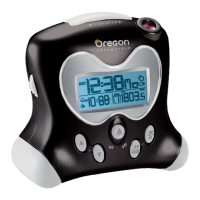
4. / : To gg l e set t i n g o pt i o n s ; activate /
deactivate clock reception
5. Projector (LED Aperture)
6. TEMP: Toggle in / out temperature settings
BACK VIEW
1. FOCUS: Focus the projected image
2. Battery compartment
3. Light sensor
4. PROJECTION: ON / OFF switch
5. LIGHT: Backlight ON / OFF switch
6. °C / °F: Select temperature unit
7. EU / UK: Radio signal switch
8. RESET: Reset settings to default
9. Adapter socke
t
INTRODUCTION
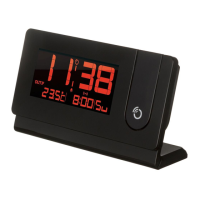
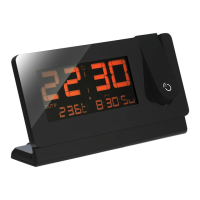
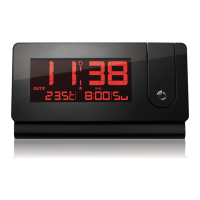
Thank you for selecting this Oregon
™
Radio-Controlled Projection Clock with Indoor / Outdoor
Temperature. Please keep this manual for instructions
and information you should know about.
CLOCK OVERVIEW
FRONT VIEW
1. SNOOZE: Snooze alarm; activate backlight; rotate
dual line projection display by 180°
2. ALARM: View alarm status; set alarm
3. CLOCK: Change display; set clock
RMR329P_M_EN_R1.indd 2 6/21/07 12:45:20 PM

 Loading...
