3
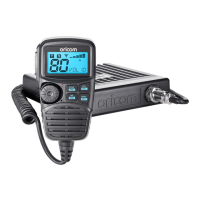
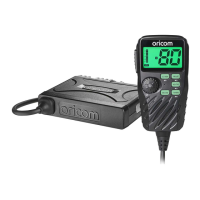
Installation of Your Oricom Radio
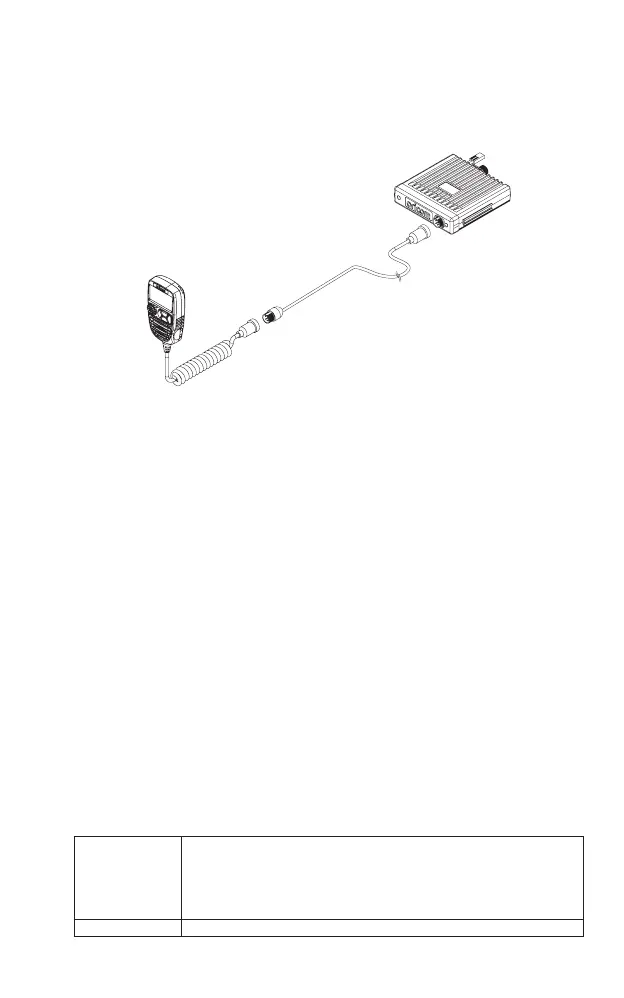
Fitting the Controller Speaker Microphone
Thecontrollerspeakermicrophoneusesa6-pintelephonestyleplugandsocket:
1.Positionthemicrophoneplugsotheplasticapfacesupward,andinserttheplugintothesocketuntilit
‘clicks’.
2.Gentlypresstherubberbootintotheholesurroundingthesocketsothattheslotaroundthebootts
neatlyinsidetherimoftheentryhole.
Disconnecting the Controller Speaker Microphone
ItisrecommendedthattheControllerSpeakerMicrophonebeleftpermanentlyconnectedtotheradio,butif
itmustbedisconnected,proceedasfollows:
1.Lifttherubberbootandthelipoftheraisedareaonthefrontpanel.
2.Easetherubberbootoutofthecableentryholeandslideitalongthecableawayfromthefrontpanel.
3.Identifythepluglockinglever,andmovethelevertowardstheplugbody.Atthesametimegentlypullthe
plugfromthesocket.
Wiring Methods
Therearetwopossiblewiringcongurationsforconnectingtothevehiclespowersupply.
A. Radio stays ON when the ignition is switched OFF
Connecttheradio’snegative(black)leadtothevehiclechassis,ordirectlytothebattery’snegativeterminal.
Connecttheradio’spositive(red)leadviathe3Ampfusetothebattery’spositiveterminal.Alternatively,
thepositiveleadcouldbeconnectedatthefuseboxatapointthathasDCPowercontinuouslyavailable
(preferablythebatterysideoftheignitionswitch)viathe3Ampfuse.
B. Radio turns OFF with the ignition switch
Connecttheradio’snegative(black)leadtothevehicle’schassis,ordirectlytothebattery’snegative
terminal.
Theradiospositive(red)leadshouldconnecttoanaccessorypointinthevehicle’sfuseboxviathe3Amp
fuse.
Antenna information
Theantenna(notsupplied)isofcriticalimportancetomaximiseyouroutputpowerandreceiversensitivity.
Apoorlyinstalled,inferiorqualityantenna,oronenotdesignedforthecorrectfrequencyband,willgive
poorperformance.Youshouldonlypurchaseanantennadesignedforthe477MHzfrequencyband.
Antenna installation
Toobtainmaximumperformancefromtheradio,selectahighqualityantennaandmountitinagood
location.
Never press the PTT before connecting an antenna to the radio.
Optional accessories
SPE85 Externalspeaker
Ifrequired,youmayinstallanexternal(8ohm,Minimum5Wpower)speaker
ttedwitha3.5mmplug(notsupplied).
Dependingontheinstallation,itmaybenecessarytouseanexternalspeaker
(notsupplied)togiveimprovedvolumeandclarity.Thiscanbepluggedintothe
externalspeaker(SP)socketontherearoftheunit.
MMM100 Magnetic microphone holder
 Loading...