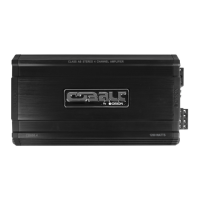
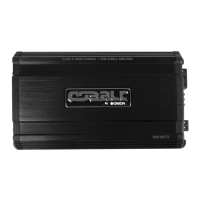
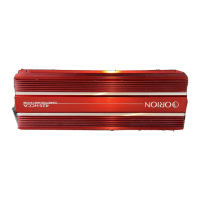
Do you have a question about the Orion Cobalt Series CS100.2 and is the answer not in the manual?
Explains the purpose and scope of the manual for user assistance.
Warns about potential hearing damage from high sound pressure levels.
Prompts the user to record essential product identification details.
Details warranty periods for parts and labor based on purchase and installation.
Lists specific conditions and situations not covered by the product warranty.
Describes the line level RCA input connectors for audio signals.
Explains how to adjust the amplifier's input gain for signal matching.
Details the XBC12 control for boosting low-end bass frequencies.
How to adjust the high-pass crossover frequency from 30Hz to 1kHz.
Determines if the crossover operates in high-pass, full range, or low-pass mode.
How to adjust the low-pass crossover frequency from 30Hz to 250Hz.
Protects the amplifier from excessive current.
Describes the connections for power and ground wires.
Indicates the amplifier's status with green (on) or red (protection) lights.
Details the connections for speaker wires and the remote turn-on lead.
Lists the necessary tools for performing the amplifier installation.
Guidelines for mounting the amplifier in the passenger compartment for ventilation.
Recommendations for mounting the amplifier in the trunk for optimal cooling.
Explicitly states not to mount the amplifier in the engine compartment due to environment.
Warns against drilling into vehicle components and handling electrical wiring.
Emphasizes secure mounting and proper routing to prevent damage or injury.
Details proper fusing for the +12V power supply wire and fuse replacement.
Advises turning off equipment before making connections and checking wiring.
Stresses the importance of unobstructed airflow around cooling fins.
Steps to decide amplifier placement and system configuration.
Instructions for running wires away from noise sources and making connections.
Steps for securely mounting the amplifier and performing final checks.
Warns against exceeding recommended fuse size to avoid voiding warranty.
Setting source volume and amplifier level controls to minimum.
Adjusting level controls for midrange and tweeter output without distortion.
Adjusting crossover settings and output levels for optimal sound.
Adjusting woofer output level to prevent distortion.
Adjusting levels between satellite speakers and woofers for system integration.
Diagnosing and resolving issues where the amplifier produces no sound output.
Troubleshooting audio that intermittently turns on and off.
Identifying causes and solutions for distorted audio output.
Further diagnosis for distorted output, including crossover and speaker issues.
Addressing issues related to poor bass response, including wiring and impedance.
Troubleshooting battery and amplifier fuse blowing problems.
| Channels | 2 |
|---|---|
| RMS Power @ 4 Ohms | 100W x 2 |
| RMS Power @ 2 Ohms | 150W x 2 |
| Bridged RMS Power @ 4 Ohms | 300W x 1 |
| Peak Power Output | 600W |
| Frequency Response | 20Hz - 20kHz |
| THD at Rated Power | <0.05% |
| Signal to Noise Ratio | >90dB |
| Input Sensitivity | 200mV - 6V |
| Crossover Type | LP/HP/Full |
| Bass Boost | 0dB - 12dB @ 45Hz |
| Crossover Frequency | 50Hz - 250Hz |
| Fuse Rating | 25A |
