7
scope. This is easiest to do during daylight hours, before observing at night. Follow
this procedure:
1. First, remove the dust cover from the front of the telescope.
2. With the 20mm eyepiece already installed from step 2 above, point the tele-
scope at a well-dened land target (e.g., the top of a telephone pole) that’s
at least a quarter mile away.
3. Center the target in the eyepiece.
Note: The image in the eyepiece will appear rotated (upside down). This is
normal for reector telescopes.
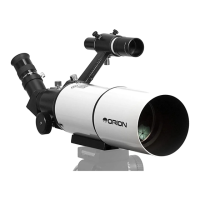
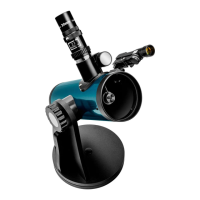
4. Turn on the red dot nder scope by sliding the power switch to ON (refer to
Figure 5). The “1” position provides dim illumination while the “2” position
provides brighter illumination. Typically the dimmer setting is used under
dark skies and the brighter setting is used under light-polluted skies or in
daylight. Position your eye at a comfortable distance from the rear of the
unit. Look through the rear of the nder scope with both eyes open to see
the illuminated red dot. The target object should appear in the eld of view
Figure 5: The red dot nder scope has vertical and (inset) horizontal adjustment
knobs for aligning it with the telescope.
Power switch
Vertical knob
Horizontal
knob
Plastic tab