24 pages 105mm x 148mm (A6) 160gsm Gloss Art Stock 4 colour process double sided - CPIN004617/2
2120
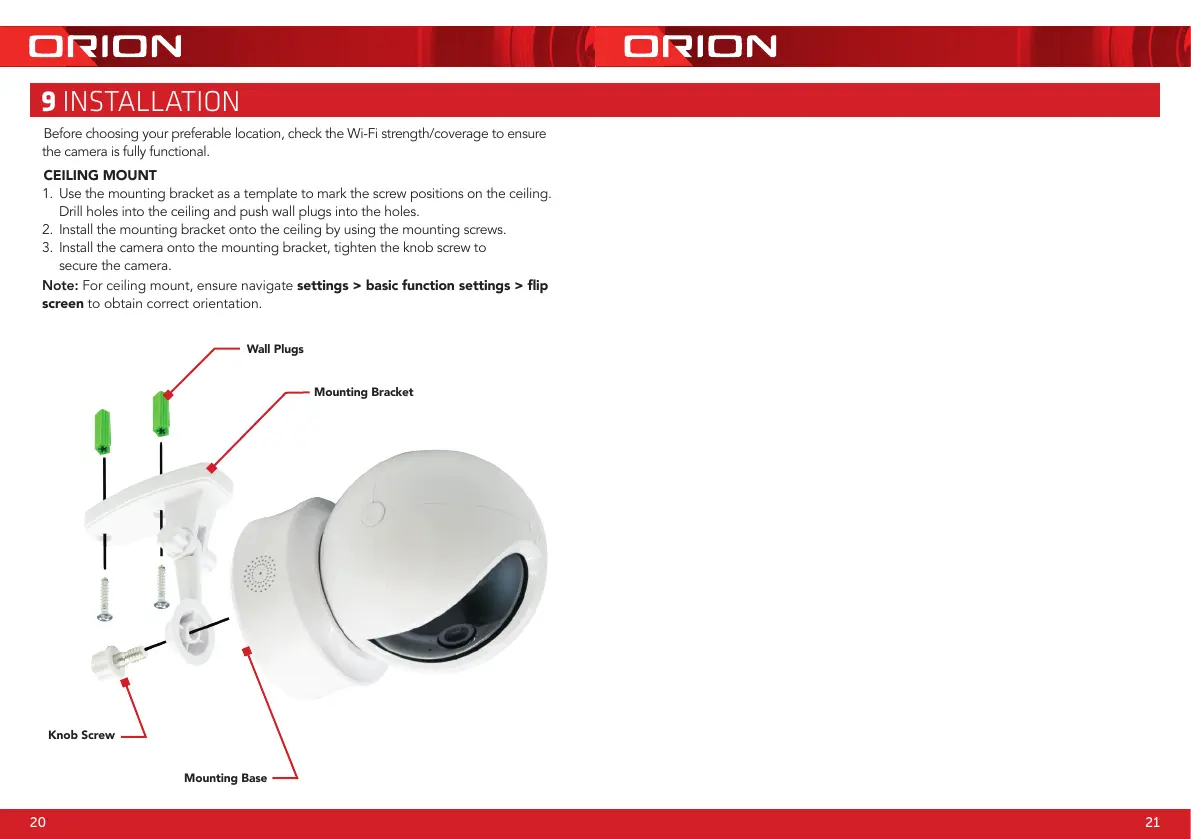
9 INSTALLATION
Before choosing your preferable location, check the Wi-Fi strength/coverage to ensure
the camera is fully functional.
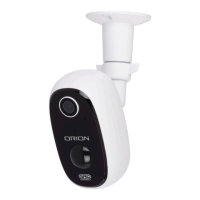
CEILING MOUNT
1. Use the mounting bracket as a template to mark the screw positions on the ceiling.
Drill holes into the ceiling and push wall plugs into the holes.
2. Install the mounting bracket onto the ceiling by using the mounting screws.
3. Install the camera onto the mounting bracket, tighten the knob screw to
secure the camera.
Note: For ceiling mount, ensure navigate settings > basic function settings > ip
screen to obtain correct orientation.
Mounting Base
Knob Screw
Mounting Bracket
Wall Plugs
 Loading...