12
mirror (the smallest circle, with the collimation cap “dot” in the
center) is off-center. You will fix that in the next step.
Aligning the Primary Mirror
The final adjustment is made to the tilt of the primary mirror.
It will need adjustment if, as in Figure 22d, the secondary
mirror is centered under the focuser and the reflection of the
primary mirror is centered in the secondary mirror, but the
small reflection of the secondary mirror (with the “dot” of the
collimation cap) is off-center.
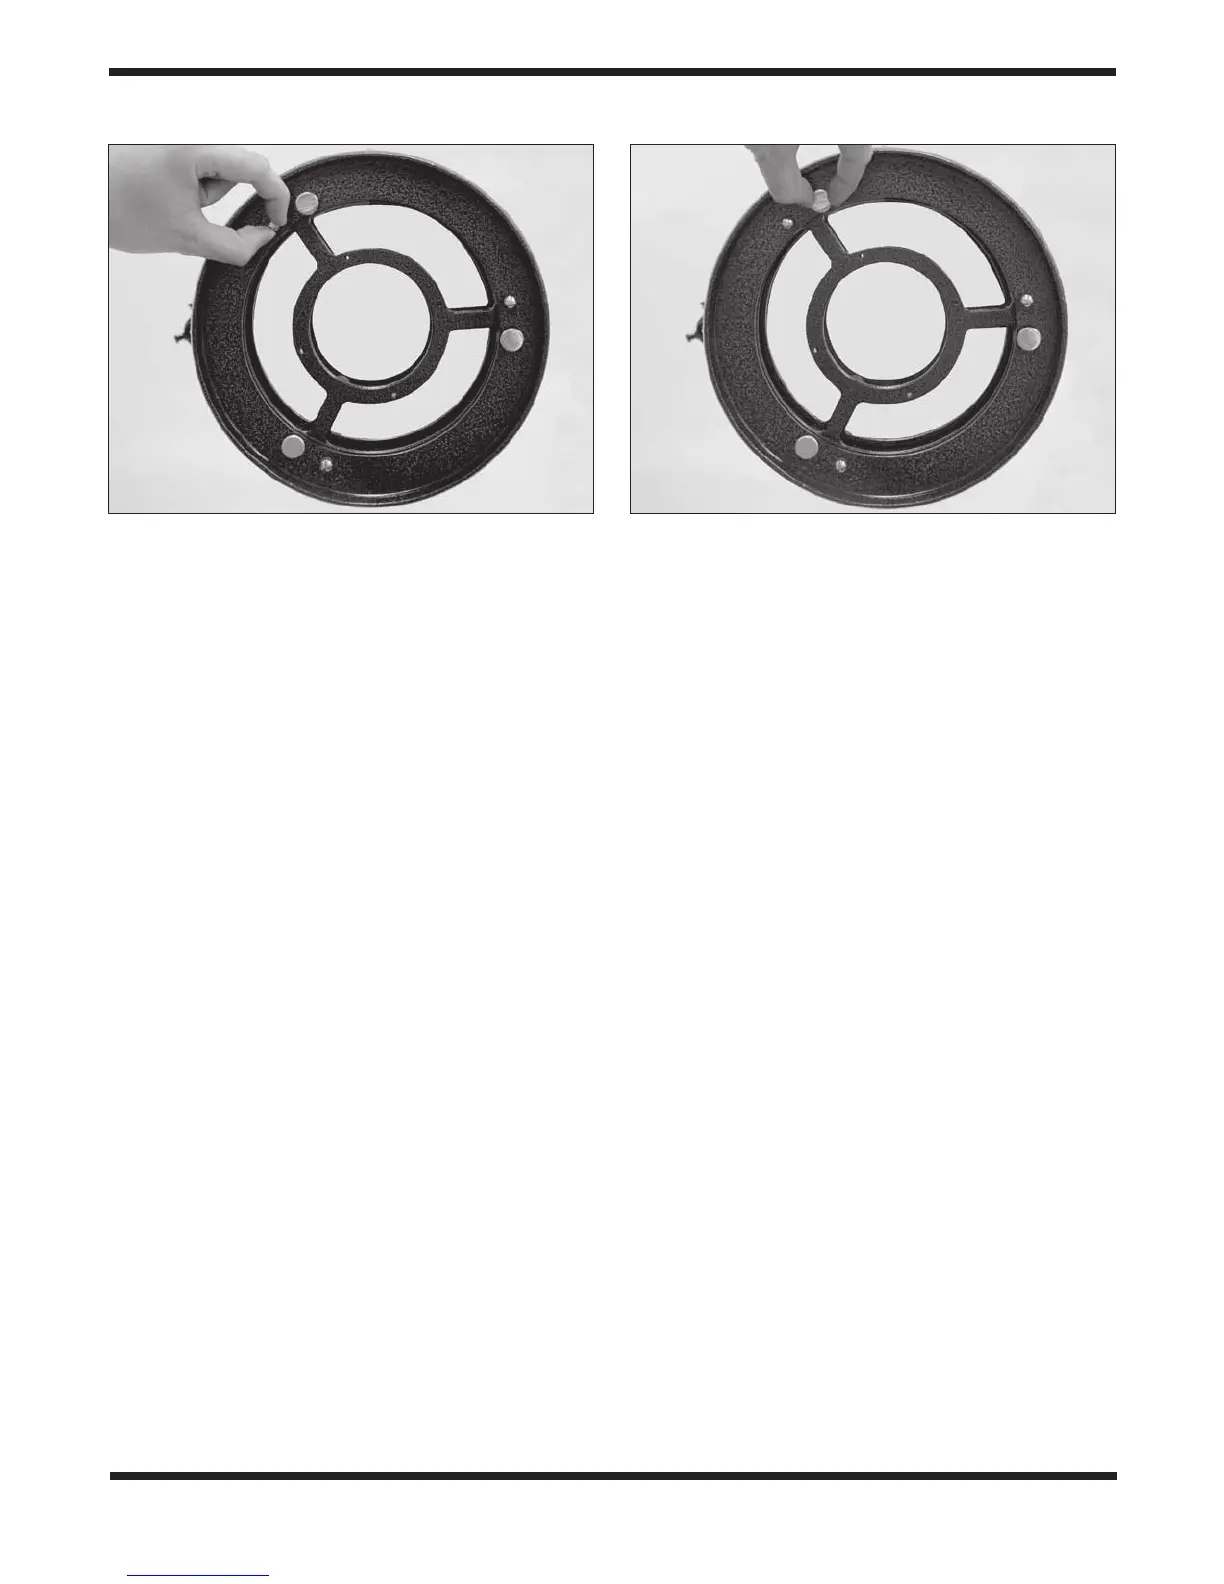
The tilt of the primary mirror is adjusted with the three large
spring-loaded collimation knobs on the rear end of the opti-
cal tube (bottom of the primary mirror cell). The three smaller
thumb screws lock the mirror’s position in place. These thumb
screws must be loosened before any collimation adjustments
can be made to the primary mirror (Figure 26).
To start, turn the smaller thumb screws counterclockwise a
few turns each. Use a screwdriver in the slots, if necessary.
Now, try tightening or loosening one of the collimation knobs
(Figure 27). Look into the focuser and see if the secondary
mirror reflection has moved closer to the center of the primary
mirror. You can easily determine this with the collimation cap
and mirror center mark by simply watching to see if the “dot”
of the collimation cap is moving closer or further away from
the “ring” on the center of the primary mirror. If turning the
one knob does not seem to bring the dot closer to the ring, try
using one of the other collimation knobs. It will take some trial-
and-error using all three knobs to properly align the primary
mirror. Over time you will get the feel for which collimation
screws to turn to move the image in a given direction.
When you have the dot centered as much as is possible in the
ring, your primary mirror is collimated. The view through the
collimation cap should resemble Figure 22e. Re-tighten the
locking thumb screws in the bottom of the mirror cell.
A simple star test will tell you whether the optics are accu-
rately collimated.
Star-Testing the Telescope
When it is dark, point the telescope at a bright star high in
the sky and center it in the eyepiece’s field of view. Slowly
defocus the image with the focusing knob. If the telescope is
correctly collimated, the expanding disk should be a perfect
circle (Figure 28). If the image is unsymmetrical, the tele-
scope is out of collimation. The dark shadow cast by the sec-
ondary mirror should appear in the very center of the out-of-
focus circle, like the hole in a doughnut. If the “hole” appears
off center, the telescope is out of collimation.
If you try the star test and the bright star you have selected
is not accurately centered in the eyepiece, then the optics
will always appear out of collimation, even though they may
be perfectly aligned. It is critical to keep the star centered,
so over time you will need to make slight corrections to the
telescope’s position in order to account for the sky’s apparent
motion.
5. Using Your Telescope
Focusing the Telescope
The SkyQuest XTg Dobsonians come standard with a 2"
dual-speed (11:1) Crayford focuser (Figure 21). The large 2"
format focuser allows use of 2" or 1.25" eyepieces and the
Crayford design prevents imaging shifting while focusing. The
focuser has coarse focus knobs and a fine focus knob for
most precise focusing.
With the 28mm Deep View eyepiece in the focuser and
secured with the thumb screws, move the telescope so the
front end is pointing in the general direction of an object at
least 1/4-mile away. Now, with your fingers, slowly rotate one
of the coarse focus knobs until the object comes into sharp
focus. Go a little bit beyond sharp focus until the image just
starts to blur again, then reverse the rotation of the knob, just
to make sure you’re close to the focus point.
Figure 26. The three small thumbscrews that lock the primary
mirror in place must first be loosened before any adjustments can
be made.
Figure 27. The tilt of the primary mirror is adjusted by turning
one or more of the three larger thumbscrews.
 Loading...