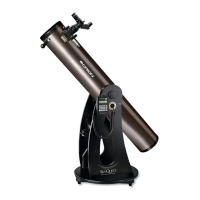
13
Note: Precise collimation is best achieved by using an
optional collimating tool, such as a quick-collimation cap,
a Cheshire eyepiece, or a laser collimator. Check our web-
site for available collimating tools. Figures 17B through
17D assume that you have an optional Cheshire eyepiece
or collimation cap in the focuser.
Primary Mirror Center Mark
You may have noticed that your SkyQuest XT Classic
Dobsonian has a small adhesive ring in the center of the pri-
mary mirror. This “center mark” allows you to achieve a very
precise collimation of the primary mirror; you don’t have to
guess where the center of the mirror is, which is important in
the collimation process. This center mark is especially useful
when using an optional collimating device.
Note: The adhesive dot should not be removed from the
primary mirror. Because it lies directly in the shadow of the
secondary mirror, its presence in no way adversely affects
the optical performance of the telescope or the image
quality. That might seem counter-intuitive, but it’s true!
Leave it in place.
Aligning the Secondary Mirror
Align the secondary mirror rst. Look down the focuser at the
secondary (diagonal) mirror. If the entire primary mirror reec-
tion is not visible in the secondary mirror, as in Figure 17B,
you will need to adjust the tilt of the secondary mirror. This
is done by alternately loosening one of the three second-
ary mirror alignment screws then lightly tightening the other
two (Figure 18), using the included 2mm hex key. Be sure to
loosen a setscrew as the rst step, followed by light tighten-
ing of the other(s). And turn the setscrews by only 1/8 turn
or less at a given time as you make adjustments. The goal is
to center the primary mirror reection in the secondary mirror,
as in Figure 17C. Don’t worry that the reection of the sec-
ondary mirror (the smallest circle) is off-center. You will x that
in the next step. It will take some trial and error to determine
which screws to loosen and tighten to move the reection of
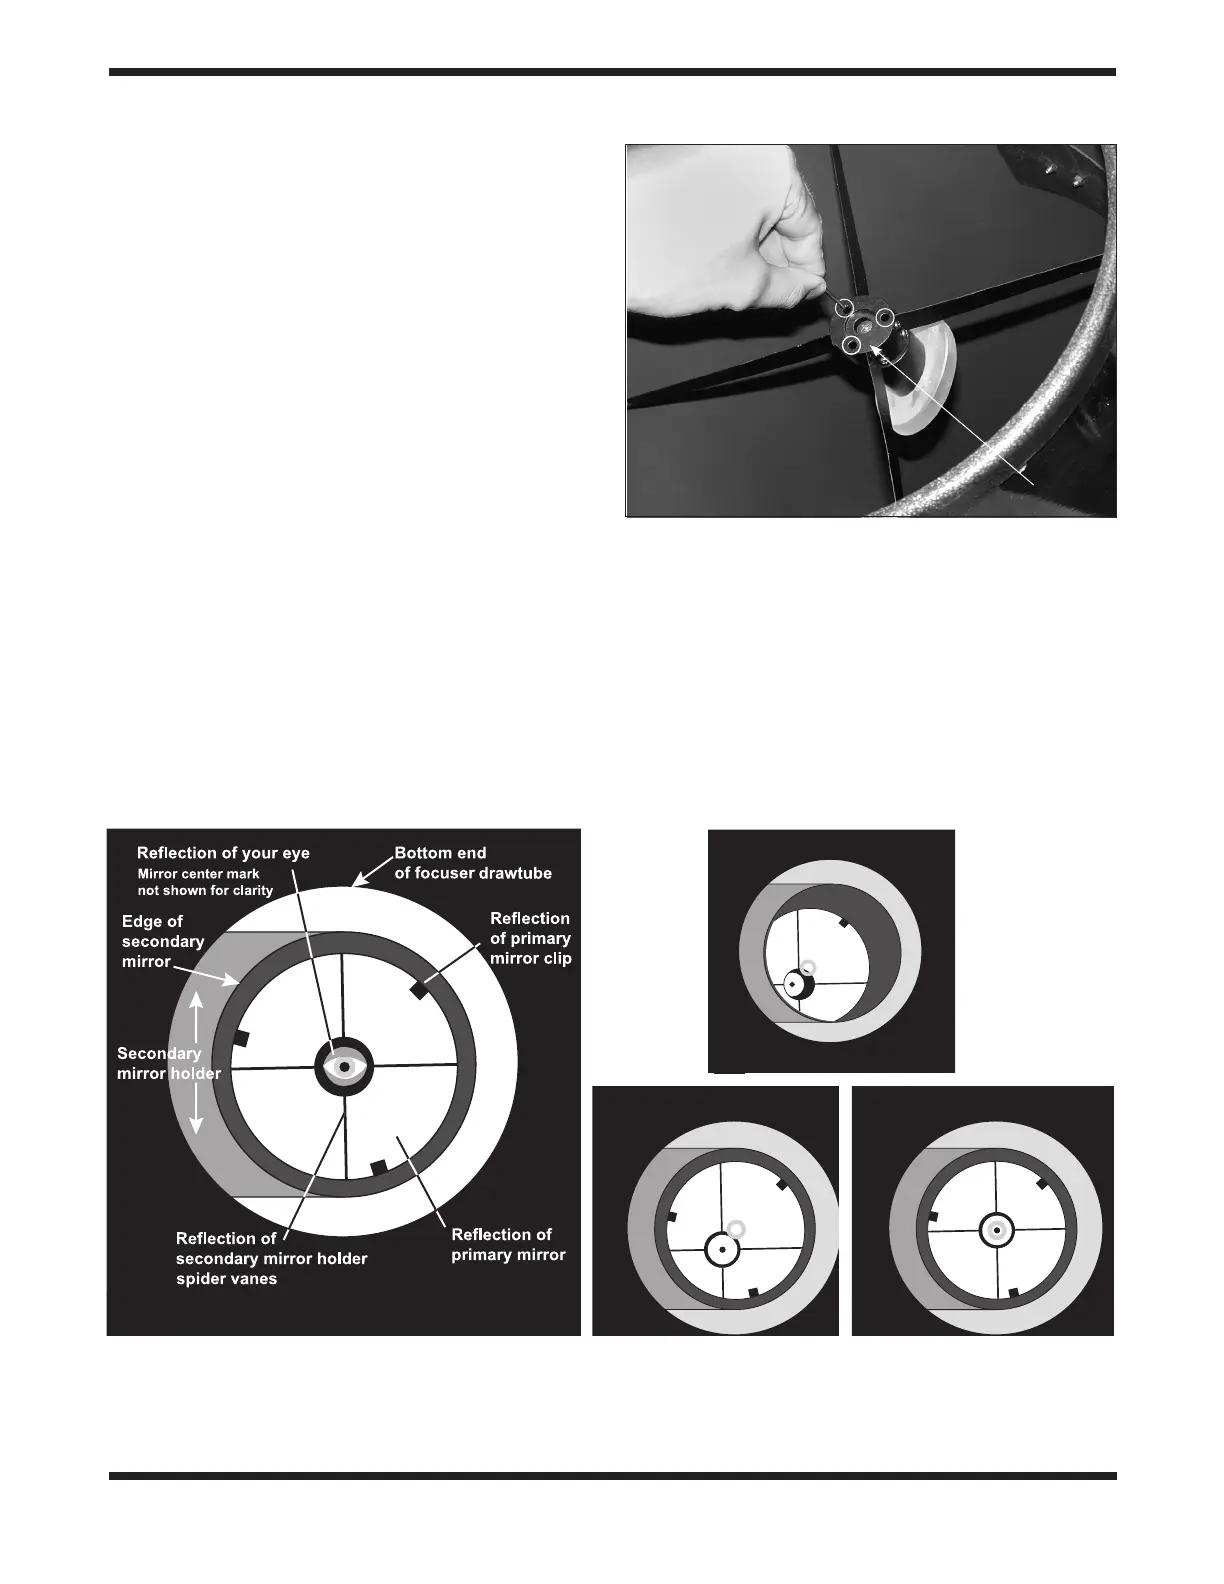
Figure 17. Collimating the optics. (A) When the mirrors are properly aligned, the view down the focuser drawtube should look
like this. (B) Here, only part of the primary mirror is visible in the secondary mirror, so the secondary mirror needs to be adjusted
(tilted). (C) Here the secondary mirror is correctly aligned because the entire primary mirror is visible in it. But the reection of the
secondary mirror is off-center. So the primary mirror still needs adjustment. (D) Now the primary mirror is correctly aligned, so
the secondary mirror is centered.
A.
B.
C.
D.
Figure 18. Secondary mirror collimation is performed using
the three Phillips screws circled here on the secondary mirror
holder.
Secondary
mirror
collimation
screws
 Loading...