4 5
4. Next, choose Install the software
automatically.
5. Windows may note that the driver
has not passed Windows Logo
testing. This is normal. Click the
Continue Anyway button. When
the Wizard has completed, click
the Finish button.
Windows Vista, Windows 7 and
Window 8 will automatically detect and
install the camera to your computer.
Mac Software Installation
Insert the CD-ROM and wait for the
window to appear. Read the file “read-
me.pdf” for installation instructions.
Also included on CD is Lynkeos a post
processing tool for Macs. This soft-
ware contains common post process-
ing tools such as alignment and stack-
ing for your planetary images.
Using the
Camera for the
First Time
We recommend using the camera for
the first time in daylight to become
familiar with the software interface and
camera settings.
1. Setup your telescope and use an eyepiece to locate an object outside that is
200 yards or more away.
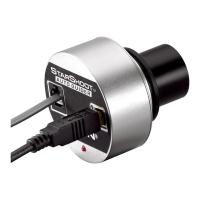
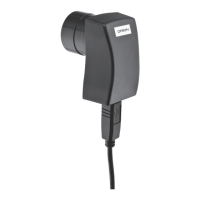
2. Plug the 5 MP into your computer’s USB port.
3. Remove the eyepiece and insert the 5 MP into the 1.25” eyepiece holder on
your telescope (Figure 1).
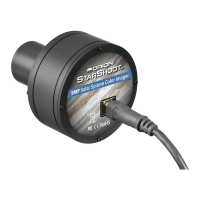
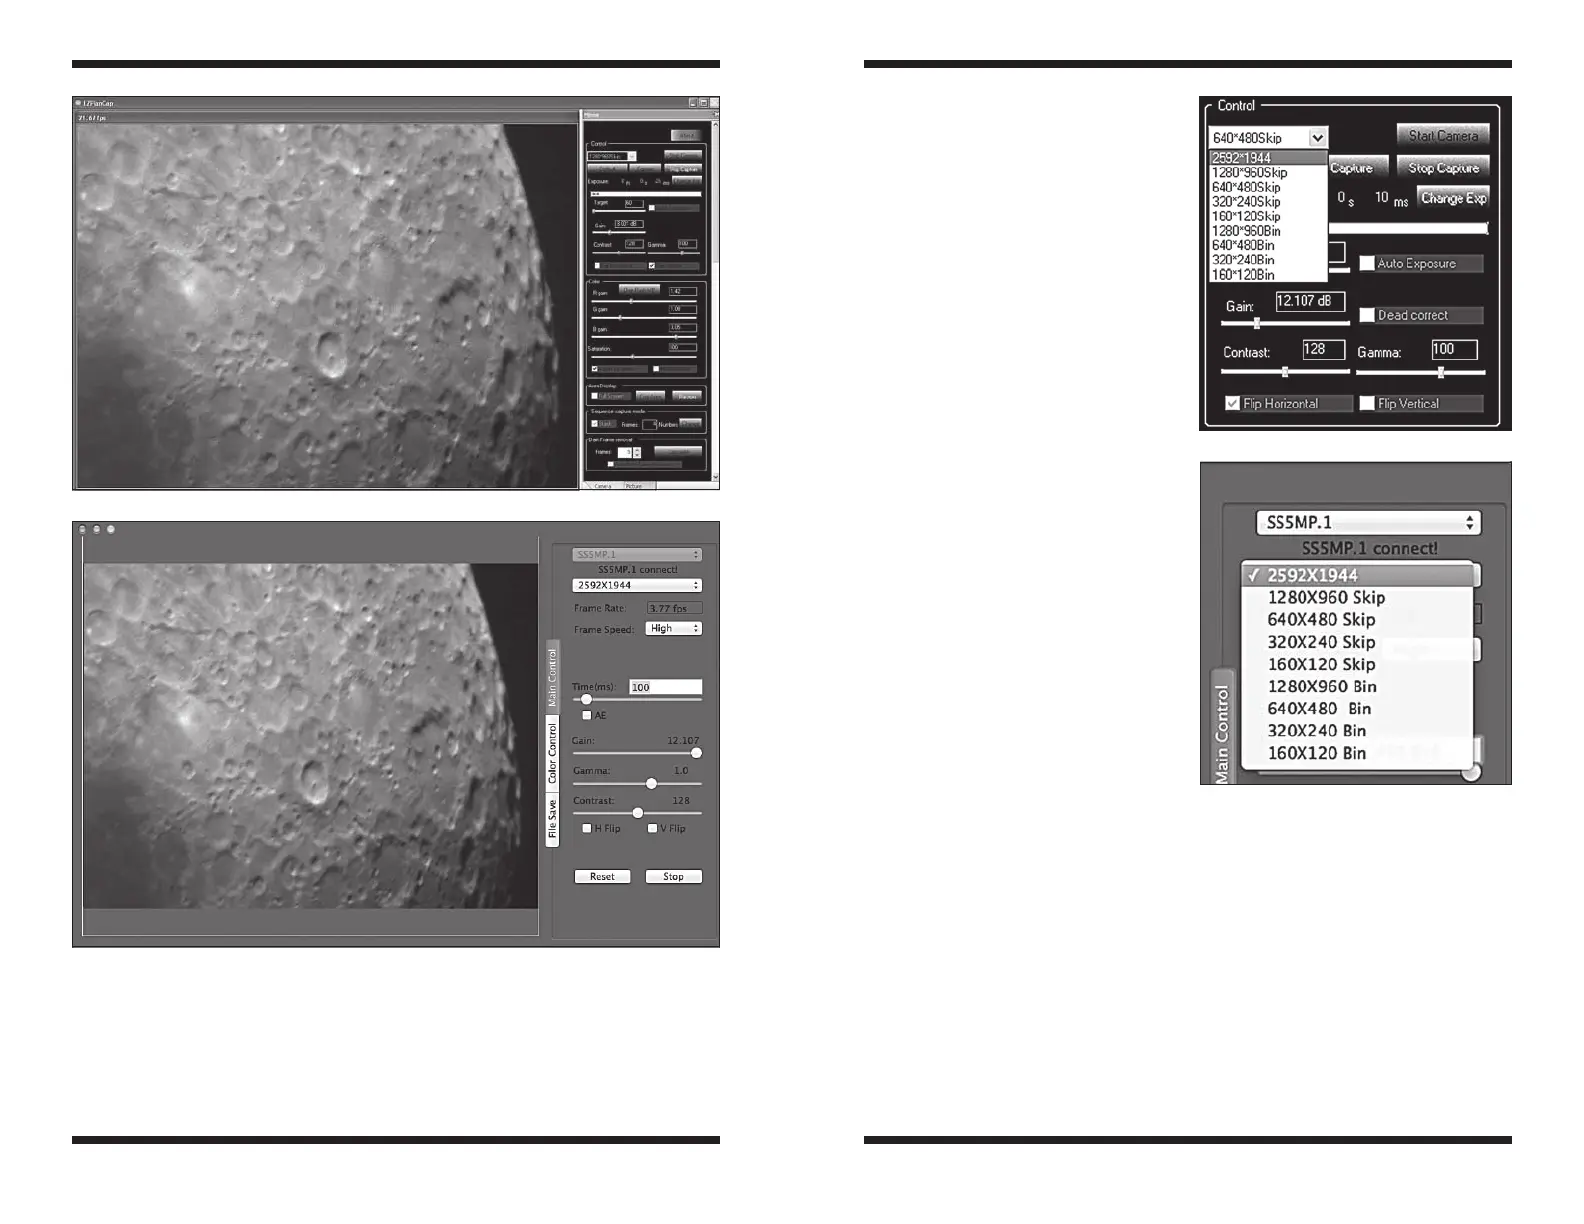
4. Open Orion EZPlanCap and select a resolution to connect to camera (Figure
5 & 6).
5. Windows users press the button “Start Camera” to connect to camera and
begin streaming live video. Mac users press the “Live” button to connect with
camera and begin streaming live video.
6. If no camera is seen, check cable connections and camera driver installation.
2. In Windows XP a Found New Hardware Wizard will appear. Windows 7, 8
or Vista will automatically install the device.
3. Windows XP will ask if you want to search for drivers and updates online.
Select No, not this time and click Next.
Figure 3. EZPlanCap software (Windows).
Figure 4. EZPlanCap software (Mac).
Figure 5. Selecting resolution (Windows).
Figure 6. Selecting resolution (Mac).
 Loading...