6
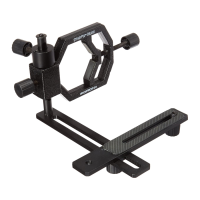
4. Position the smartphone’s camera
lens approximately in the center
of the eyepiece holding clamp (C)
(Figure 6).
5. Center the smartphone’s camera
lens about a quarter inch back
from the telescope eyepiece
using the horizontal and vertical
ne-adjustment knobs (D and
F) and by moving the phone on
the platform slots (K) as needed
by slightly loosening the two
attachment knobs (H/I and P).
Ensure that the eyepiece lens
and the phone’s camera lens are
parallel. When done, tighten the
platform lock knob (E).
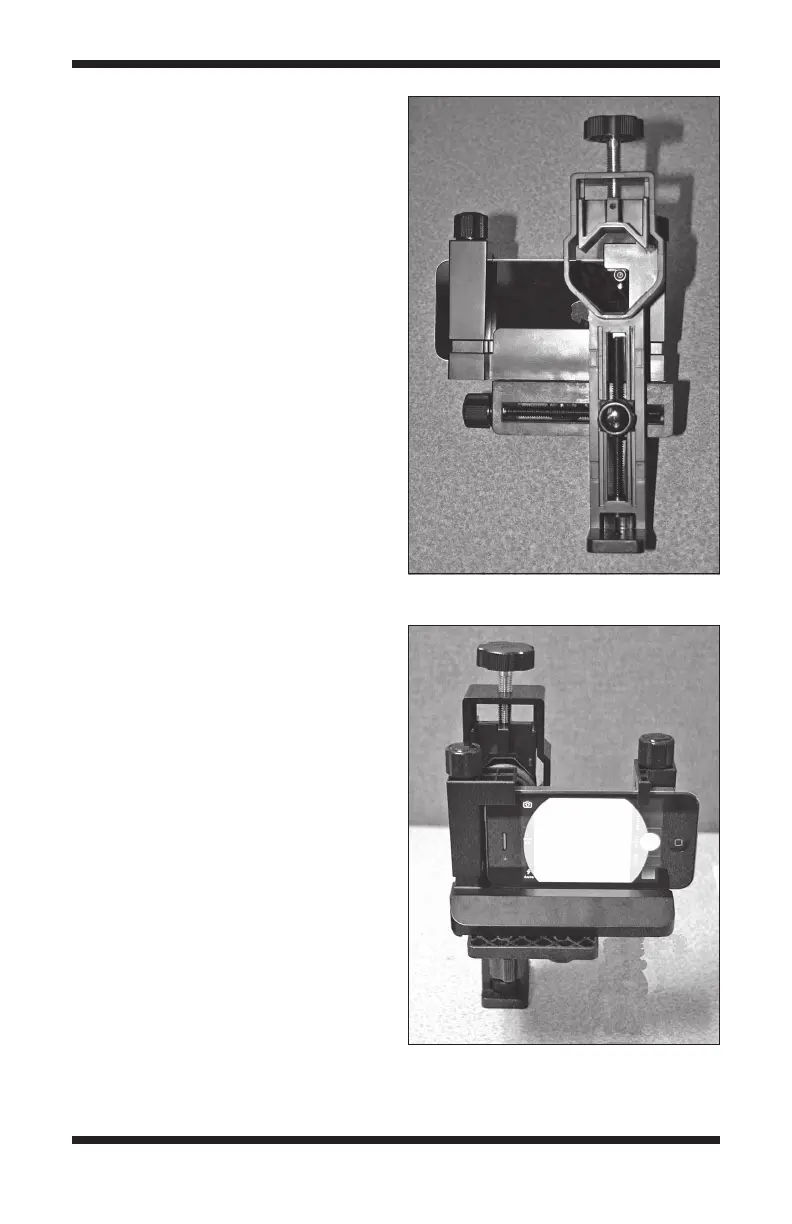
6. Turn on the smartphone and its
camera. Make any horizontal,
vertical, or front-to-back
adjustments to the camera
position until the LCD displays the
largest image. Then tighten the
lock knobs to x the camera in that
position (Figure 7).
Now you’re ready to mount the
assembly on the telescope and start
shooting pictures.
Mounting the SteadyPix Pro on
a Tripod
The SteadyPix Pro can be mounted
on any camera tripod equipped with
a ¼"-20 post. This is useful when
photographing through a small
monocular, where the weight of the
monocular can be supported solely by
the eyepiece clamp of the SteadyPix
Pro, while the heavier SteadyPix Pro is
attached to the tripod (see Figure 8).
Attach the SteadyPix Pro by threading
the tripod’s ¼"-20 post into the ¼"-20
socket (G).
Figure 7. A smartphone is aligned in the
SteadyPix Pro and ready to mount on the
telescope.
Figure 6. Center the smartphone’s
camera lens in the eyepiece holder clamp.