48
INSTALLING THE AVABAG SYSTEM
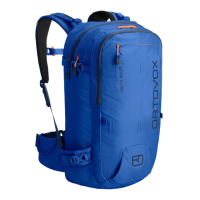
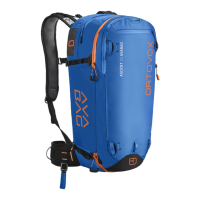
WARNING: THE AVABAG BACKPACK MODELS HAVE DIFFERENT HANDLE CABLE OPENINGS (G)
1. To open the AVABAG compartment (Z2) open the
cover of the burst zipper (B) and the burst zipper (A).
2. Remove the activation handle (T) from the activation
cable with silver ball (O) (see page ). Lead the
activation cable with silver ball (O) through the
handle cable opening (G) in the shoulder strap.
3. Insert the AVABAG system (P) into the AVABAG
garage (Y)and attach to the backpack using the
orange AVABAG clip fastening (H) and AVABAG hook
and loop fastener (I).
4. Now, to secure the system, insert the cartridge
bushing (Q) into the mesh pocket eyelet (Z) which
will connect the main compartment (Z1) with the
AVABAG compartment (Z2).
5. Using the three T-hooks, (F) attach the AVABAG
balloon (N)to the AVABAG eyelets (S) according to
the specified color code.
To make installation easier, start with the hook(F)
with red strap and connect it with the red AVABAG
eyelet (S) on the AVABAG balloon (N). Make sure
that the AVABAG balloon (N) is not twisted when
installed.
6. Fold the AVABAG balloon (N) (as on page /) into
the AVABAG compartment (Z2) and close it.
7. Remount the activation handle (T) on the activation
cable with silver ball (O) in the desired position (see
page ).
Handle cable opening (G) for ASCENT 30 / 28 S Handle cable opening (G) for FREE RIDER 22 / 20 S // ASCENT 22
 Loading...