English-7
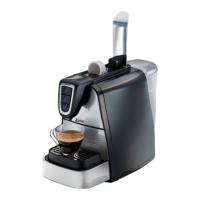
NOTE: Tamp or compress coffee using the tamper as shown
(see gure 3). Do not overll the lter. This might cause
clogging or overow.
3. FOR PODS: place the pod lter in the porta-lter and insert
the pod in it.
4. Position porta-lter underneath the brew head, attach
porta-lter by rst moving retainer clip back, position handle
so that the handle lines up with the open lock icon “ ” on
the unit and ts into the groove. Then, slowly turn it to the
right until the arrow icon “ ” located at the retention clip is
aligned with the closed lock symbol “ ” on the unit.
5. Make sure to place one espresso “demitasse” cup under the porta-lter.
6. Make sure the unit is plugged in.
7. Turn unit on “I” by pressing the button located in the back of the unit.
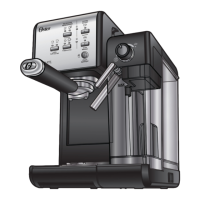
8. The control panel lights (4 lights in the center) will start
blinking. Once these lights become solid blue, press the
pod/
single shot of espresso (Ristretto) button “ ” (see gure 4).
9. The unit will start brewing a single shot of espresso
(Ristretto). The unit will sound three times once the cycle is
completed. Your delicious single shot of espresso (Ristretto)
is ready to be enjoyed.
NOTE: To brew less coffee than the preset serving, press the
function button to stop the brewing process when the amount of
coffee desired is reached. The unit will beep three times indicating
the customized process has been completed.
10. Turn off the unit off “O” by pressing the button on the back of it. Let it cool down
before you clean it. See the “Cleaning Your Espresso Maker” section for details.
PREPARING A DOUBLE SHOT OF ESPRESSO (DOPPIO)
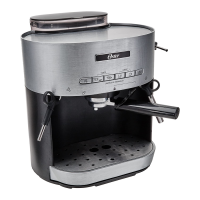
1. Select the lter for a double shot of espresso (Doppio)
(see gure 5).
2. Place the selected lter on porta-lter and ll it with fresh,
ne ground espresso coffee. Clean any excess coffee from
the rim of the lter holder. This will assure proper t under
the brew head.
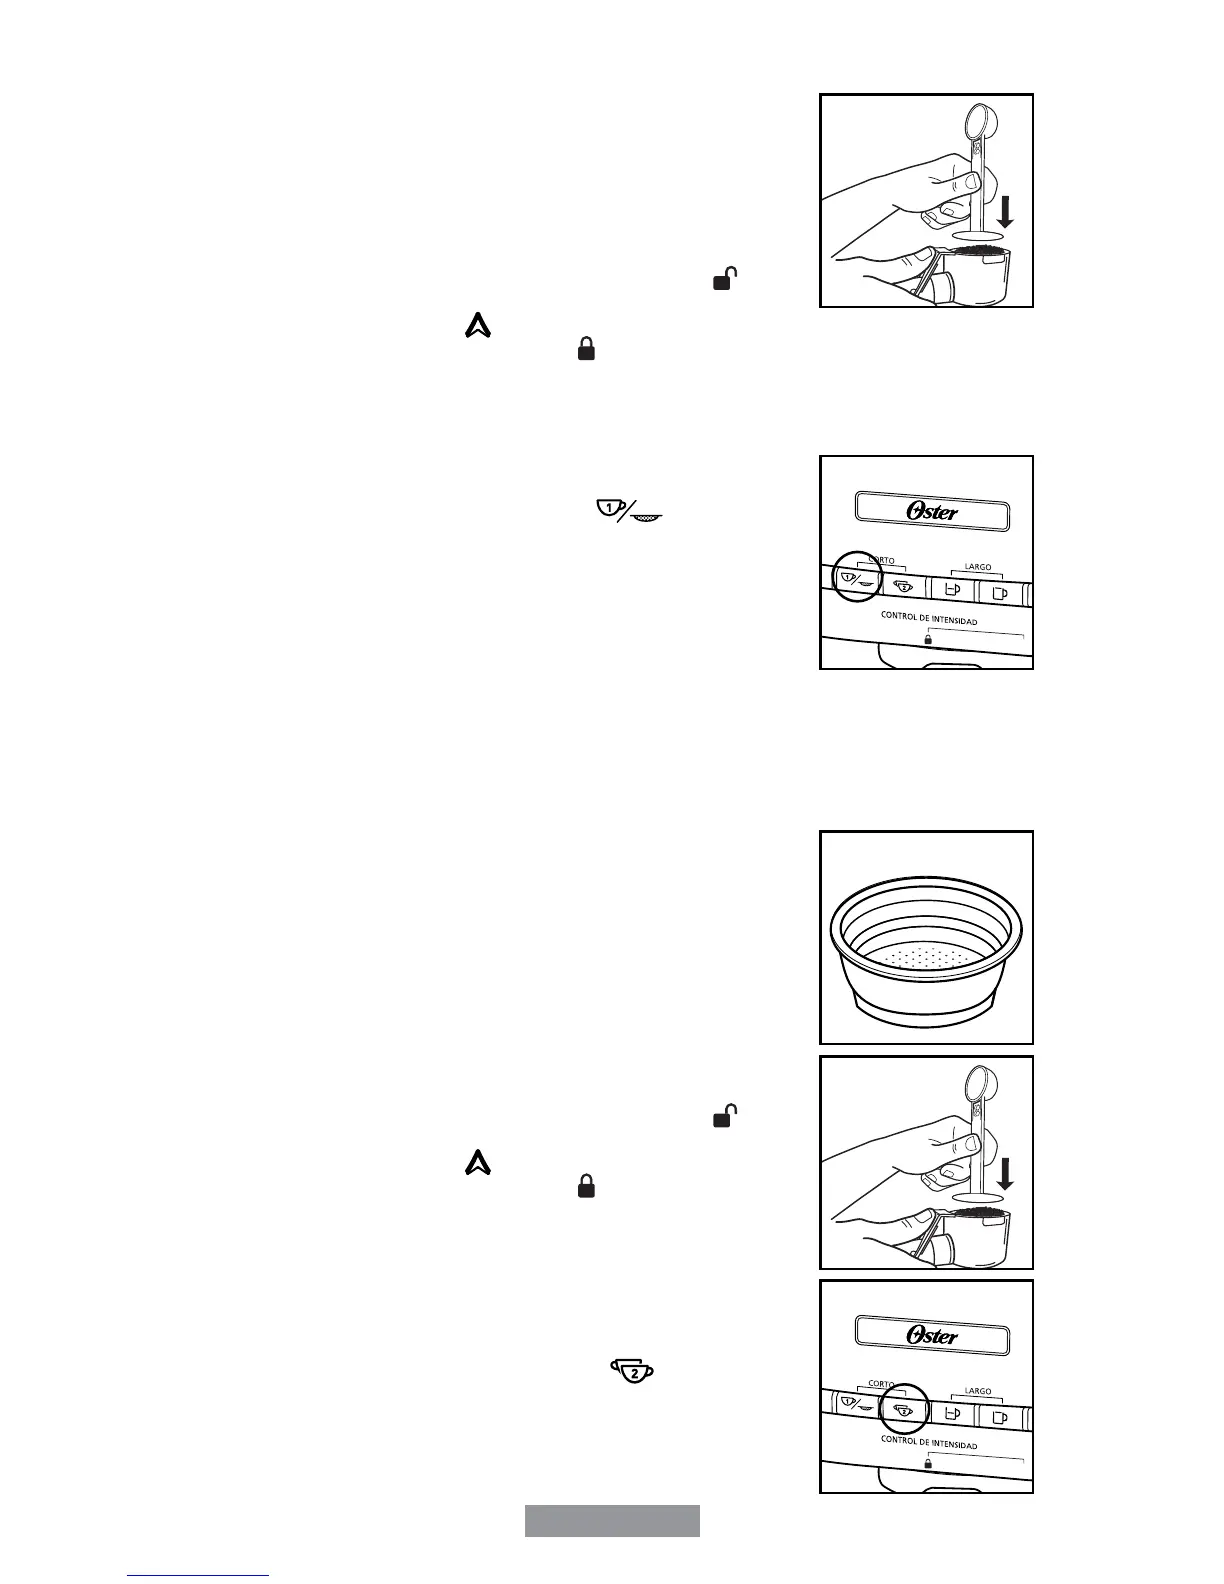
NOTE: Tamp or compress coffee using the tamper as shown
(see gure 6).Do not overll the lter. This might cause
clogging or overow.
3. Position the porta-lter underneath the brew head, attach
porta-lter by rst moving retainer clip back, position handle
so that the handle lines up with the open lock icon “ ” on
the unit and ts into the groove. Then, slowly turn it to the
right until the arrow icon “ ” located at the retention clip is
aligned with the closed lock symbol “ ” on the unit.
4. Make sure to place two-espresso “demitasse” cups or a
small pitcher under the porta lter.
5. Make sure the unit is plugged in.
6.
Turn unit on “I” by pressing the button located in the back of the unit.
7. The control panel lights (4 lights in the center) will start
blinking. Once these lights become solid blue, press the
double shot of espresso (Doppio) button “ ” (see gure 7).
8. The unit will start brewing double shot of espresso (Doppio).
The unit will sound three times once the cycle is completed
indicating that the delicious double shot of espresso (Doppio)
are ready to be enjoyed.
Figure 3
Figure 4
Figure 5
Figure 6
Figure 7