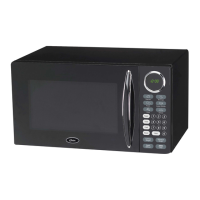
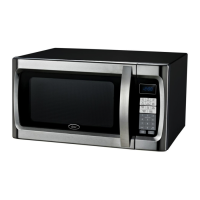
z Never place the glass tray upside down.
z The glass tray should never be restricted.
z Both the glass tray and turntable ring assembly must always be used during cooking.
z All food and containers of food should always be placed on the glass tray for cooking.
z If the glass tray or turntable ring assembly cracks or breaks, call customer service 1-866-257-3336.
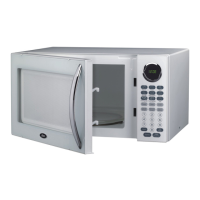
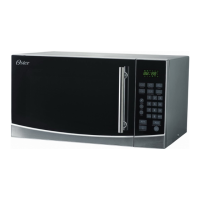
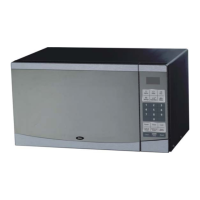
SETTING THE CLOCK
1. Touch CLOCK pad once.
2. Use the number pads to enter the correct time.
3. Touch CLOCK pad again.
NOTE:
· This is a 12 hour clock. When the oven is first plugged in or when power resumes after a power interruption, the
display will show ENTER CLOCK TIME. If you prefer to not have the clock displayed, touch STOP/RESET.
SETTING THE TIMER
1. Touch TIMER.
2. Enter the amount of time by touching the number pads.
3. Touch START/MINUTE PLUS.
NOTE:
· Time countdown can be seen in display before clock or cooking time is returned to display.
· Touch TIMER and then touch STOP/RESET to cancel TIMER during timing process.
SETTING A COOKING PROGRAM
A.
One-stage Cooking
1. Use the number pads to set a cooking time. You can set a cooking time from one second to 99 minutes and 99
seconds.
2. The default setting is 100% microwave power output. If you want to set a power level other than 100%, touch
POWER, and then use the number pads to enter the power level.
3. Touch START/MINUTE PLUS to start cooking.