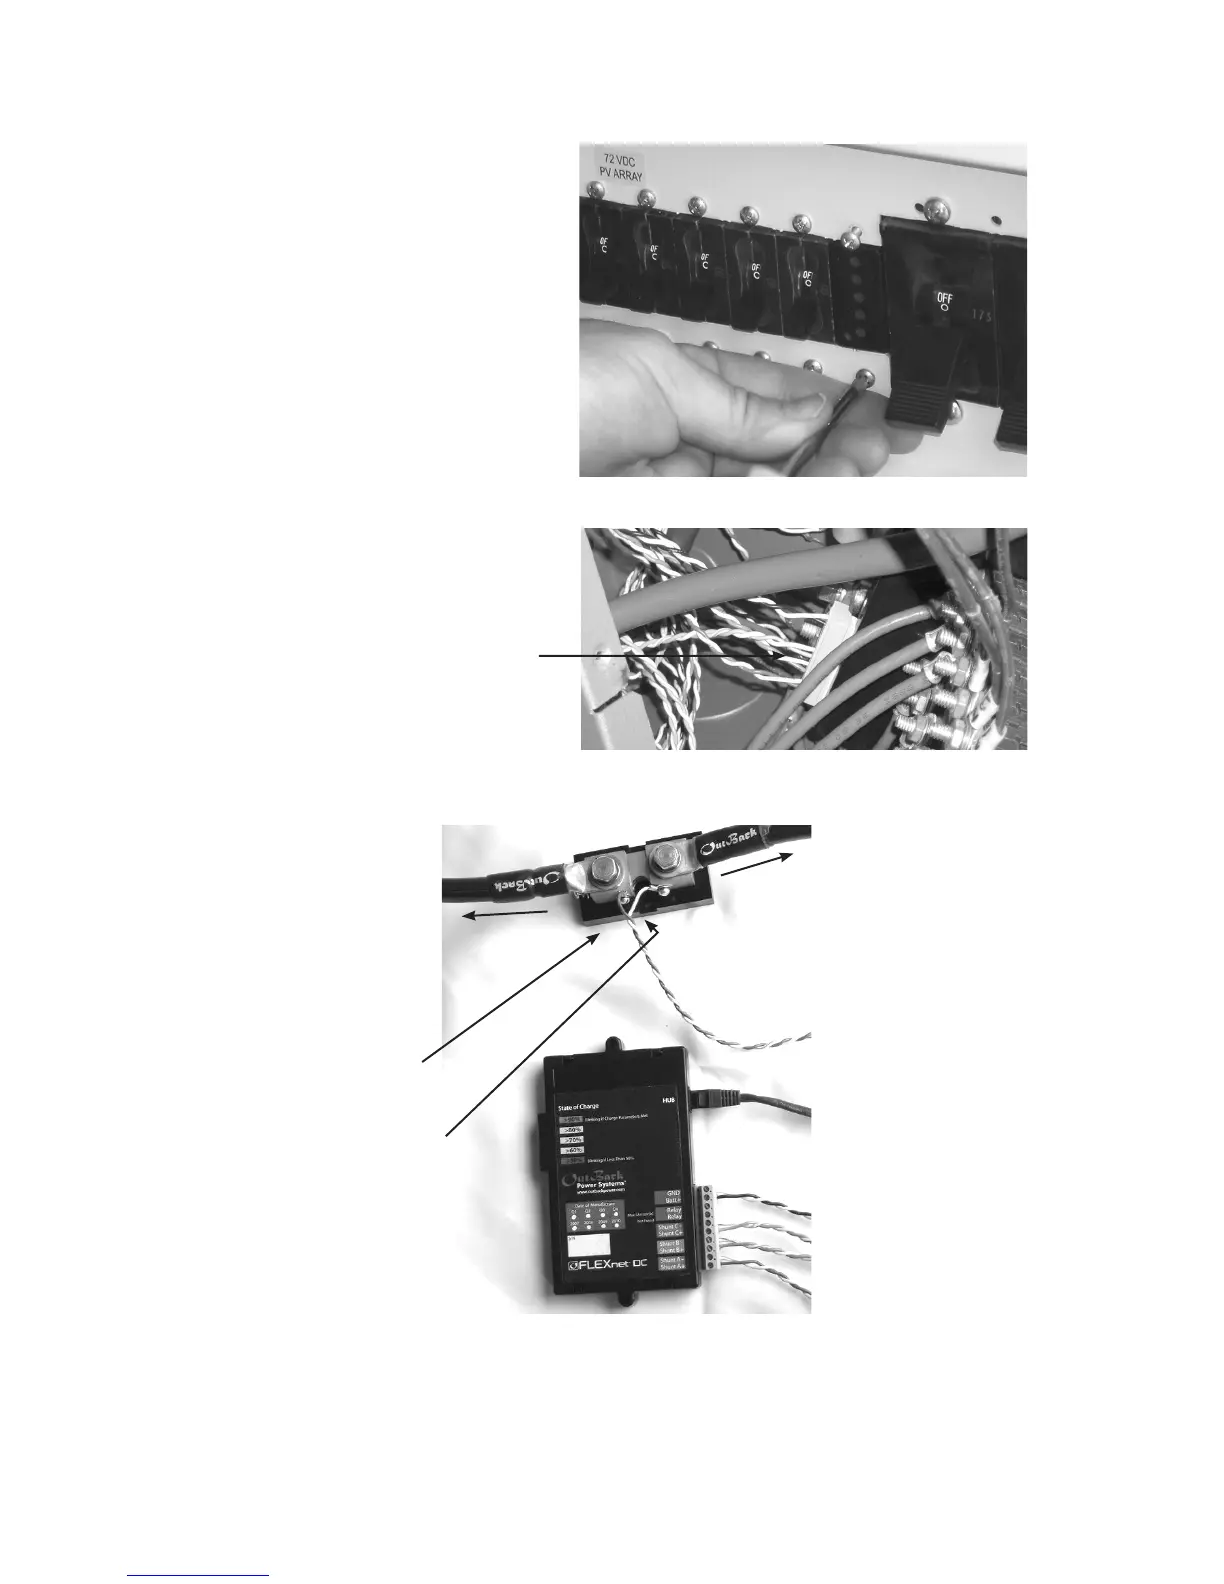
8
• Insert the FLEXNet DC inside the DC
breaker box and through the back side
of the breaker bracket; secure with two
#6-32 X 3/8 panhead machine screws
(included) torqued at 5-8 inch-pounds
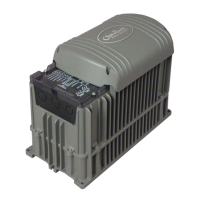
• Connect all wires to the ten-pin wiring
connector. Do not leave any loose wires!
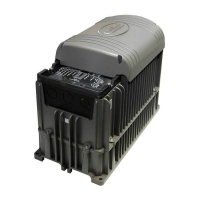
• Connect each twisted pair to a shunt.
Example:
• Battery side (green wire in
twisted pair) connects to the
battery negative side of the
shunt
• Device side (white wire in
twisted pair) connects to the
source/load (negative) side of
the shunt
NOTE: Color of wiring jacket
can vary
NOTE: The FLEXNet DC shunts must be connected in the negative (low) side of whatever they monitor.
Otherwise, the unit can be damaged.
Battery Negative
Source/Load Negative