7
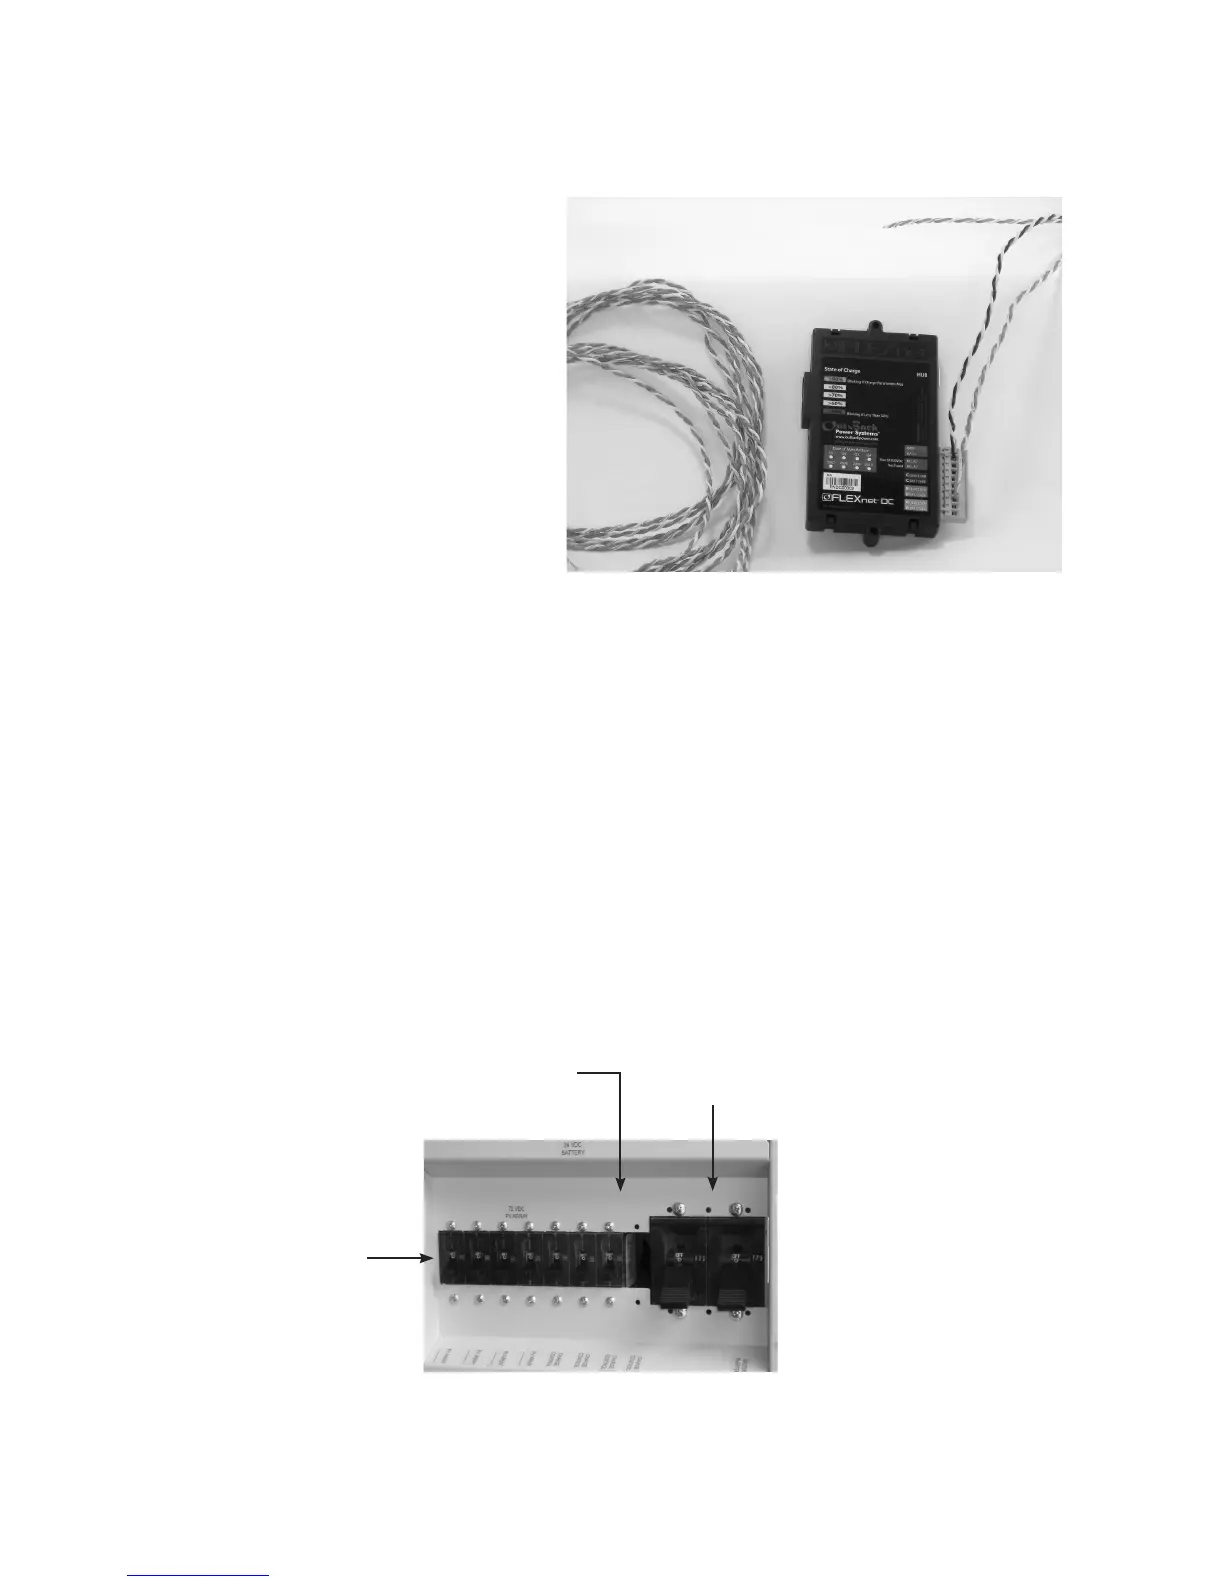
The FLEXNet DC package includes:
A. FLEXnet DC
B. Ten-pin wiring plug for
shunt, relay and battery
connections
C. Six feet of CAT5 cable for HUB connection
D. Ten-foot color-coded twisted pair
(TP) cable connects to the battery
E. Three six-foot, color-coded,
twisted pair cables for shunt connections
F. Two #6-32 X 3/8” panhead
machine screws
G. Colored labels identifying shunts
Installing the FLEXnet DC
The FLEXnet DC mounts in a 3/4” DC breaker slot in an OutBack DC breaker bracket installed inside
a FLEXware enclosure or previous model OutBack enclosure. To mount the FLEXnet DC inside an
OutBack enclosure:
Put the system into bypass mode
Shut o all AC input to inverters
Shut o all PV and DC breakers
Disconnect the battery cables at the battery
Remove the breaker bracket from its enclosure by removing the four corner screws
Remove a DC breaker knockout
1.
2.
3.
4.
5.
6.
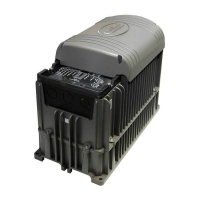
PV breakers o
DC breakers o
FLEXnet DC mounts in a DC breaker
slot after removing the breaker
knockout
A
B
D
E
E