10400610-001 ©2011-14 Overland Storage, Inc. Page 6 of 6
http://support.overlandstorage.com
You can get additional technical support on the Internet at the Overland Storage Support web page, or by contacting Overland Storage using
the information found on the Contact Us page on our web site.
Add-on/Spare PCIe Card Instructions
Attach the Bezel
1. Position the bezel with the top edge tabs aligned with the
top bays located on the front of the appliance.
For the DX2, verify that the Power Panel on the right side
is in line with the hole on the bezel flange.
2. Move the bezel toward the appliance until the magnets
make contact.
3. Verify that the bezel is aligned properly and that all the
LEDs are visible.
Attach Cables and Power Cords
1. Reattach all the cables (except power cords) to the same
connections previously used.
2. Attach the power cord(s).
3. At the front, press the power switch to power it on.
Return Old Parts to Overland
1. Place the old part in the anti-static bag and put it in the
replacement part’s box.
2. Use the existing packing materials to secure it in the
box.
3. Use an RMA to return the part to Overland Storage.
For return shipping details and RMA number, go to:
http://docs.overlandstorage.com/return-instructions
Magnets Top Tab
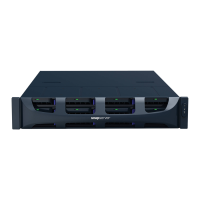
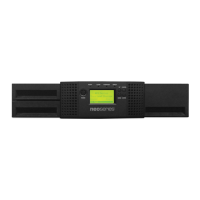
DX1
Magnets Tabs
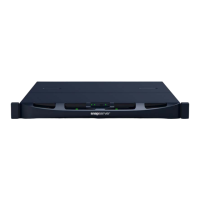
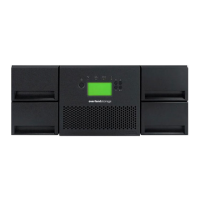
DX2
DX1
Data Cables Power Socket
Power Sockets Data Cables
DX2