10400610-001 ©2011-14 Overland Storage, Inc. Page 2 of 6
Add-on/Spare PCIe Card Instructions
Prepare the Unit
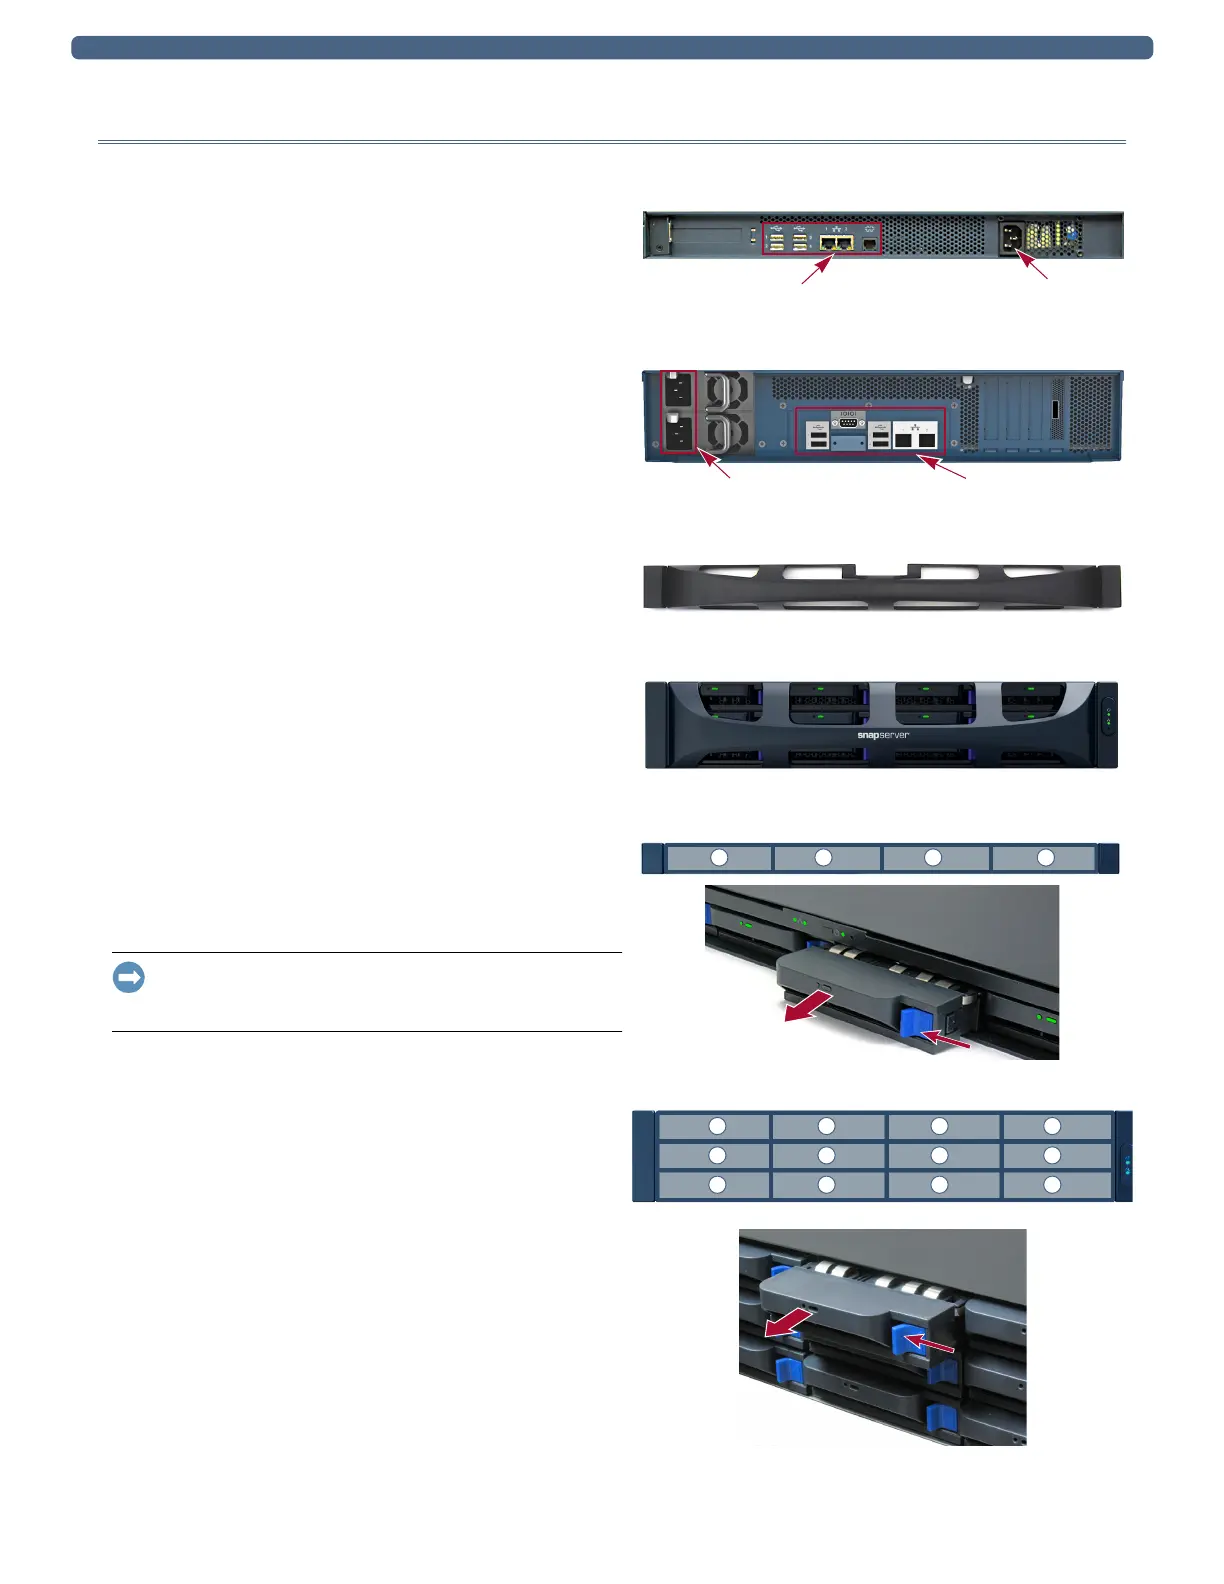
Power Off and Disconnect
1. Power off the unit using Web Management Interface.
Select
System Maintenance > Reboot and Shutdown >
Shutdown
.
2. When all the LEDs are off, disconnect the power cord(s).
3. Disconnect all data cables from the unit.
Remove the Bezel
Carefully take hold of the front bezel and pull straight out from
the appliance until the magnets release. Set it aside.
Remove the Drives
Remove all the drive and blank carriers, and note from which
bay each was removed.
Do not remove the disk drives from their carriers. Doing so voids the
drive warranty.
IMPORTANT: Overland recommends that you remove the disk
drives to reduce the unit’s weight prior to removal. They must
be replaced in the same drive bays when done.
This process applies to both drive assemblies and blanks:
1. Press the release button on the right side of the carrier.
2. Using the handle, pull the assembly out.
3. Set the assembly on an ESD-safe surface.
4. Repeat Steps 1–3 for each remaining carrier.
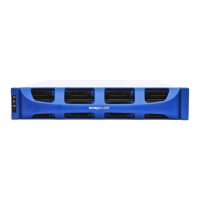
DX1
Data Cables Power Socket
Power Sockets Data Cables
DX2
DX1
DX2
1 2 3 4
DX1
1 2 3 4
5 6 7 8
9 10 11 12
DX2