10400610-001 ©2011-14 Overland Storage, Inc. Page 5 of 6
Add-on/Spare PCIe Card Instructions
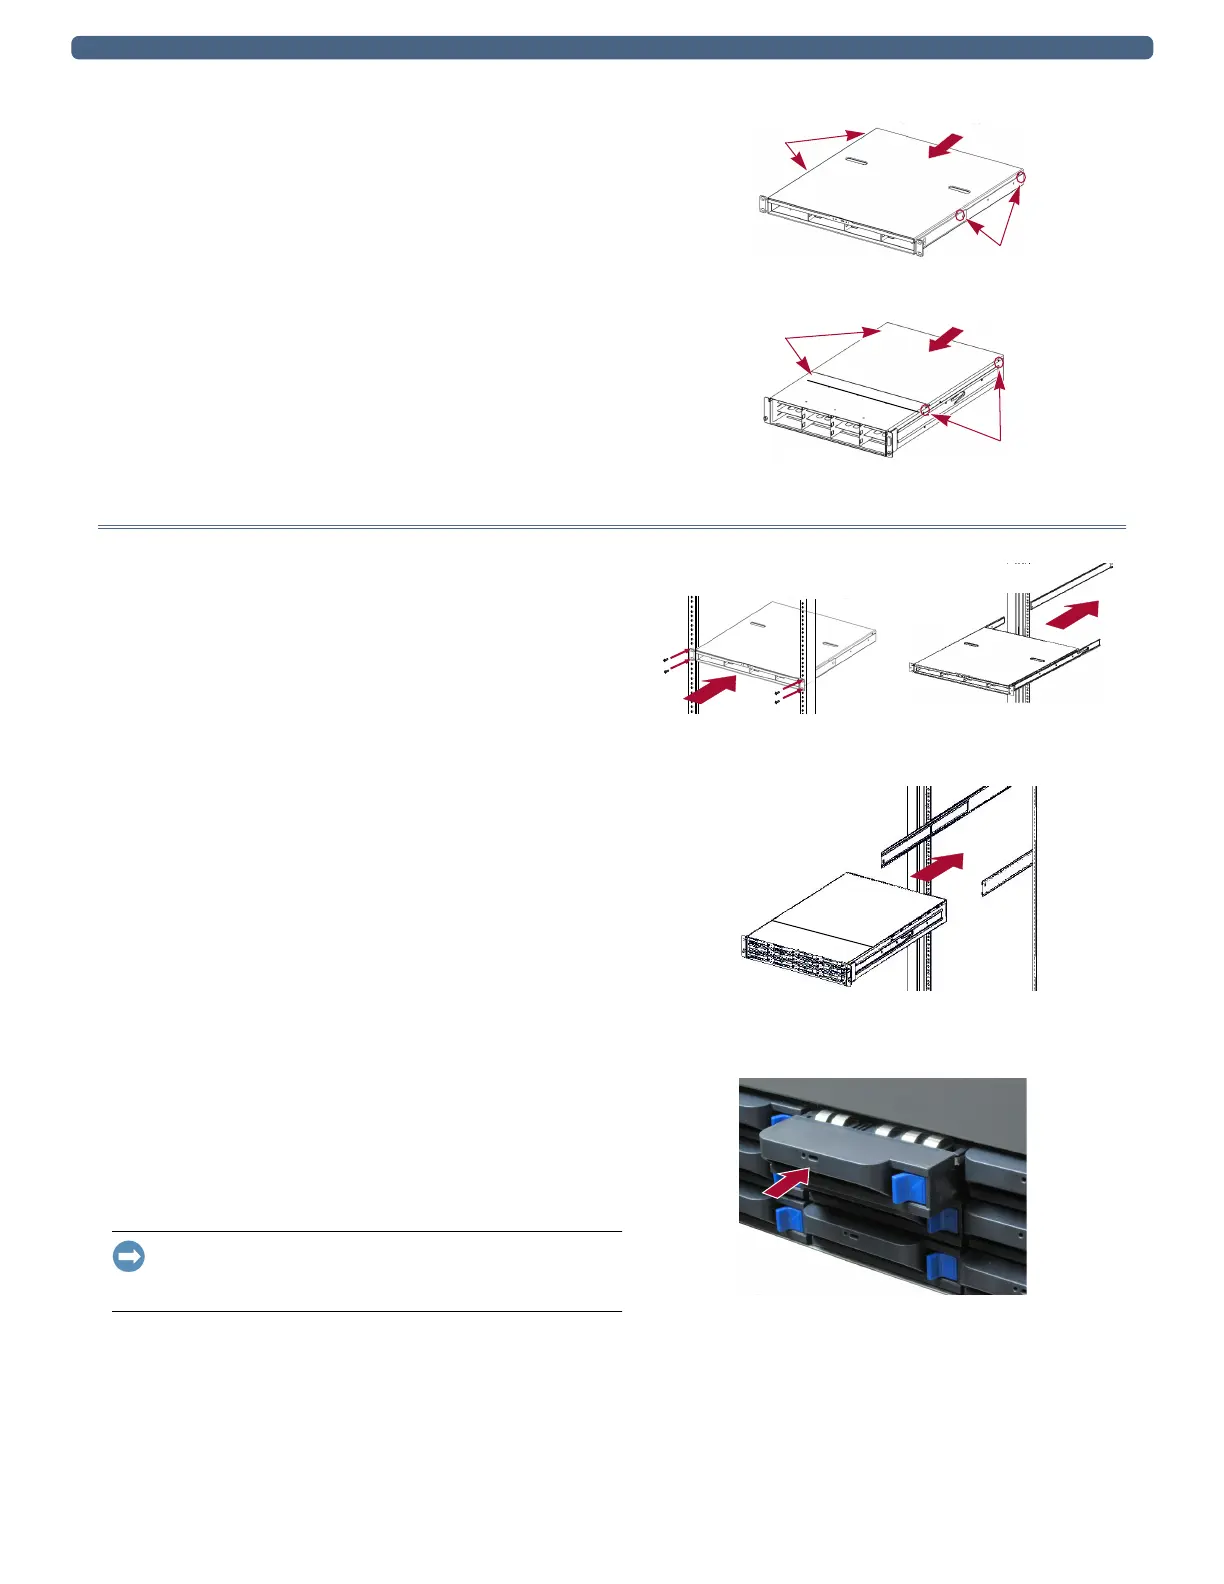
Reinstall Top Cover
1. Align the top panel over the unit with no more than one-
half inch (1.25cm) extending out over the rear of the unit,
and press it down onto the unit.
The front edge should be on the silver lip of the front.
2. Slide the panel forward until it is fully seated.
3. Using the four retained screws, secure the panel.
Reinstall in Rack
Reinstall the Chassis
1. For racks with sliding rails, pull the middle rails out of
the rack.
2. Using the mechanical lifter, position the appliance in
front of the rack.
3. Based on the mounting system, carefully insert the unit
into the rack and secure it:
• Fixed brackets – Position the unit in the rack and use
the four retained screws to secure the front flanges to
the rack.
• Sliding rails – Slide the rails on the side of the unit
into the rack rails, slide it all the way to the rear, and
secure the appliance using the two captive screws.
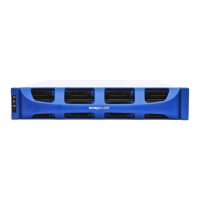
Reinstall Drives
All the drive and blank carriers must be returned to their
original bays.
1. Position a drive assembly in front of its empty bay.
2. Slide the assembly in until the latch clicks, locking it in
the bay.
3. Repeat Steps 1–2 for all remaining drive carriers.
IMPORTANT: To maintain proper airflow and cooling, a drive
assembly or a blank carrier must be installed in every bay. No
empty bays are allowed.
Screws
Screws
DX1
Screws
Screws
DX2
DX1: Fixed Brackets DX1: Sliding Rails
DX2: Sliding Rails
DX2