Installation tools
Electronic Stud Locater (Wooden stud installation only)
Variable Speed Electric Drill
Hammer Drill (Concrete installation only)
Drill Bits:
1/4" (6 mm) drill bit (Wooden stud installation only)
1/2" (13 mm) masonry drill bit (Concrete installation only)
Hammer (Concrete/Masonry installation only)
Ratchet Wrench with 11/16" (17 mm) socket
Philips head screwdriver
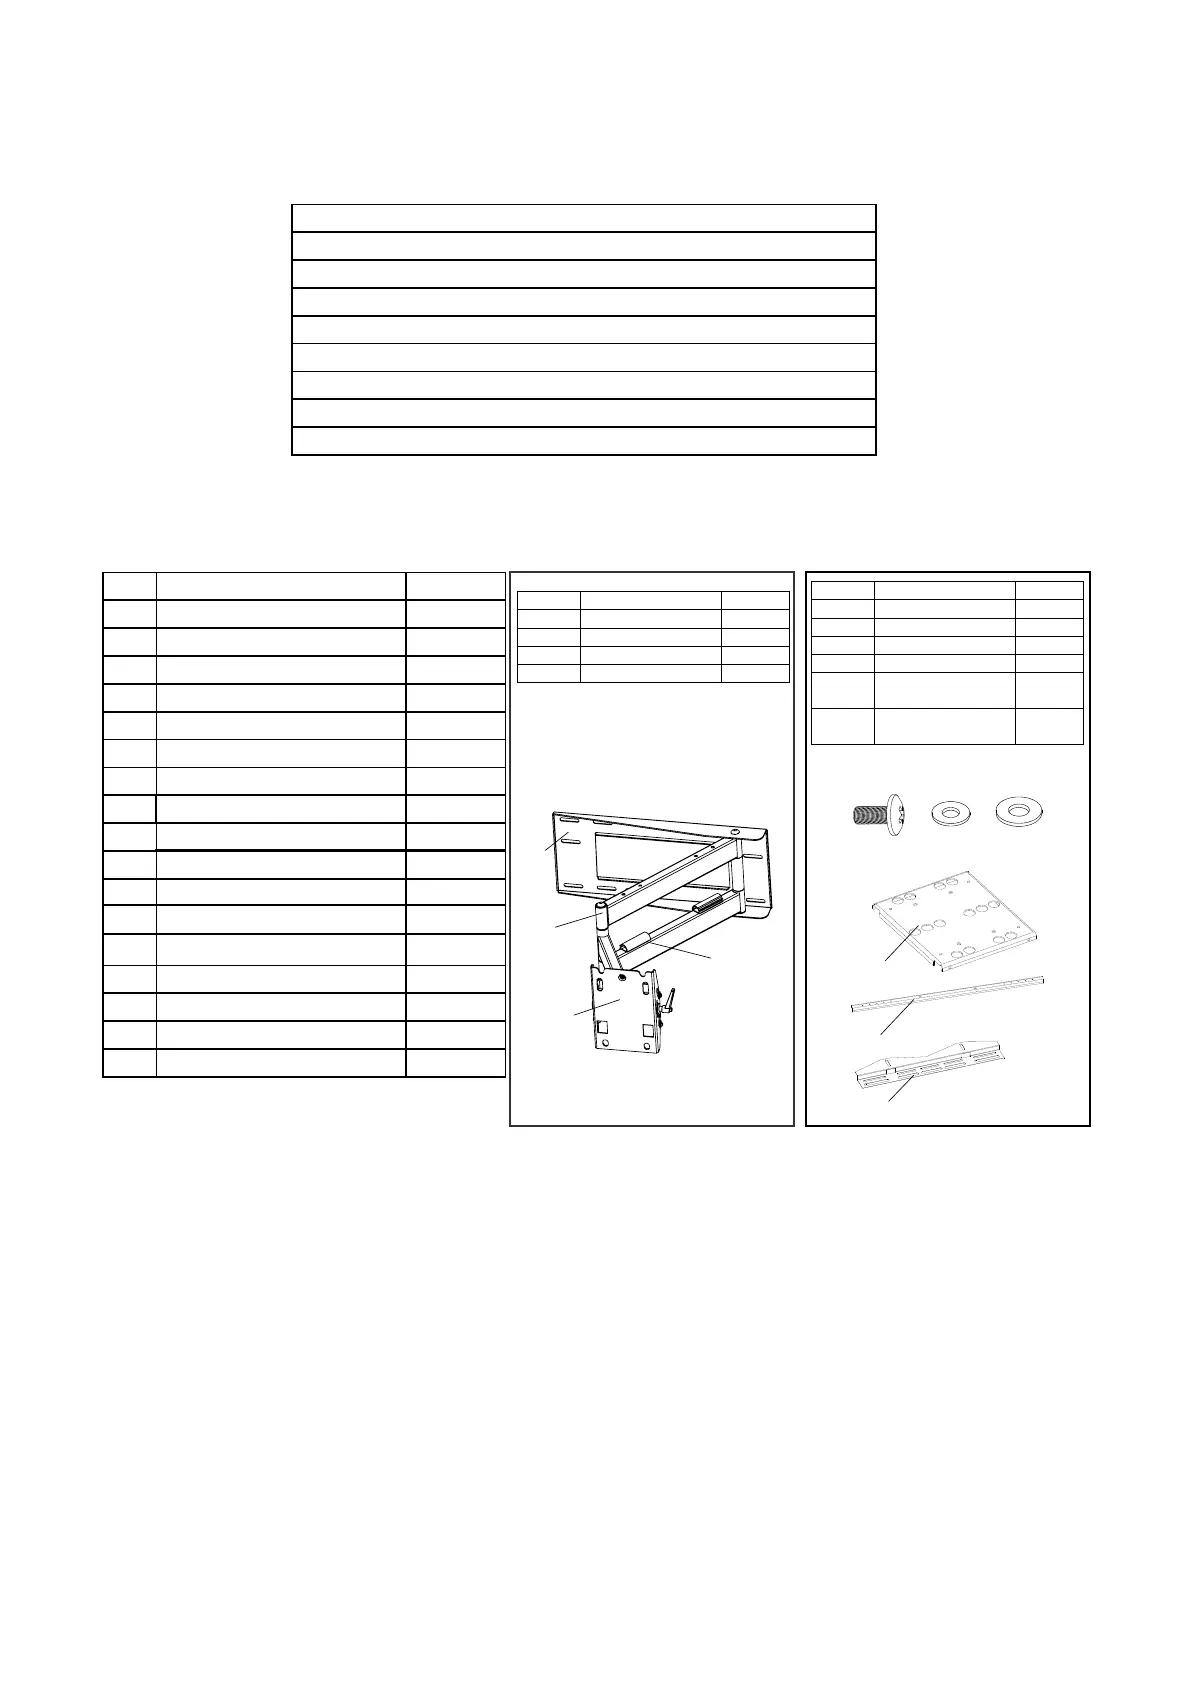
Parts List
ID
Description
Qty
A
Philips M4*35mm
4
B
Philips M4*45mm
4
C
Philips M5*35mm
4
D
Philips M5*45mm
4
E
Philips M6*35mm
4
F
Philips M6*45mm
4
G
Philips M8*35mm
4
H
Philips M8*45mm
4
I
4
J
4
K
1
4
L
4
M
Round Washer
6
N
Square Washer
4
O
3/8"-3 1/2" Lag Bolts
6
P
Q
Wall anchor 6
Step 1: Determine the Mounting Location
a)
b)
c)
d)
f)
e)
g)
Description
Wall Plate
Cable Panel
Mount Head
Arm Assembly
Qty
1
1
1
1
ID
a)
b)
c)
d)
Description
Adapter Panel
Adapter Bar
Adapter Bracket
Qty
1
2
2
ID
e)
f)
g)
Screw M6
Metal Washer
(∅6x∅10x1.2)
Metal Washer
(∅6x∅13x1.2)
8
4
4
h)
h)
i)
j)
i)
j)
M8*15 mm screw bolt
8.2*1.5*16 metal Washer
5 mm Allen wrench
5/8" spacer
3/4" spacer
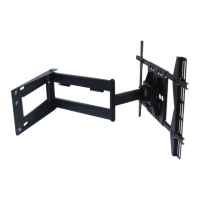
To provide maximum viewing flexibility, the EM-PLA mount is capable of a wide range of motion.
This allows the plasma/LCD unit to be put in almost any position. When selecting the mounting
location make sure there is adequate space on all sides of the panel to allow for full range
articulation of the bracket.
3